Azure Naming Tool
While working with lots of customers helping them to increase the quality of their workloads using the Well-Architected Framework, I usually advise them to create, maintain and enforce a naming convention on their Azure resources for better governance and visibility. I usually guide them to the Cloud Adoption Framework guidelines for creating a naming convention - which has some great guidance - but the problem is they have to build some sort of process or build an internal tool to automate it and make it easier to their business units and application owners to consume.
The Azure naming tool is a .NET containerized tool with a RESTful API that helps admins configure the naming convention components and then it can be easily consumed through a web UI or an API to automatically generate a name for any Azure resource according to the best practices defined in the Cloud Adoption Framework. In this post, I will give this new tool a spin.
Azure Naming Tool local setup
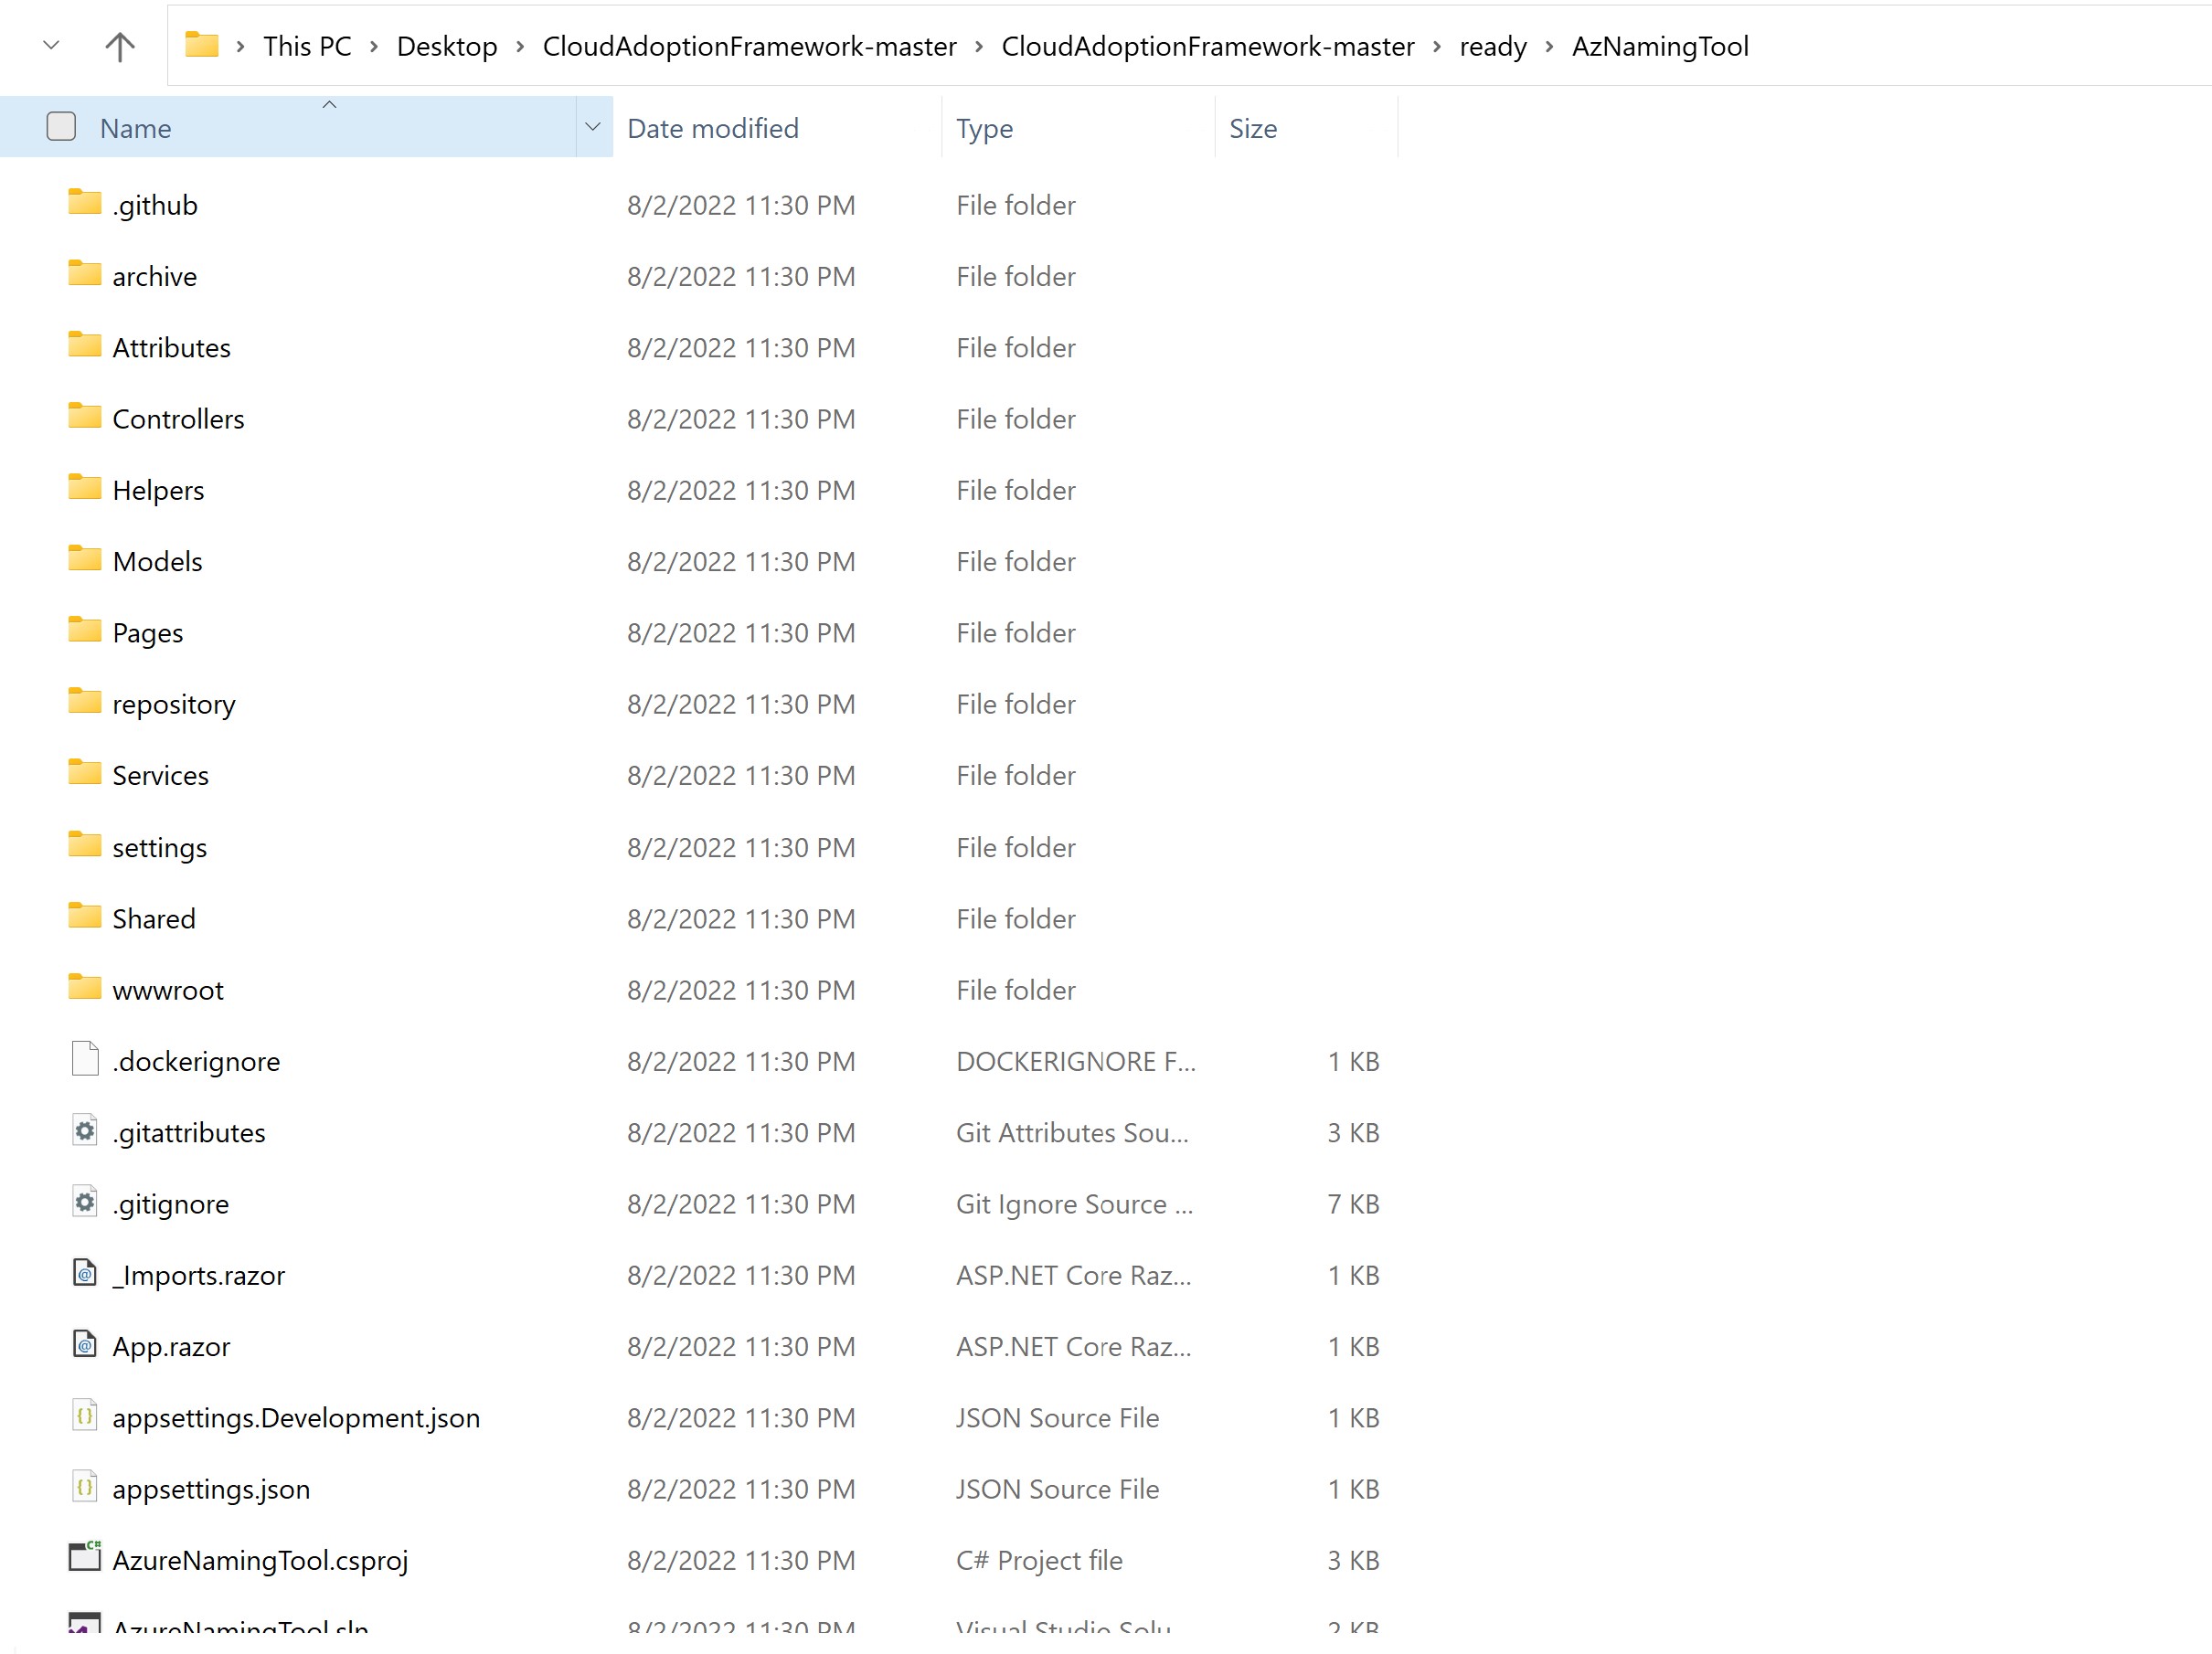
The tool is hosted on GitHub, so first we need to download/clone the repo to a local directory.
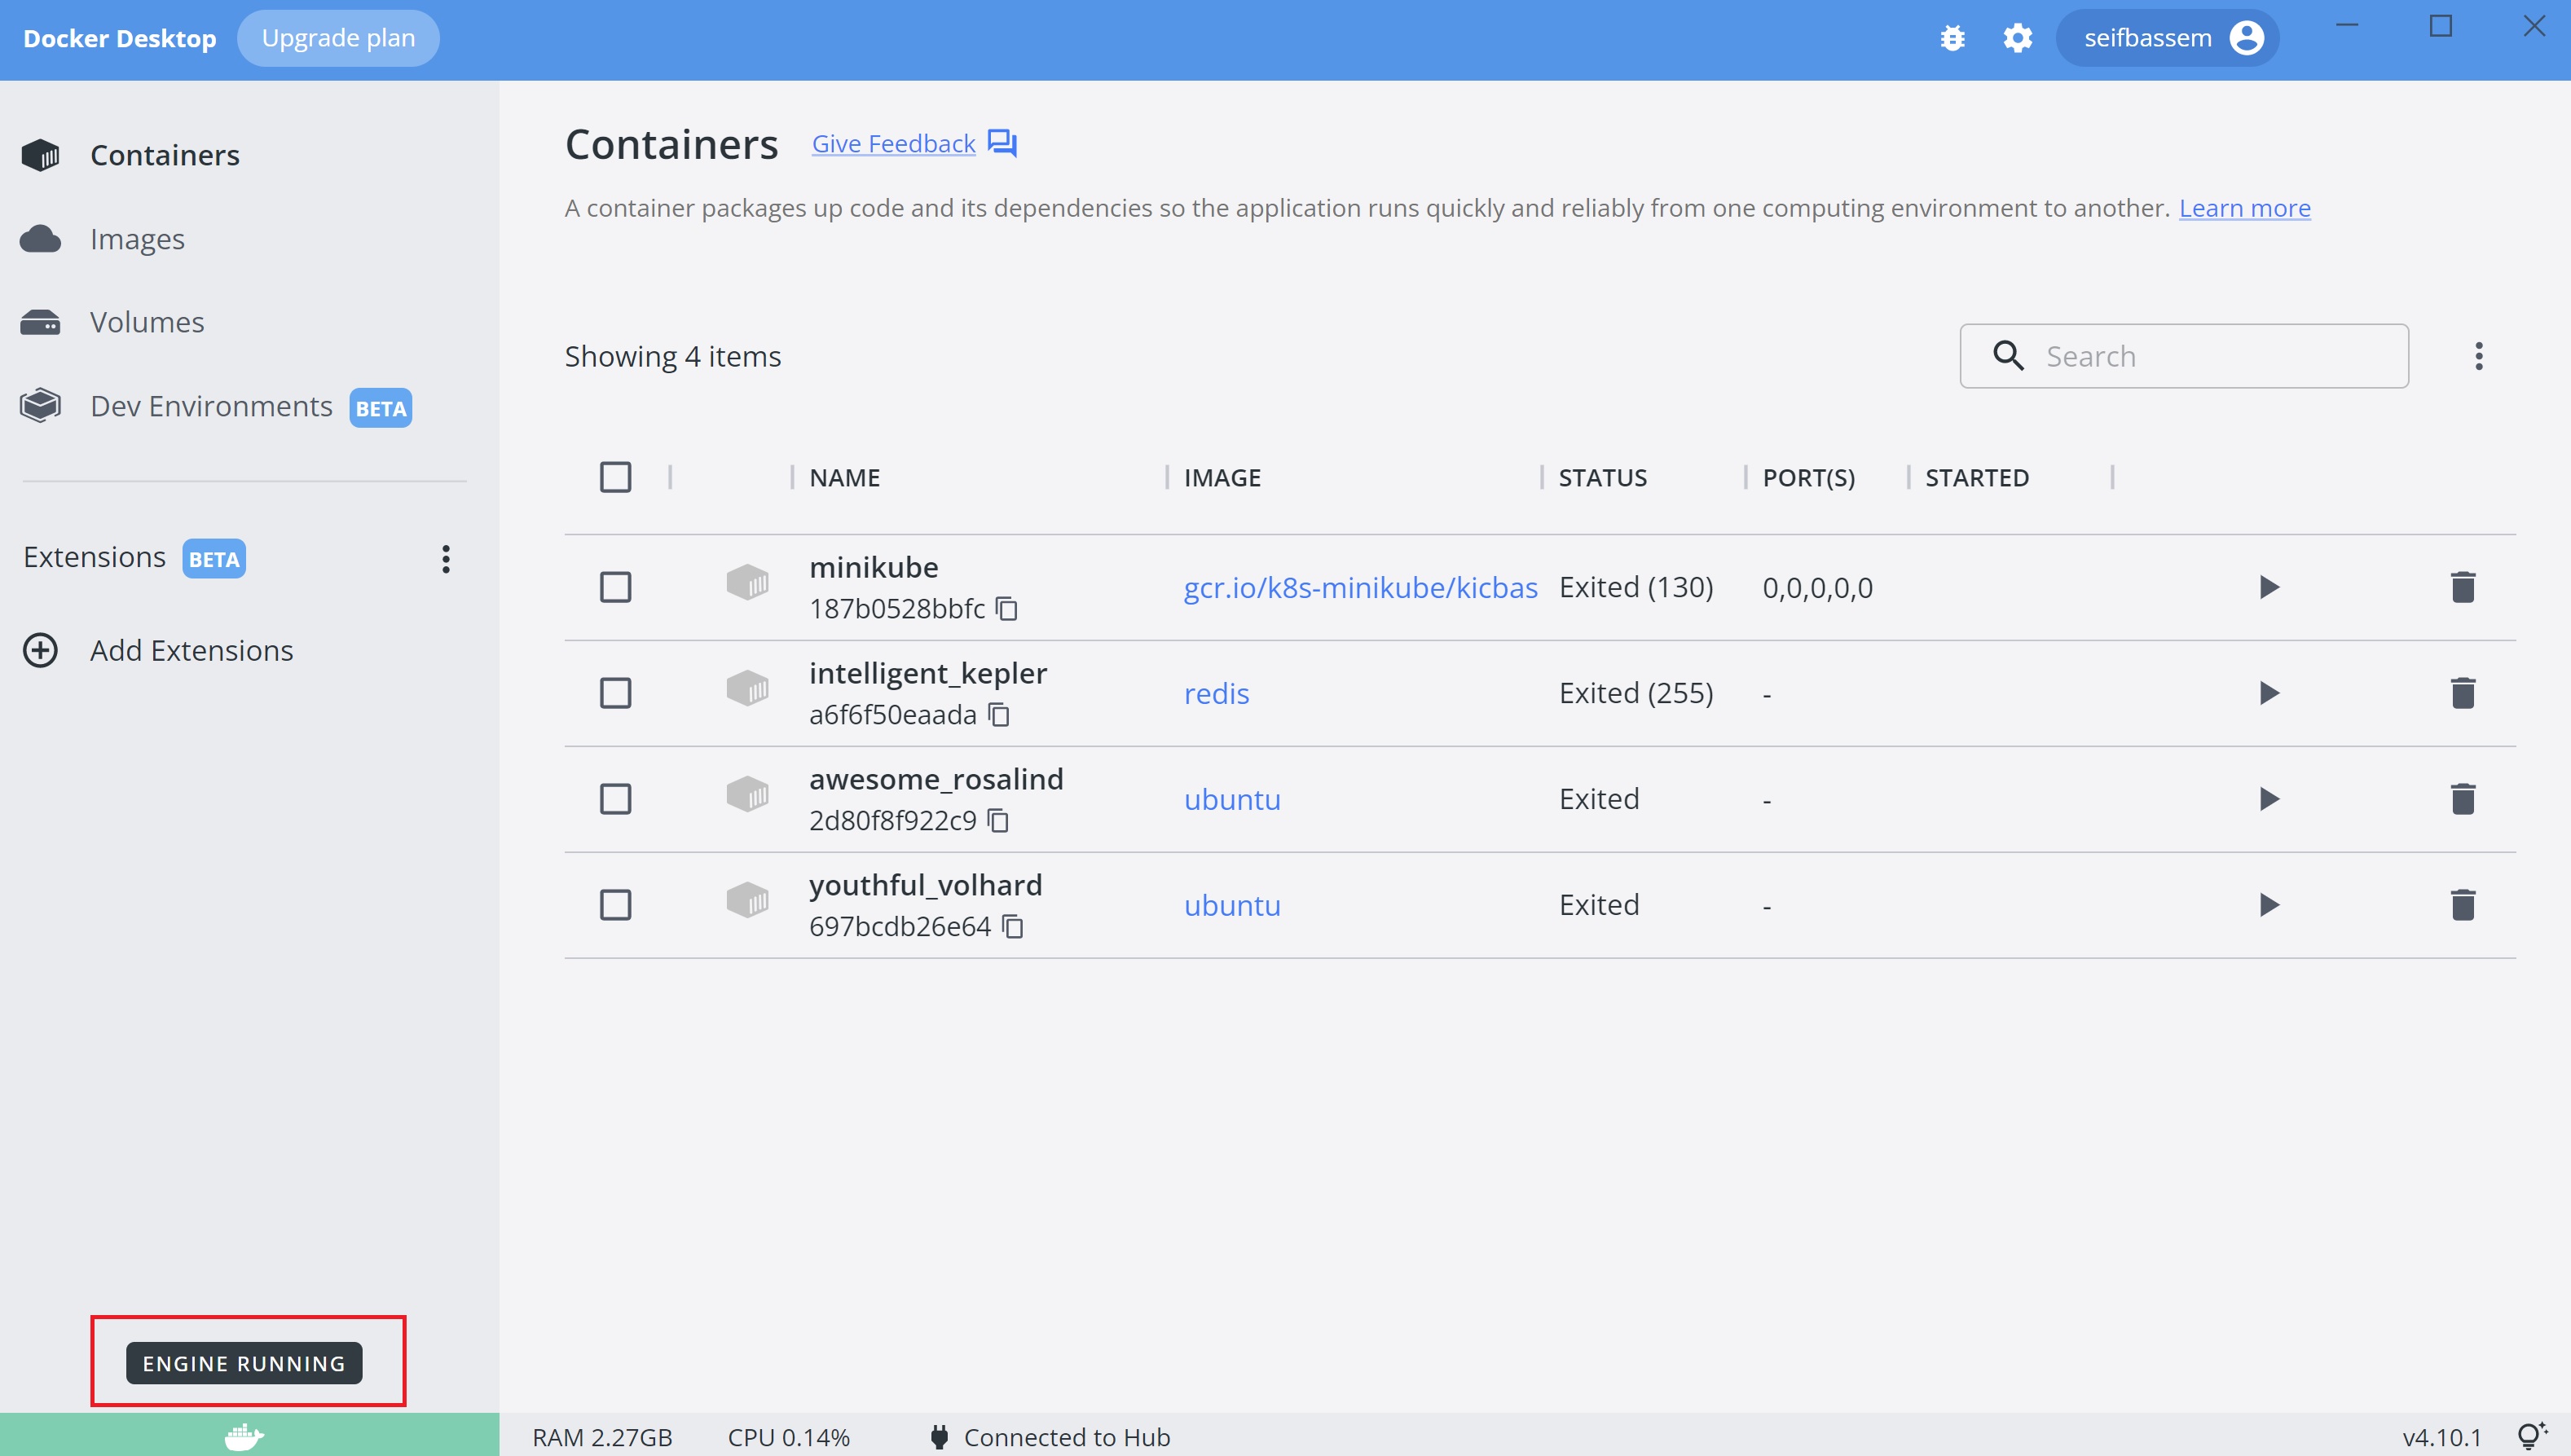
We will need Docker Desktop installed and running locally to be able to build and run the containerized image.
To build the Docker image, we need to run the following Docker command while in the root directory.
docker build -t azurenamingtool .

Validating that the image is now built locally.
docker images

We can now, run a new Docker container locally using the built image. I will use port 8081 but you can use any other free port.
docker run -d -p 8081:80 --mount source=azurenamingtoolvol,target=/app/settings azurenamingtool:latest

NOTE You can see that we are using a persistent volume to to store configuration files. When deploying locally, Docker will use your machine’s storage but in production, you will need to think about which type of storage available to you.
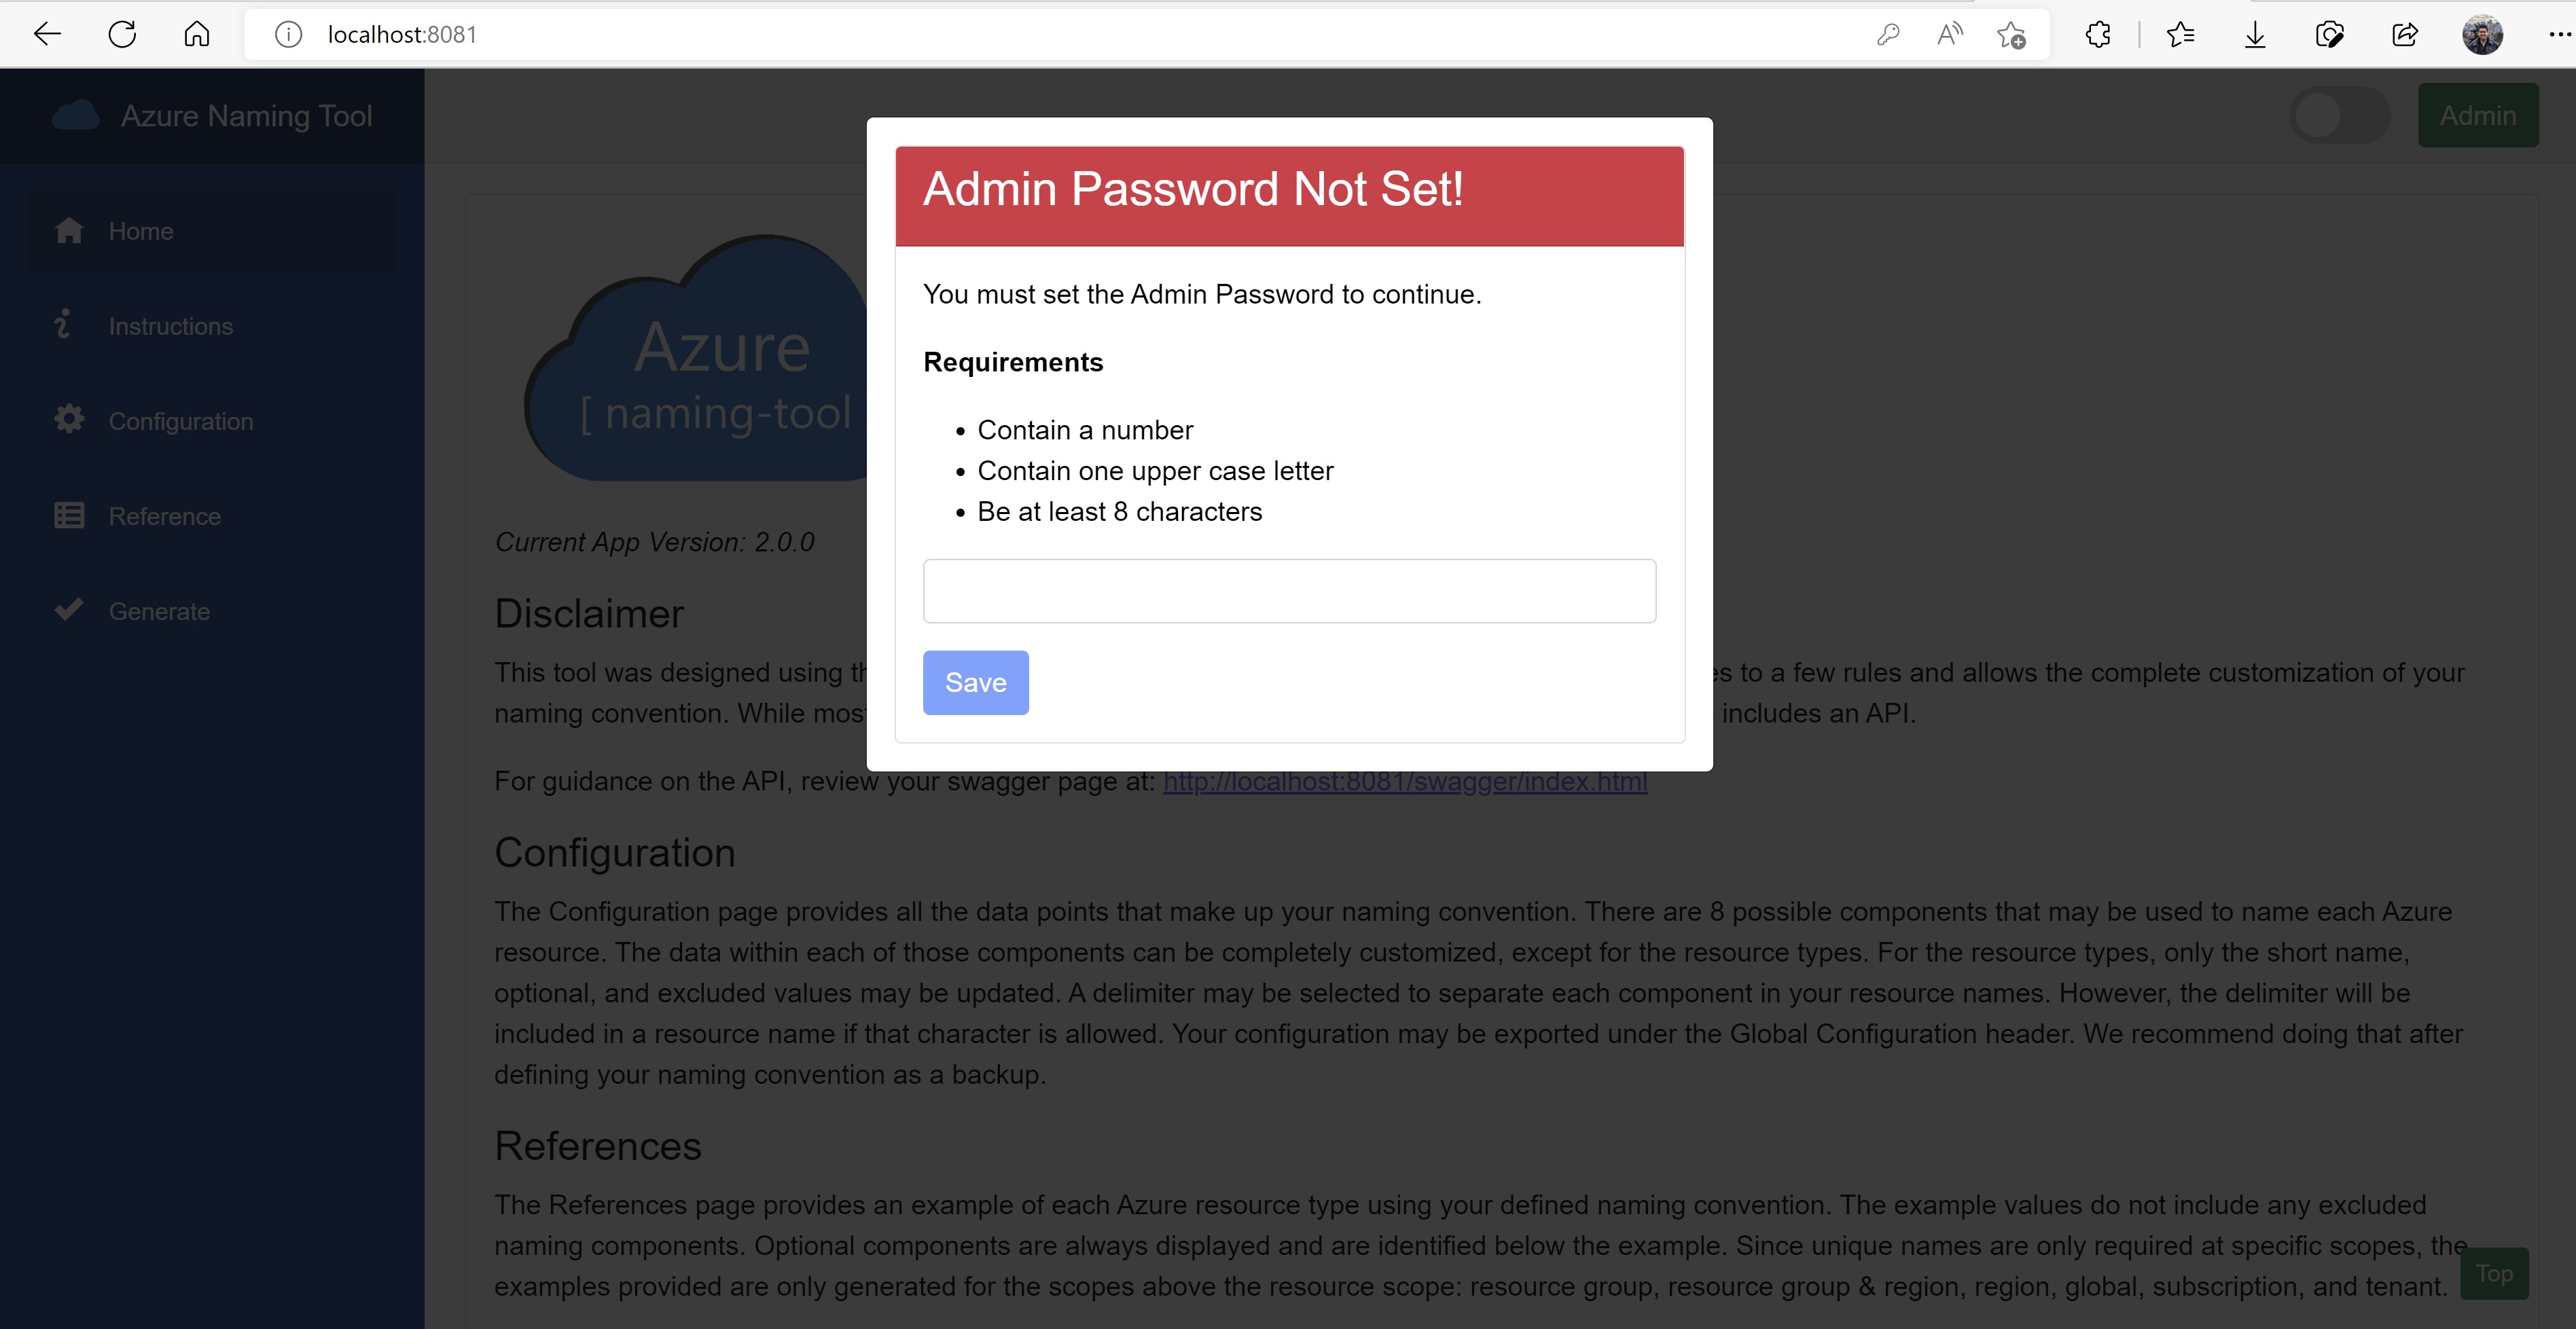
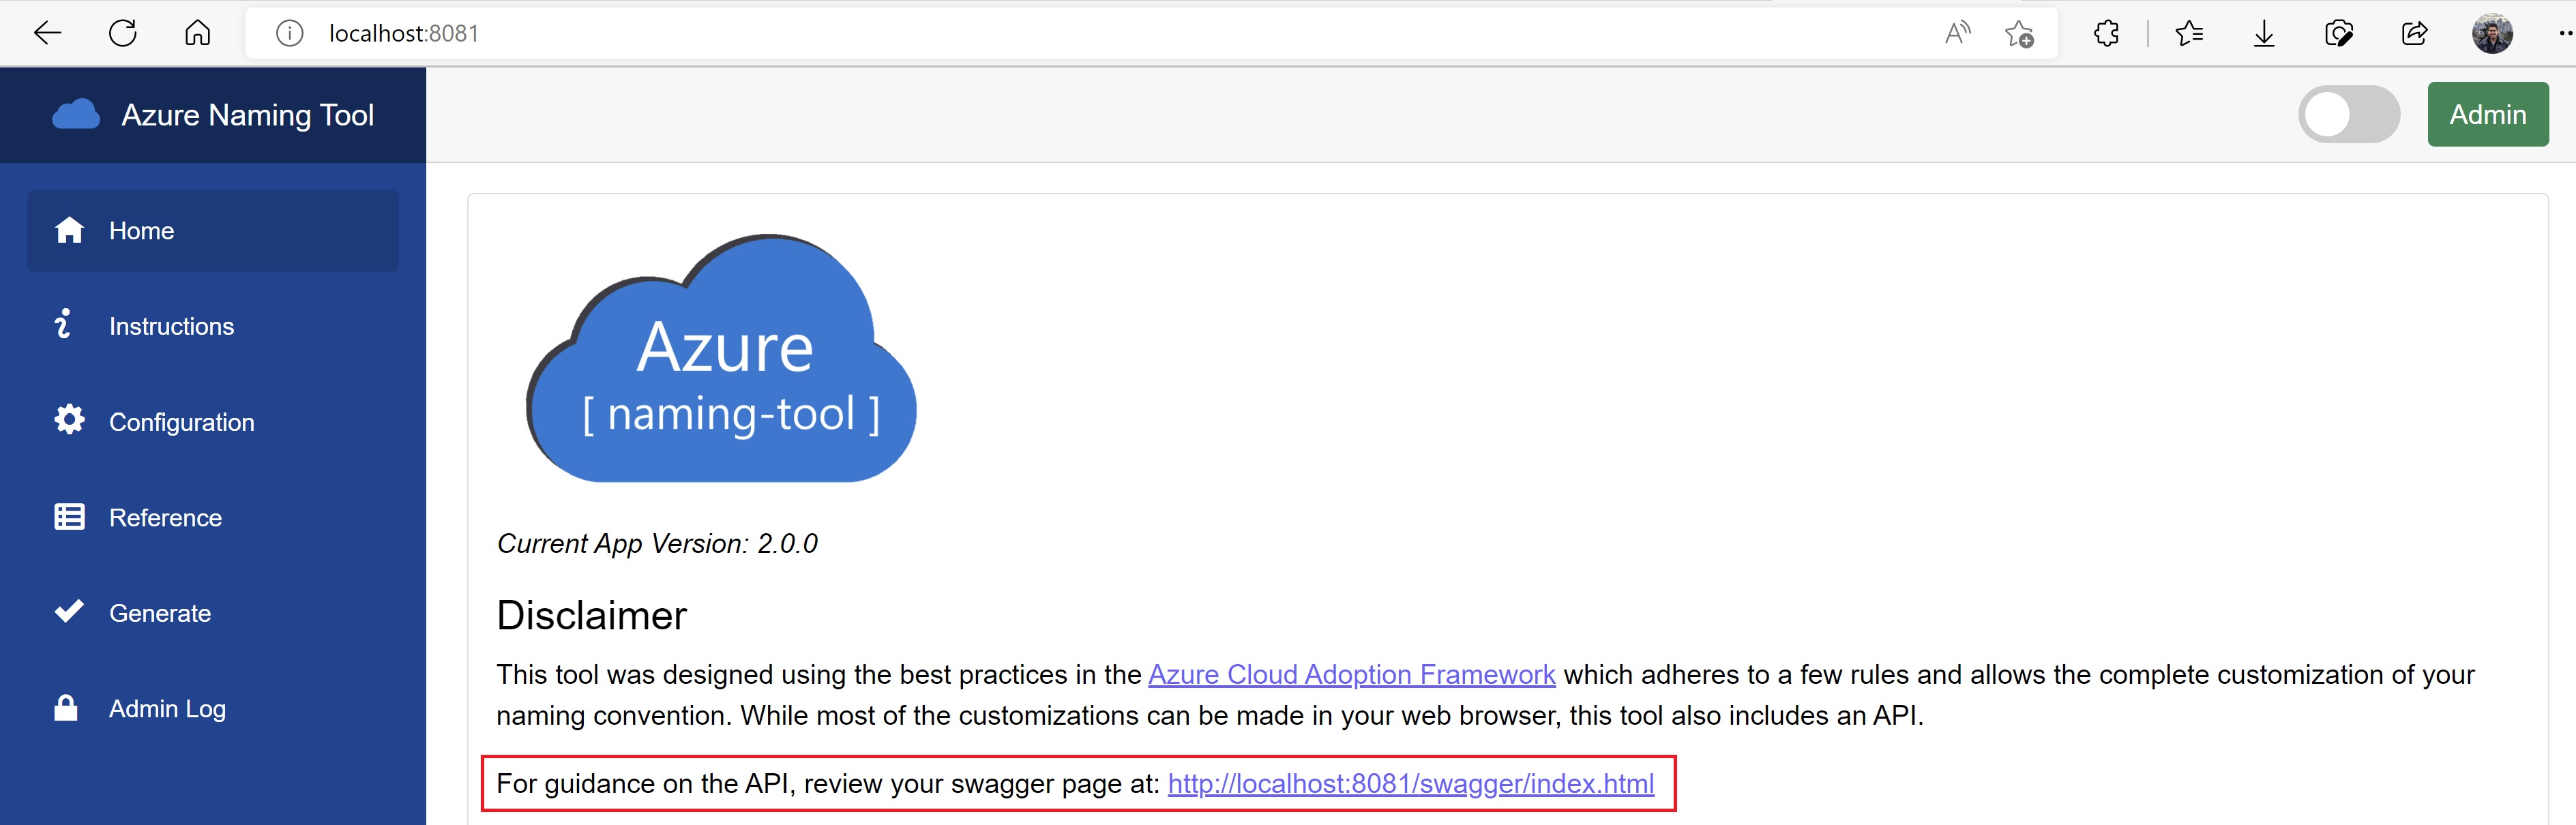
Navigating to http://localhost:8081, we can see that the tool is now up and running.
Exploring the Azure Naming Tool
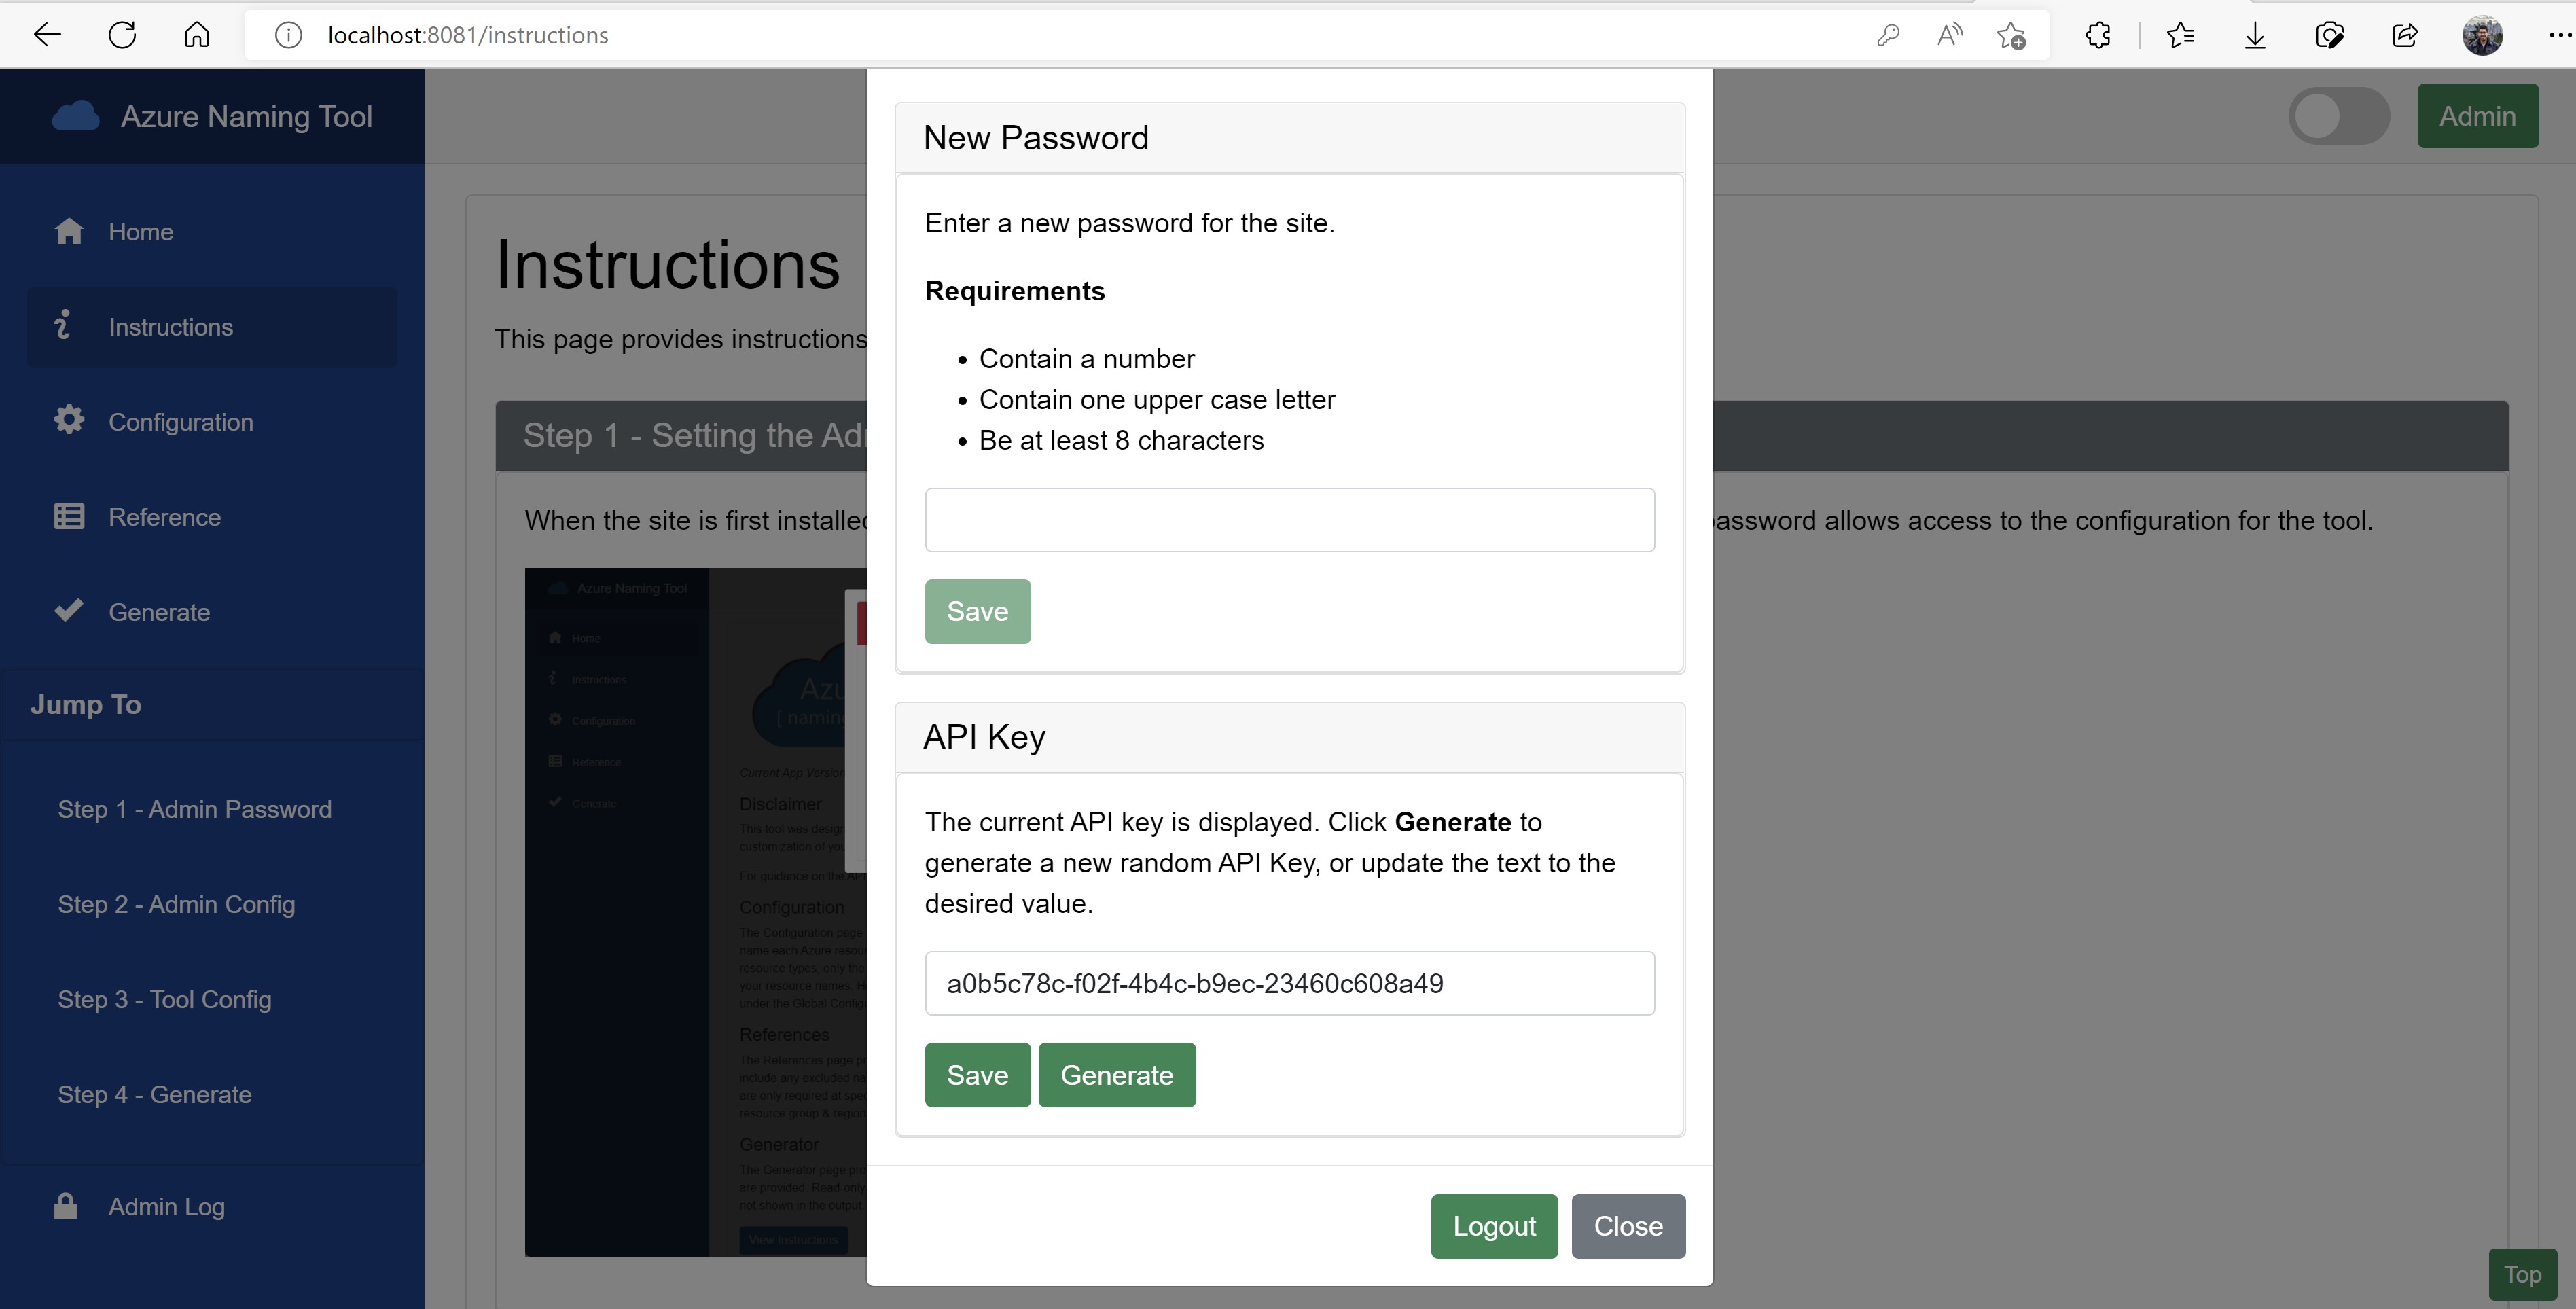
Let’s navigate what the tool provides in terms of configuration and features. After providing a password and logging into the tool, I clicked the Admin button and in this screen, I can change the password and view/generate an API key to be able to programmatically use and integrate this tool with other internal tools you might have.
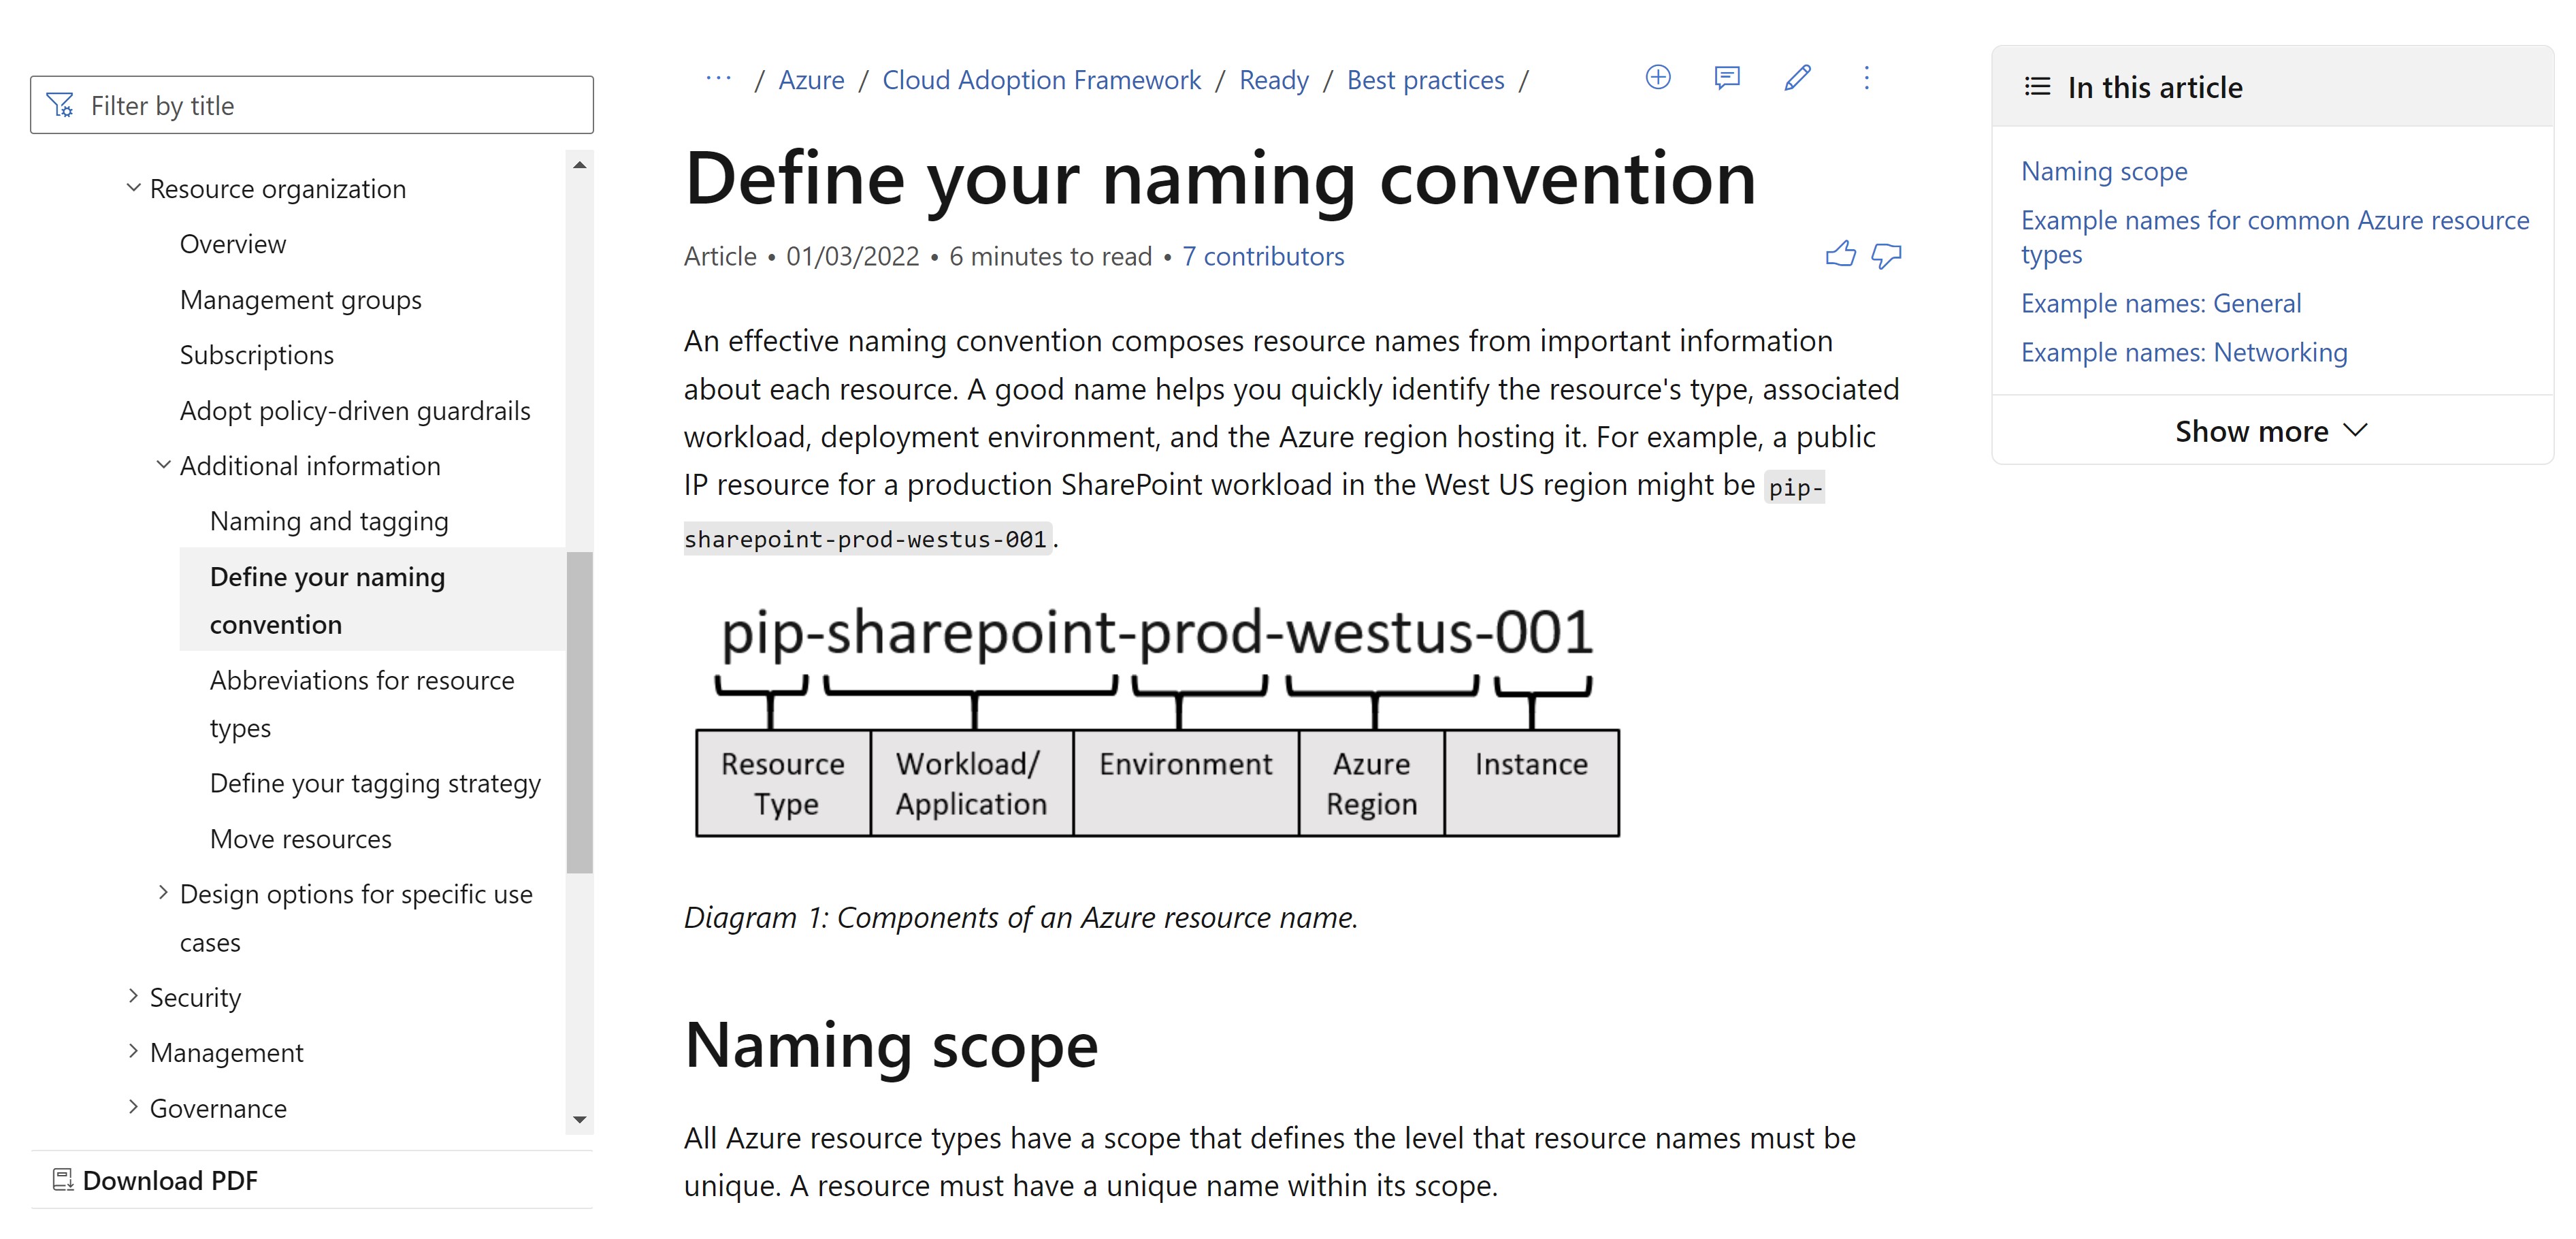
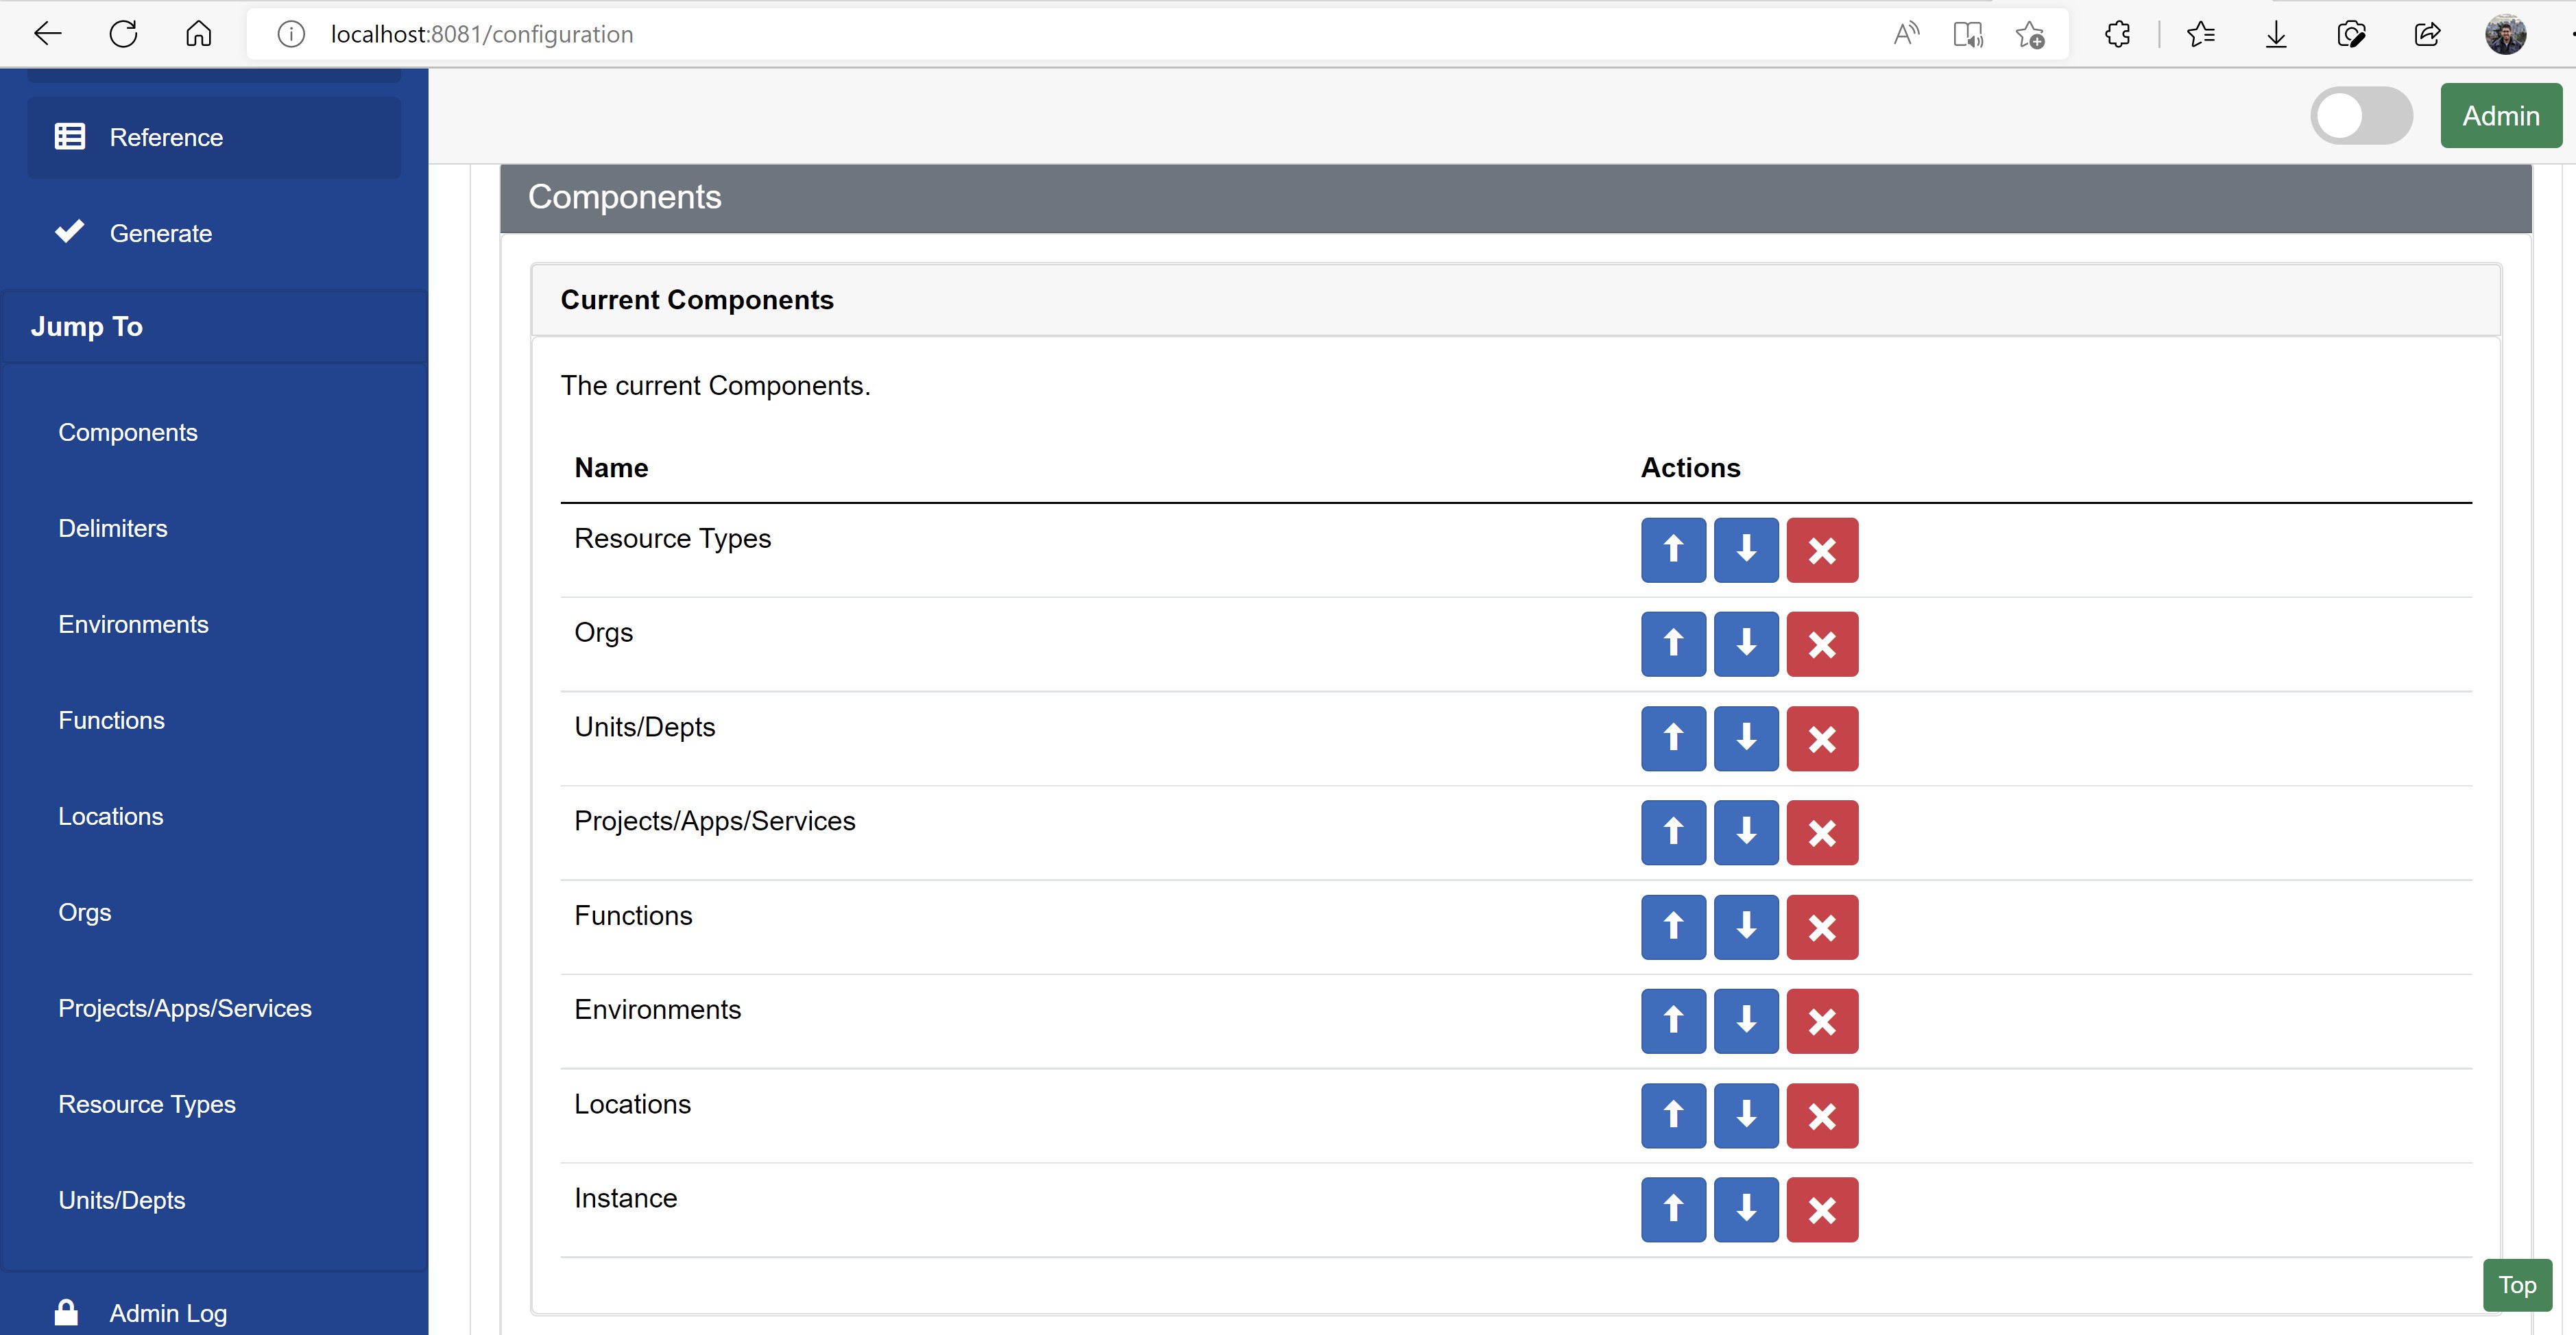
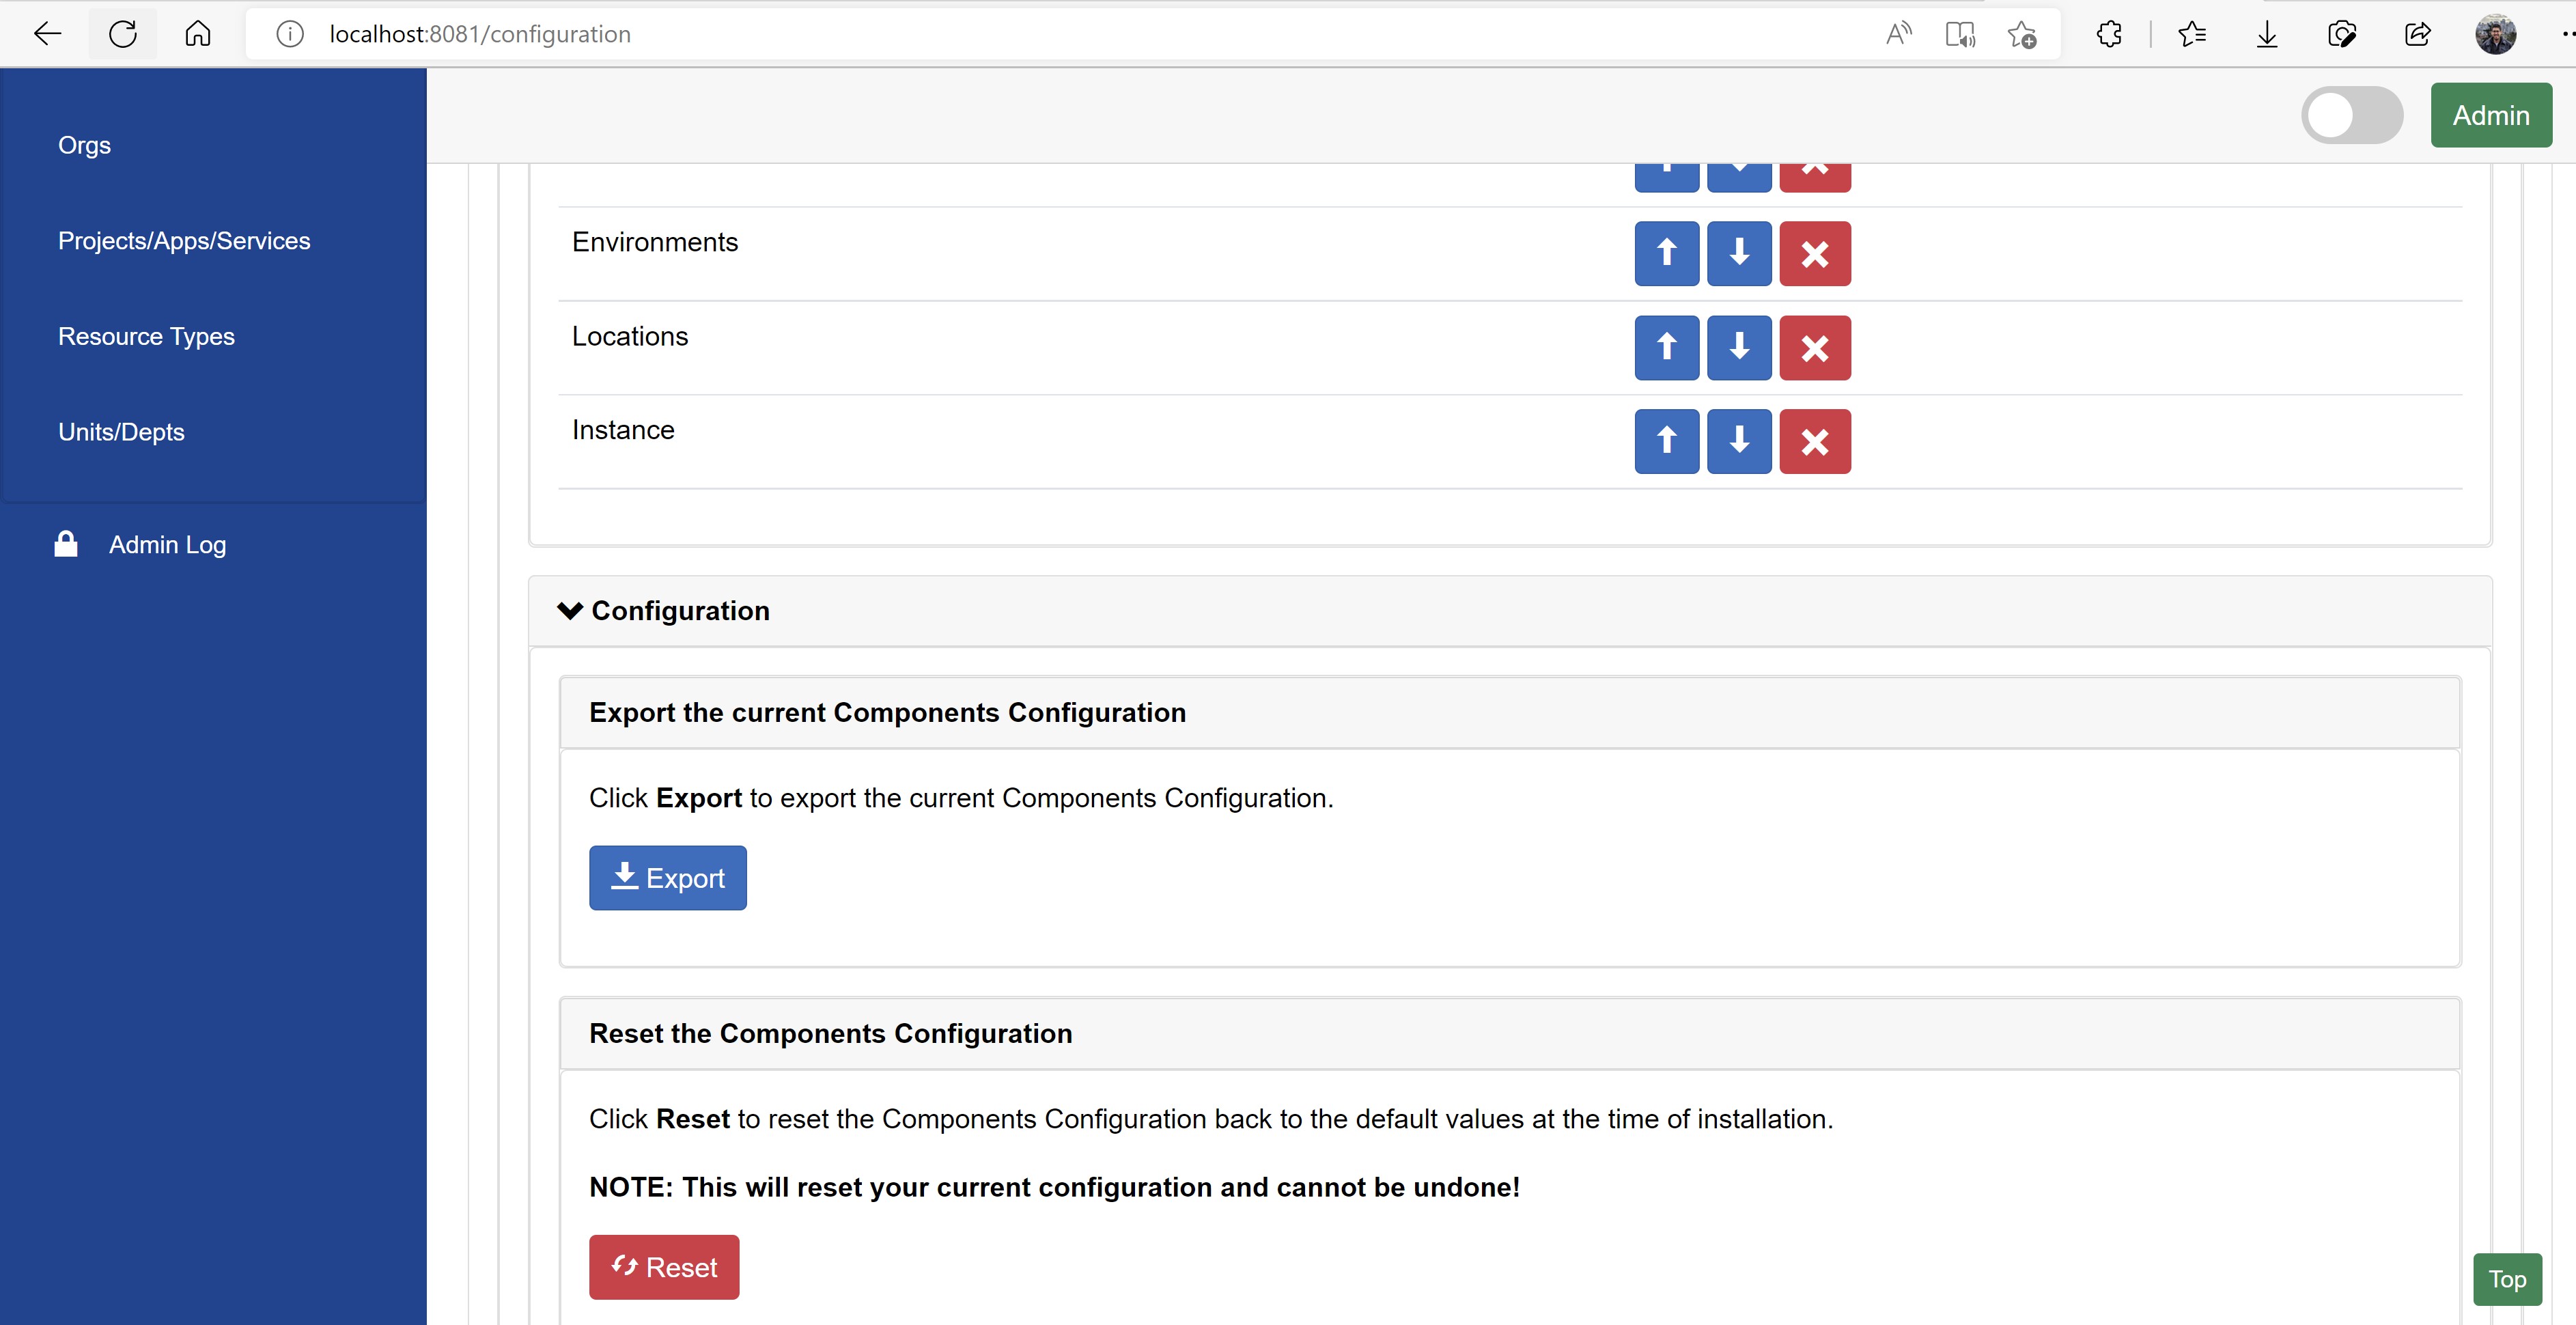
The naming convention according to the Cloud Adoption Framework guidance should be composed of some of the following components: Resource Type, Business unit, Application or service name, Deployment environment and location. In the Components section of the tool, you can see those components with an option to change their order or even deleting them if they are not relevant to you.
And below the components and every other section of the tool, you can find a Configuration section, which allows you to export your configuration to JSON for backup and easy import/export later on if you need to revert back.
In each component, you can add what is relevant to your organization from environments, functions ,…etc.

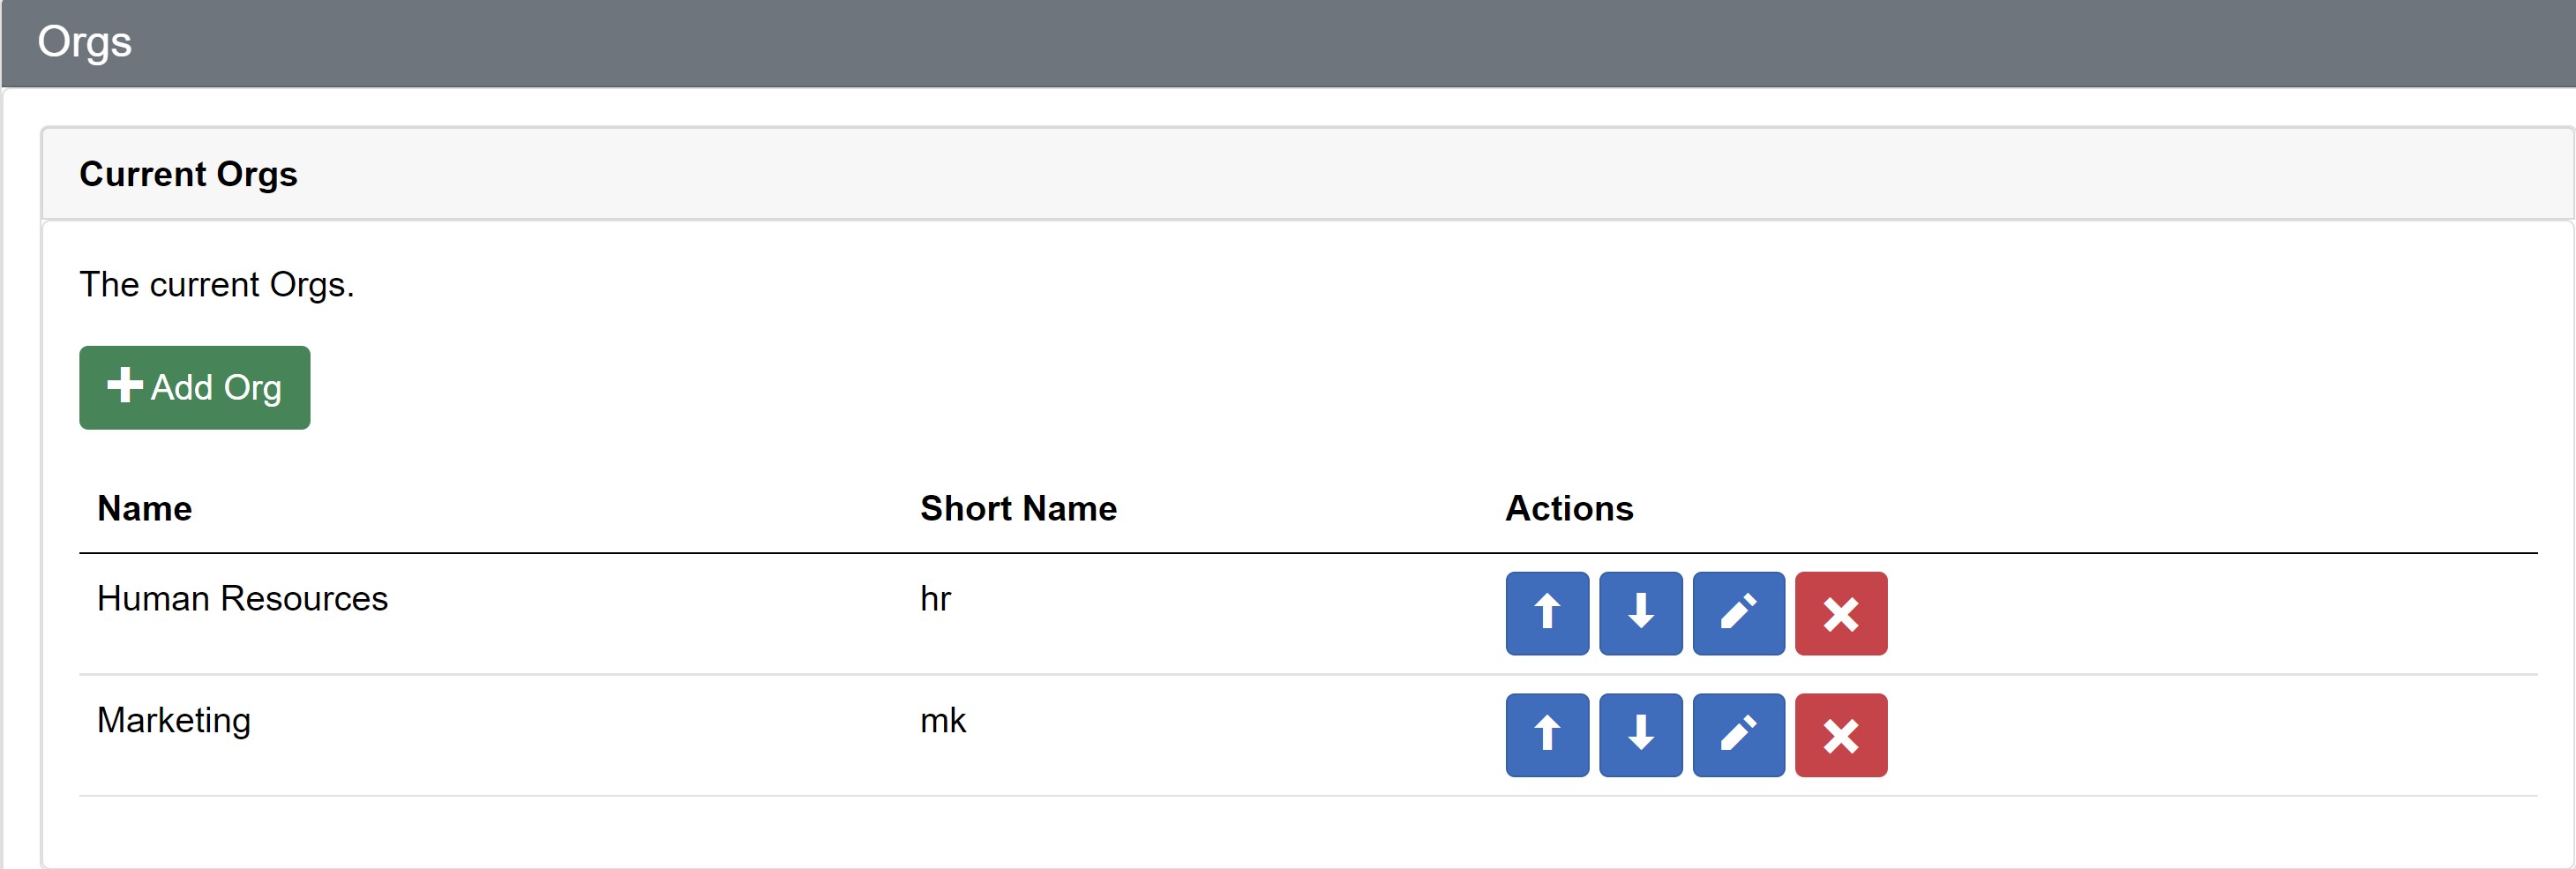
In the Orgs section, I will add two new Orgs; HR and Marketing and provide a short name for each to be used in the naming convention.
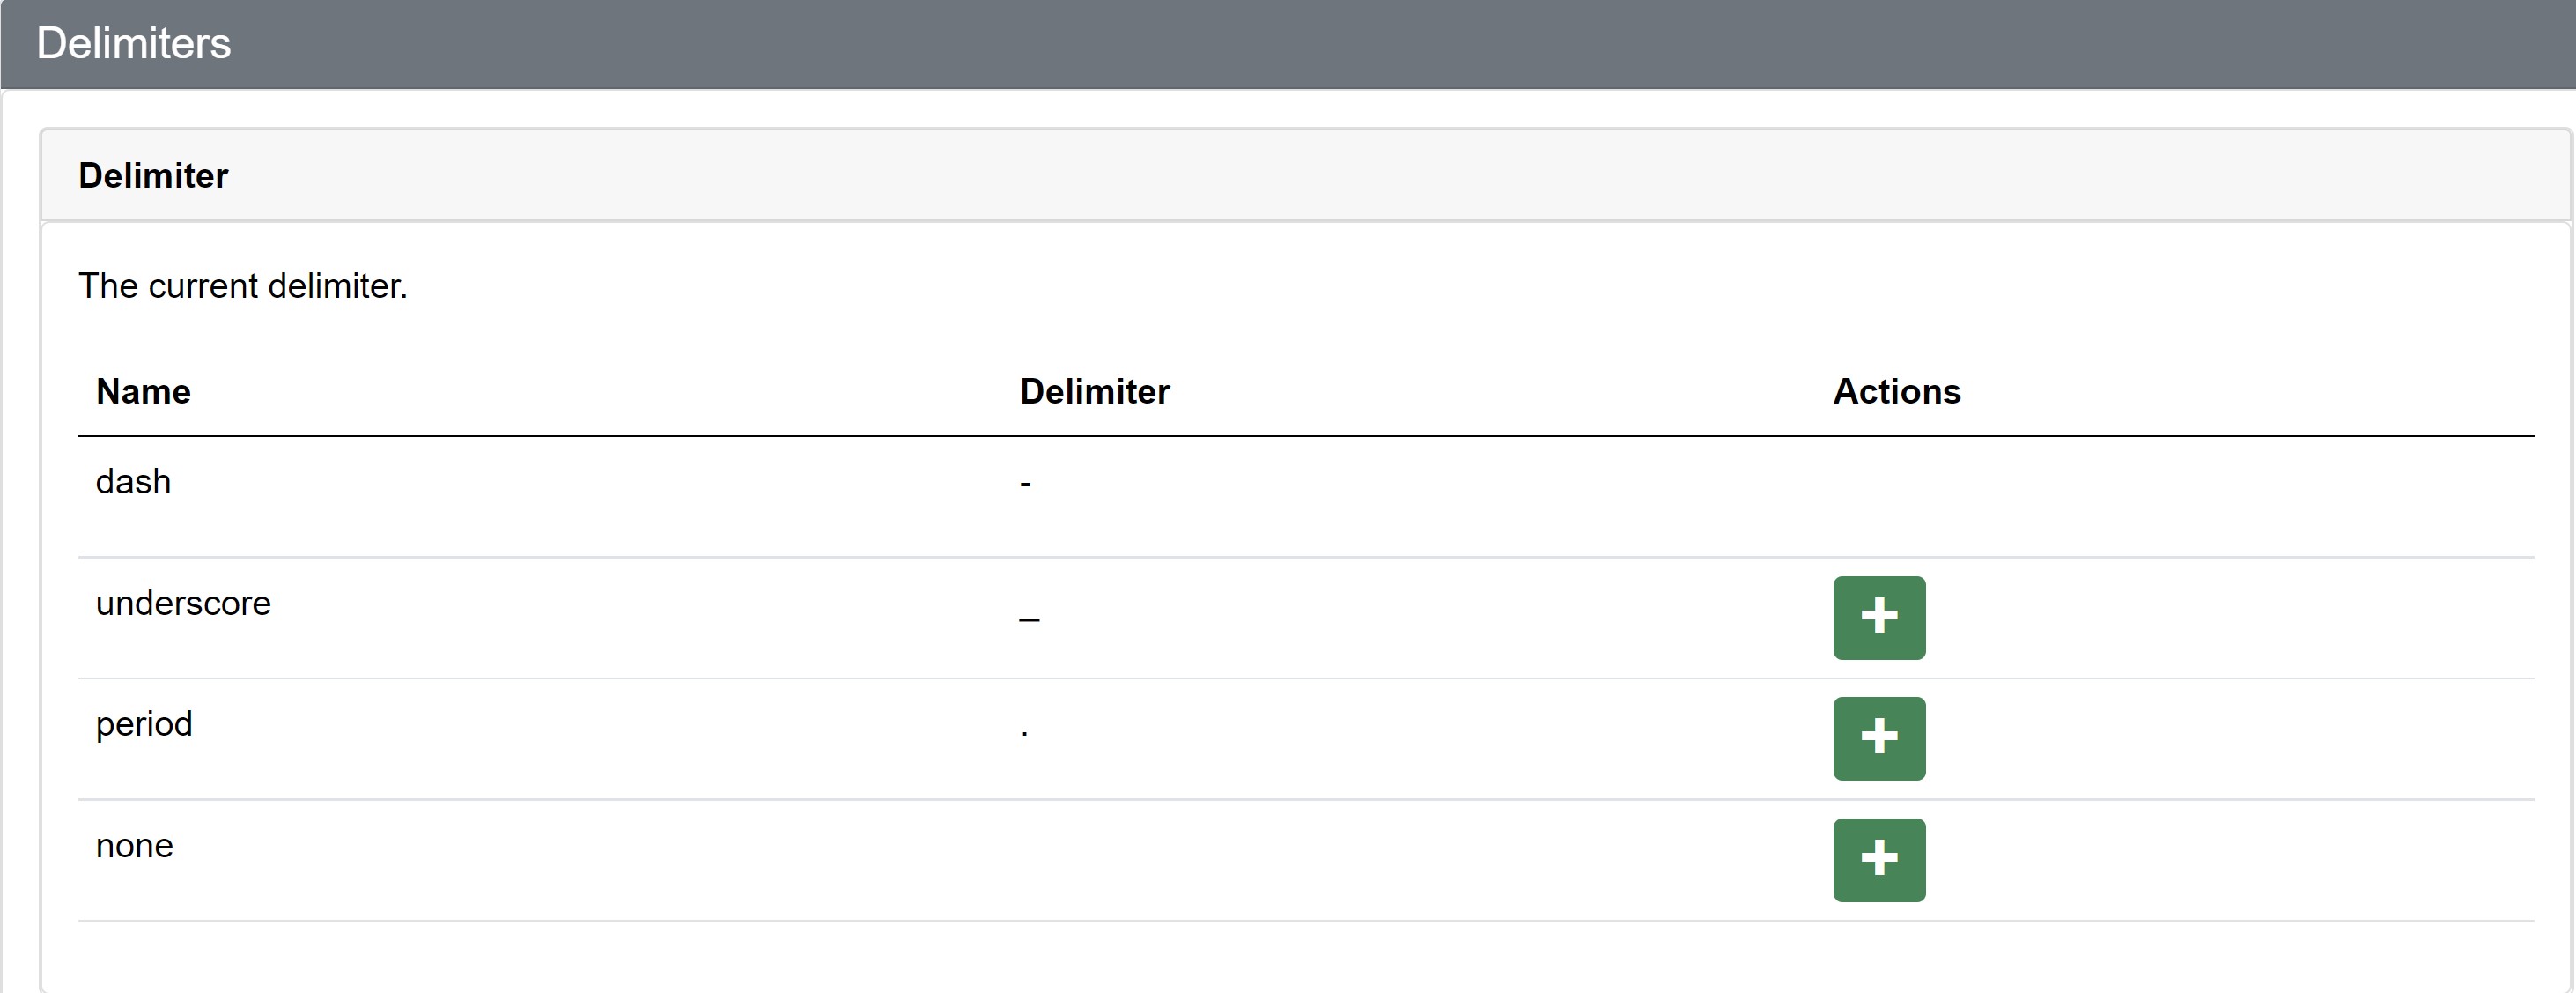
You can also configure the delimiters to be used in the naming convention as some resources allow certain delimiters and some don’t allow delimiters at all like Storage Accounts.
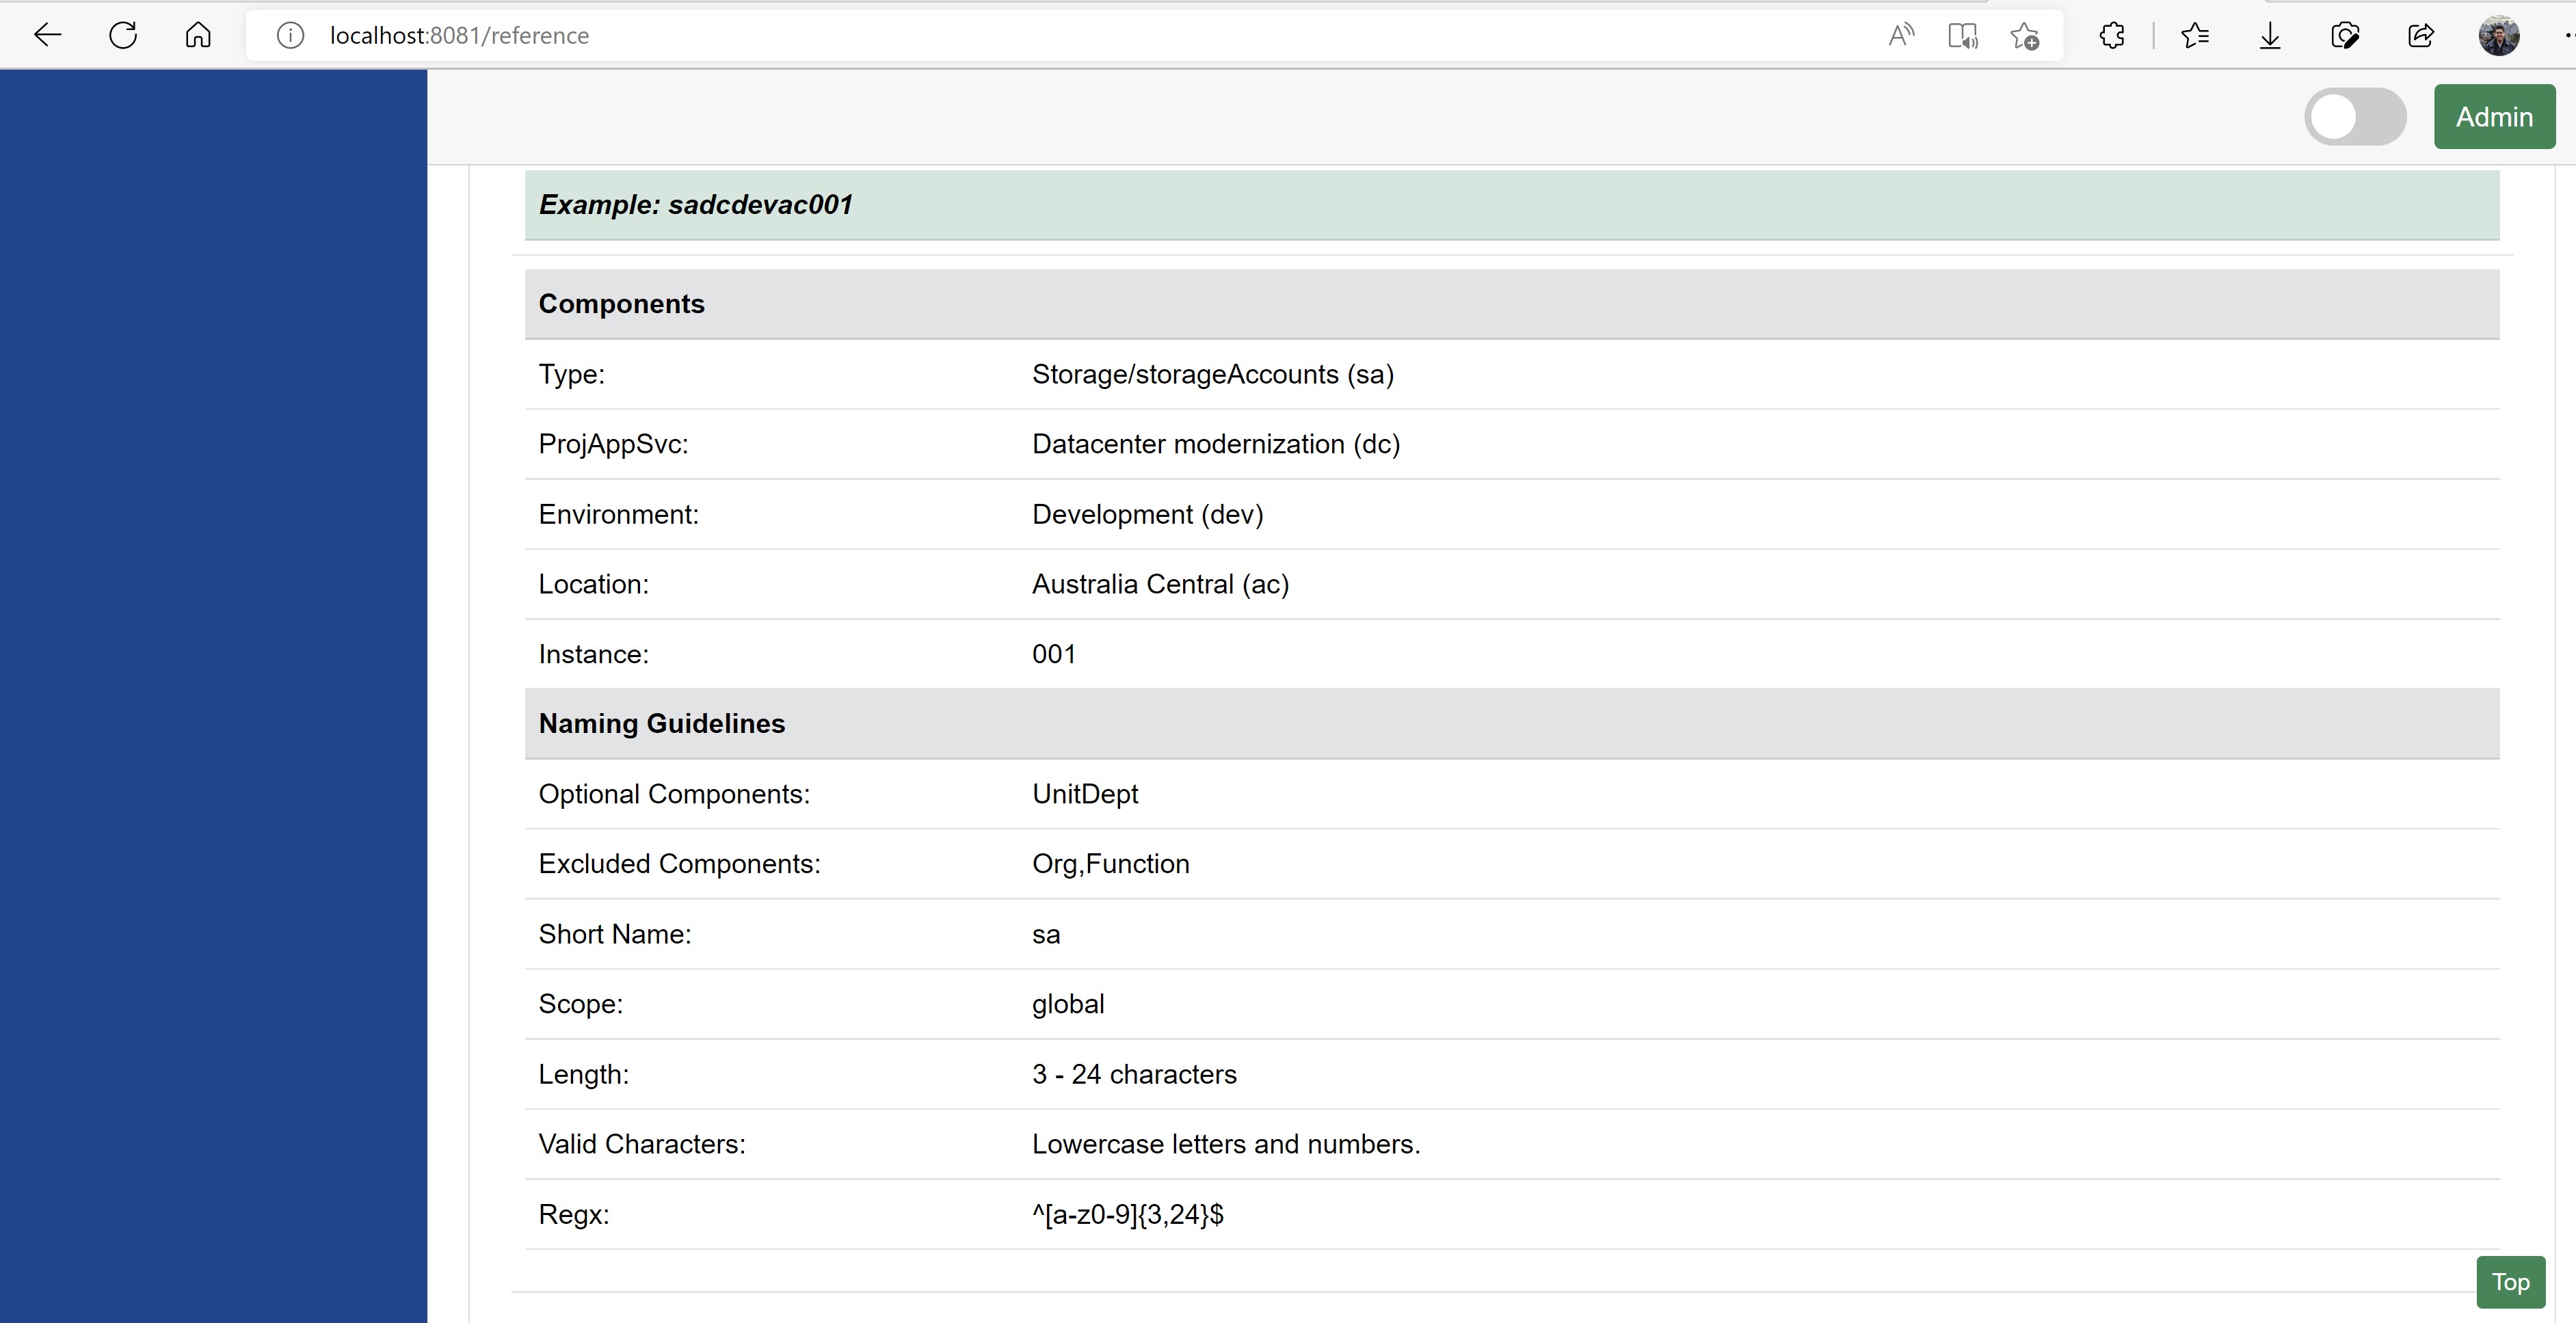
The Reference section allows you to select an Azure Resource from the dropdown and provides examples of how the naming convention will look like based on the configuration you provided.
After finishing the configuration, let’s try to generate a new name using the tool.
NOTE You can see that I got some errors while generating the name. Most resouces have a maximum characters count, so you will see the tool designate some components as OPTIONAL.
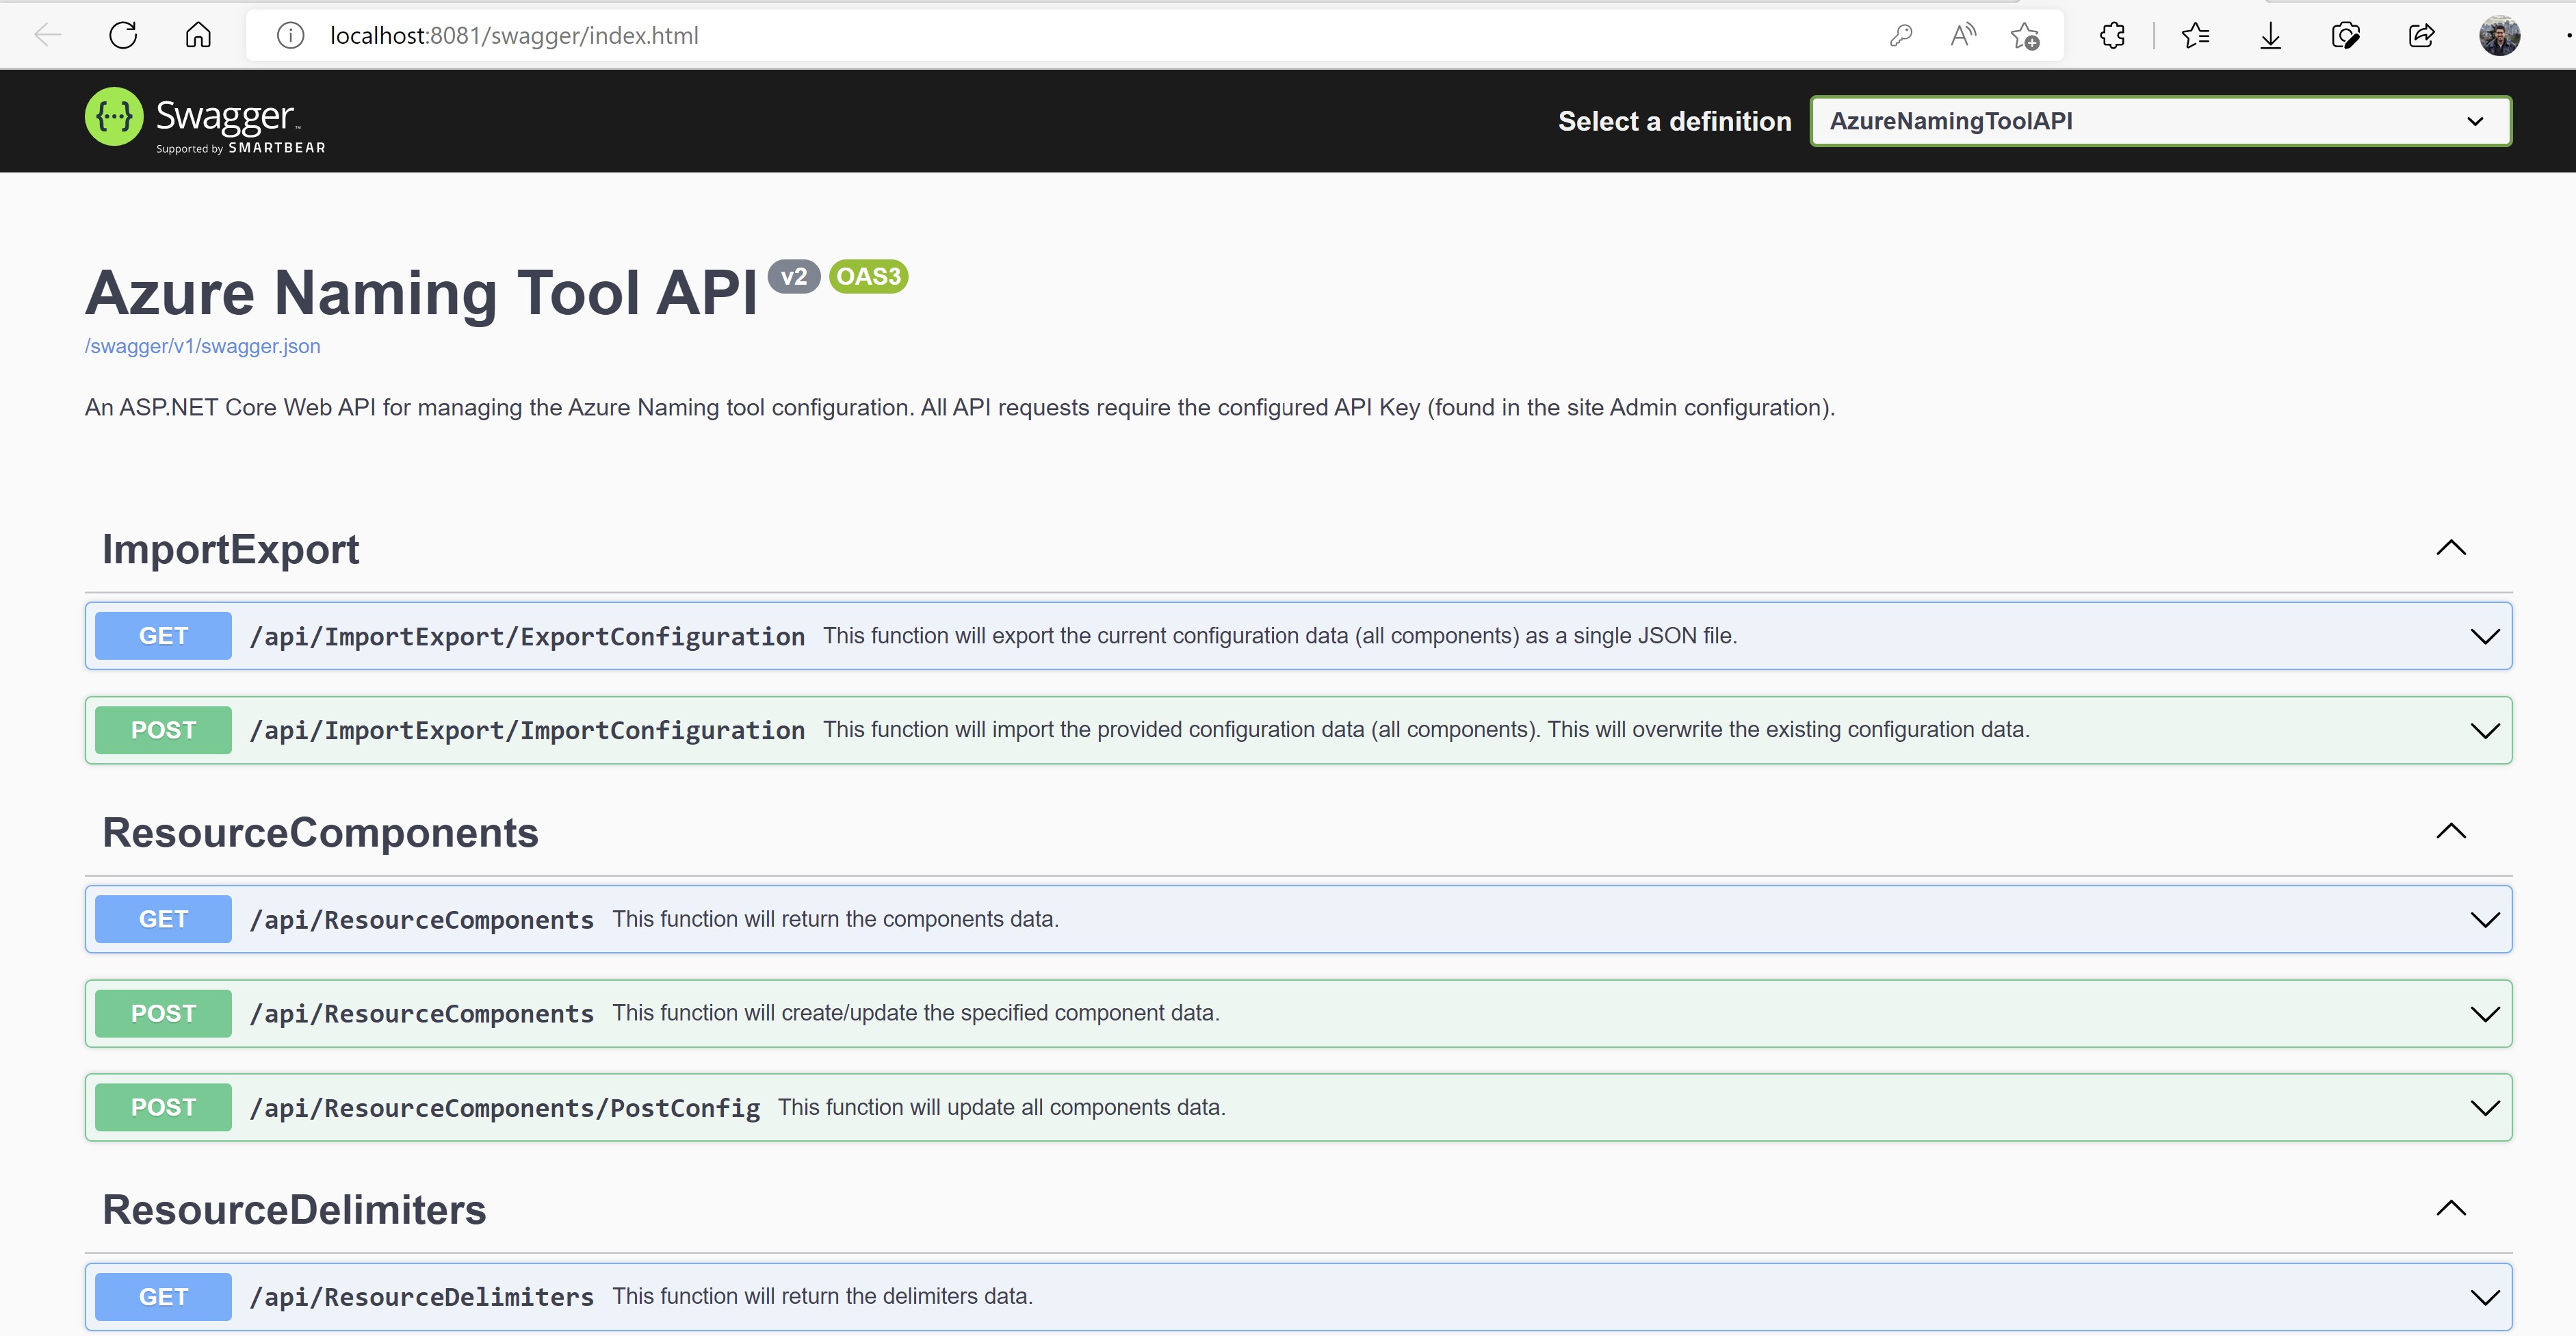
Going through the tool using the UI is great but its manual and you might already have some CI/CD pipeline for creating your Azure resources so consuming this tool using an API will be much more suitable. In the homepage of the tool you can see there is an API swagger page that references all of the available endpoints you can consume.
Deploying the Azure Naming Tool on Azure Web Apps
We have experimented with the tool locally, so let’s now deploy it on Azure as a Web App to make it more production-ready.
Sine this tool is available as a containerized image, we need to create an Azure Container Registry to be able to store the image.
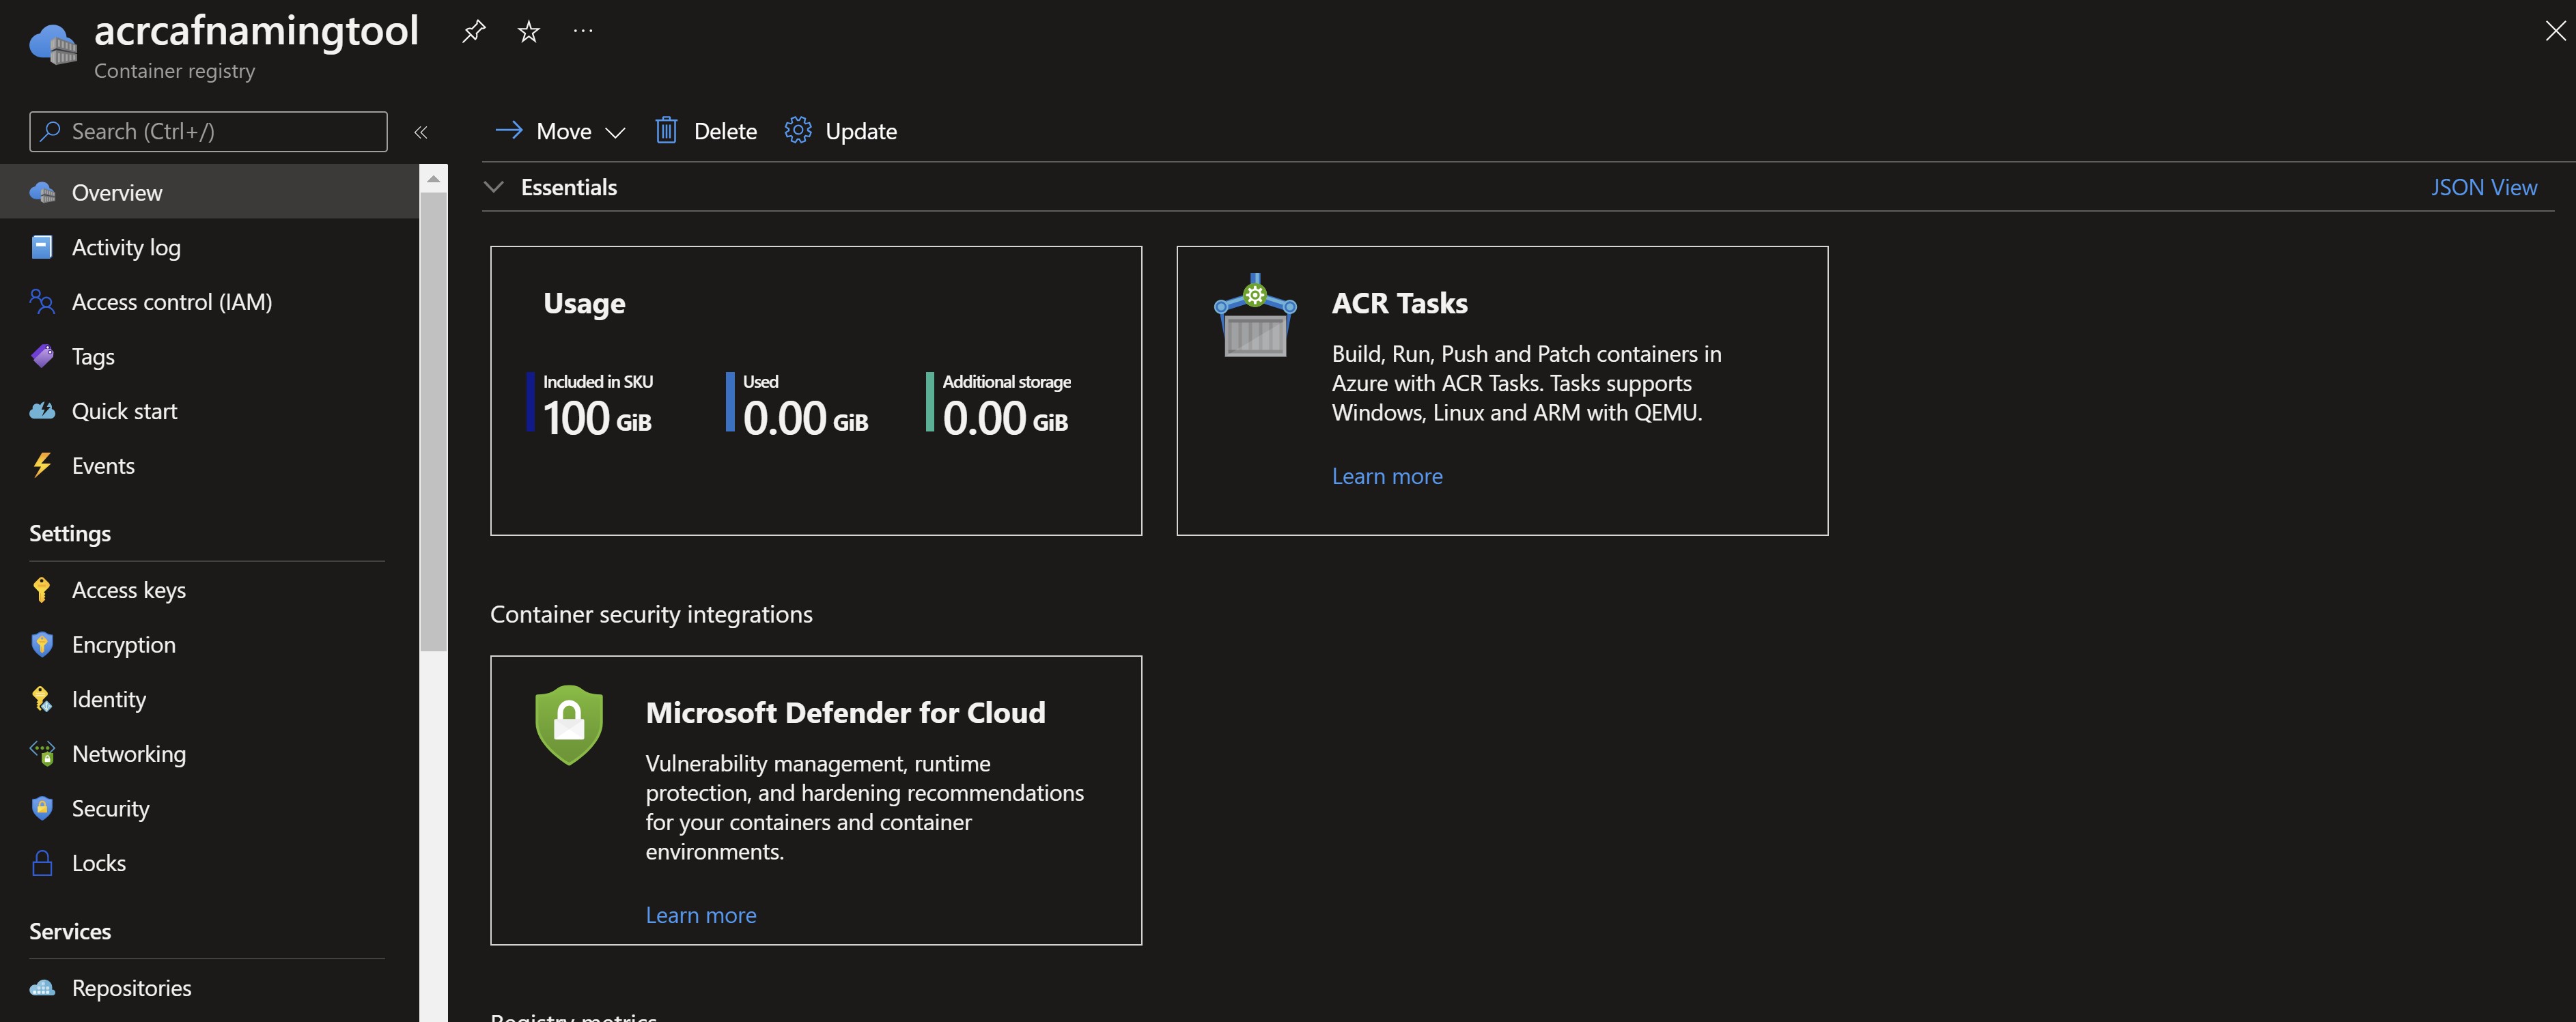
TIP Do not forget to enable the Admin user
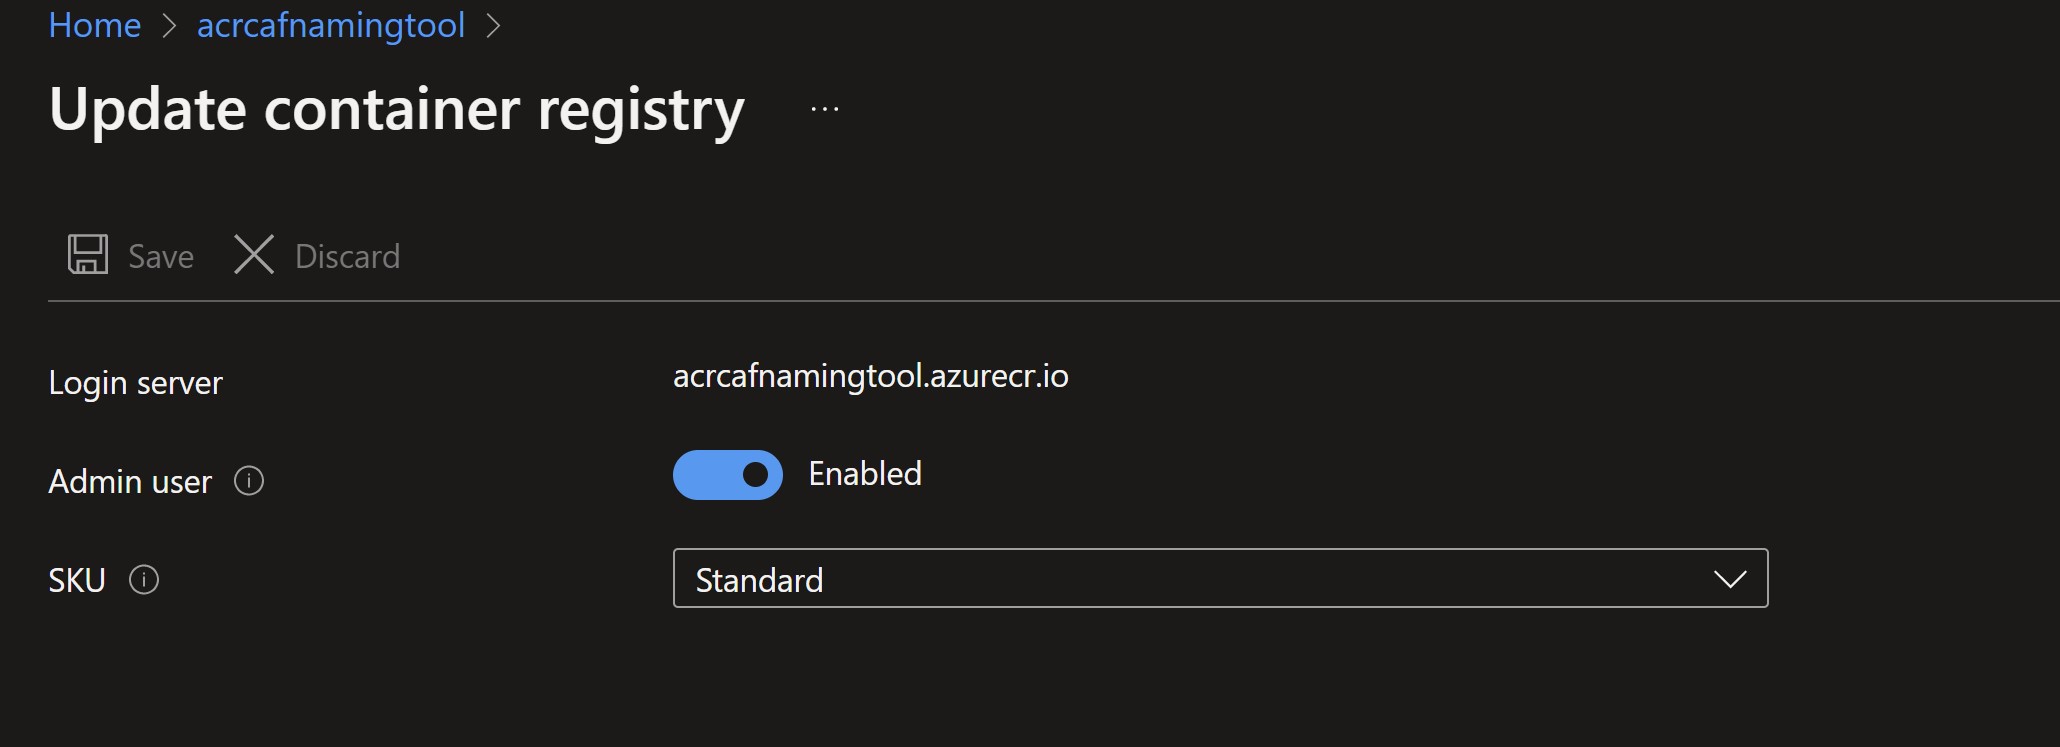
Before pushing the image, I need to tag it with the login server of the Azure Container Registry.
docker tag azurenamingtool acrcafnamingtool.azurecr.io/azurenamingtool:v1
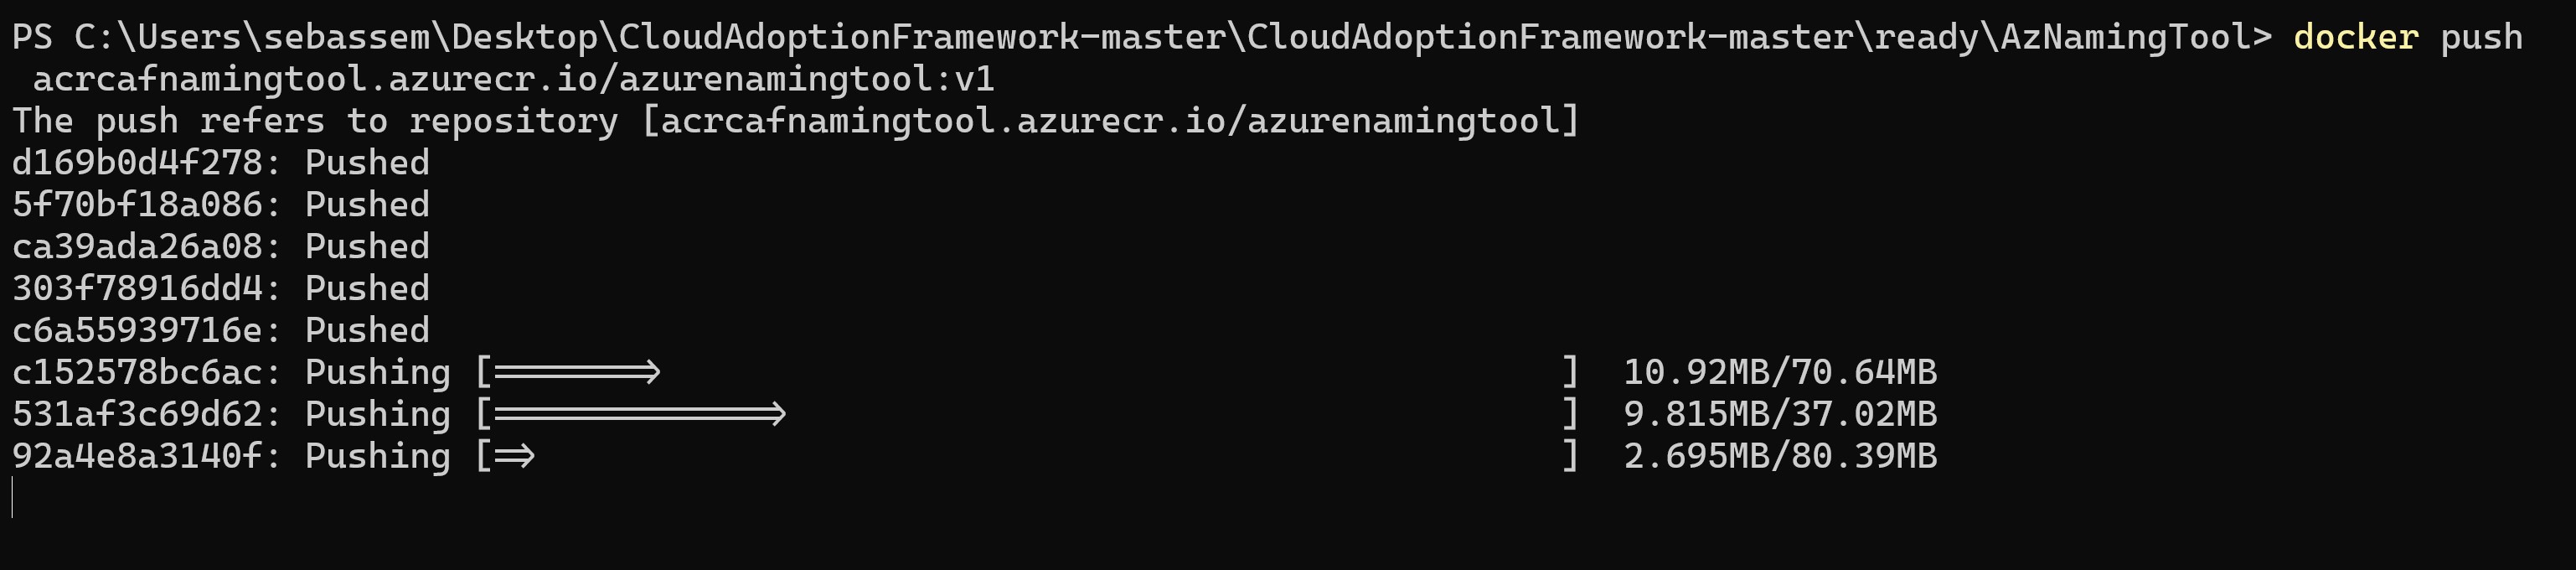
docker push acrcafnamingtool.azurecr.io/azurenamingtool:v1
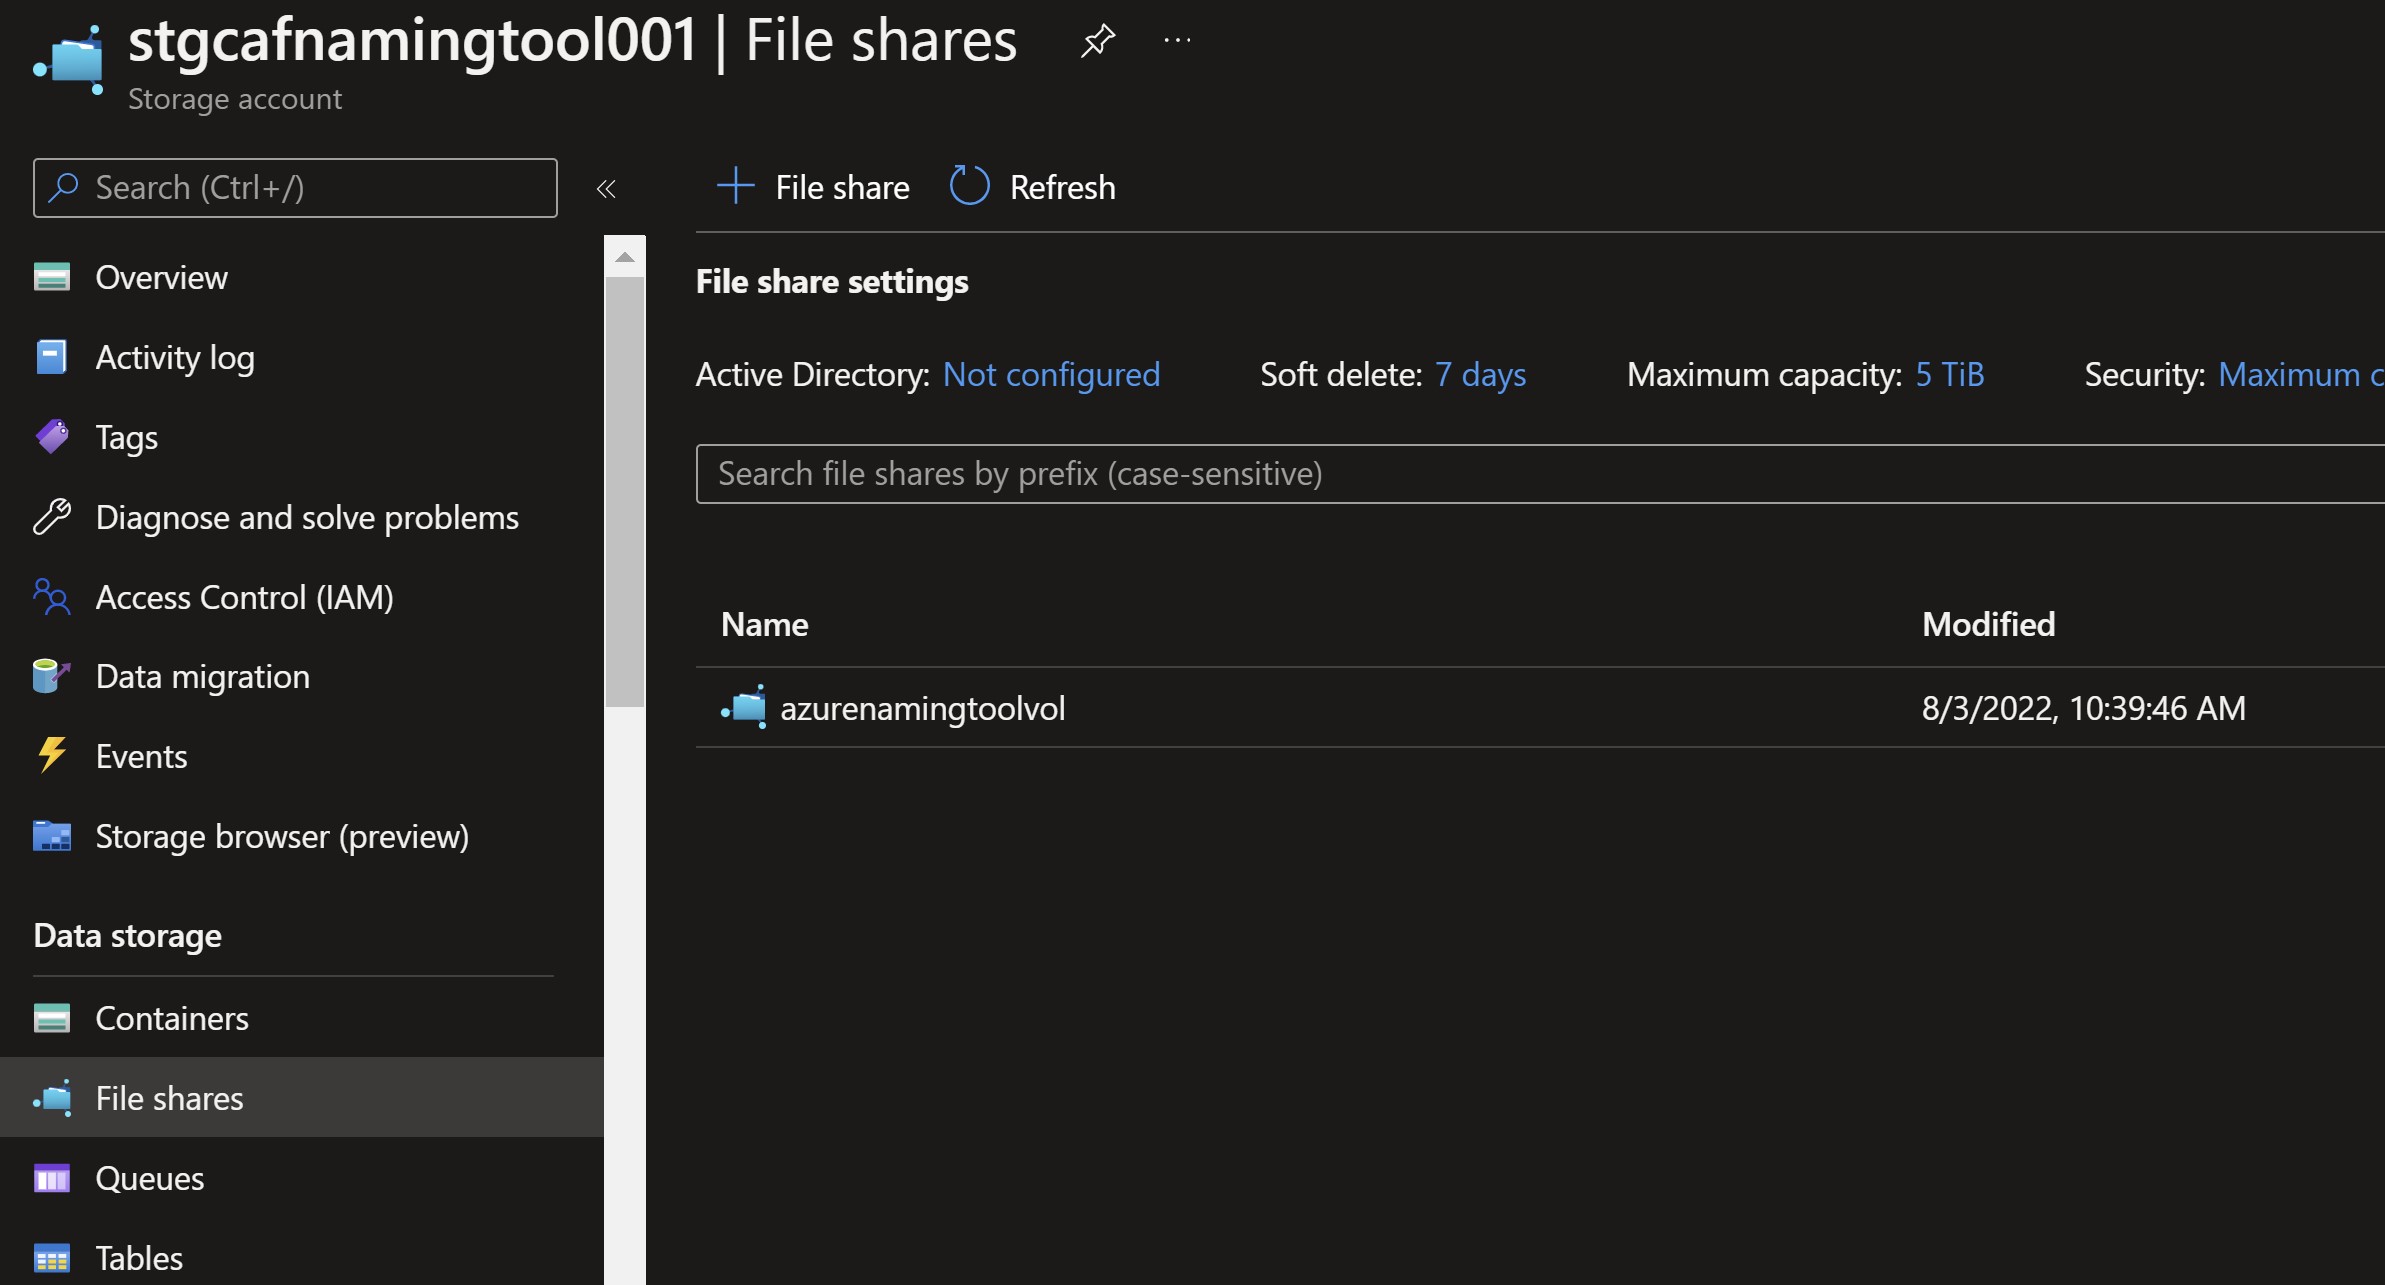
Remember the persistent volume we talked about earlier, now would be a good time to create it before deploying the tool. I will use an Azure File share in that scenario but you can use any other storage you prefer.
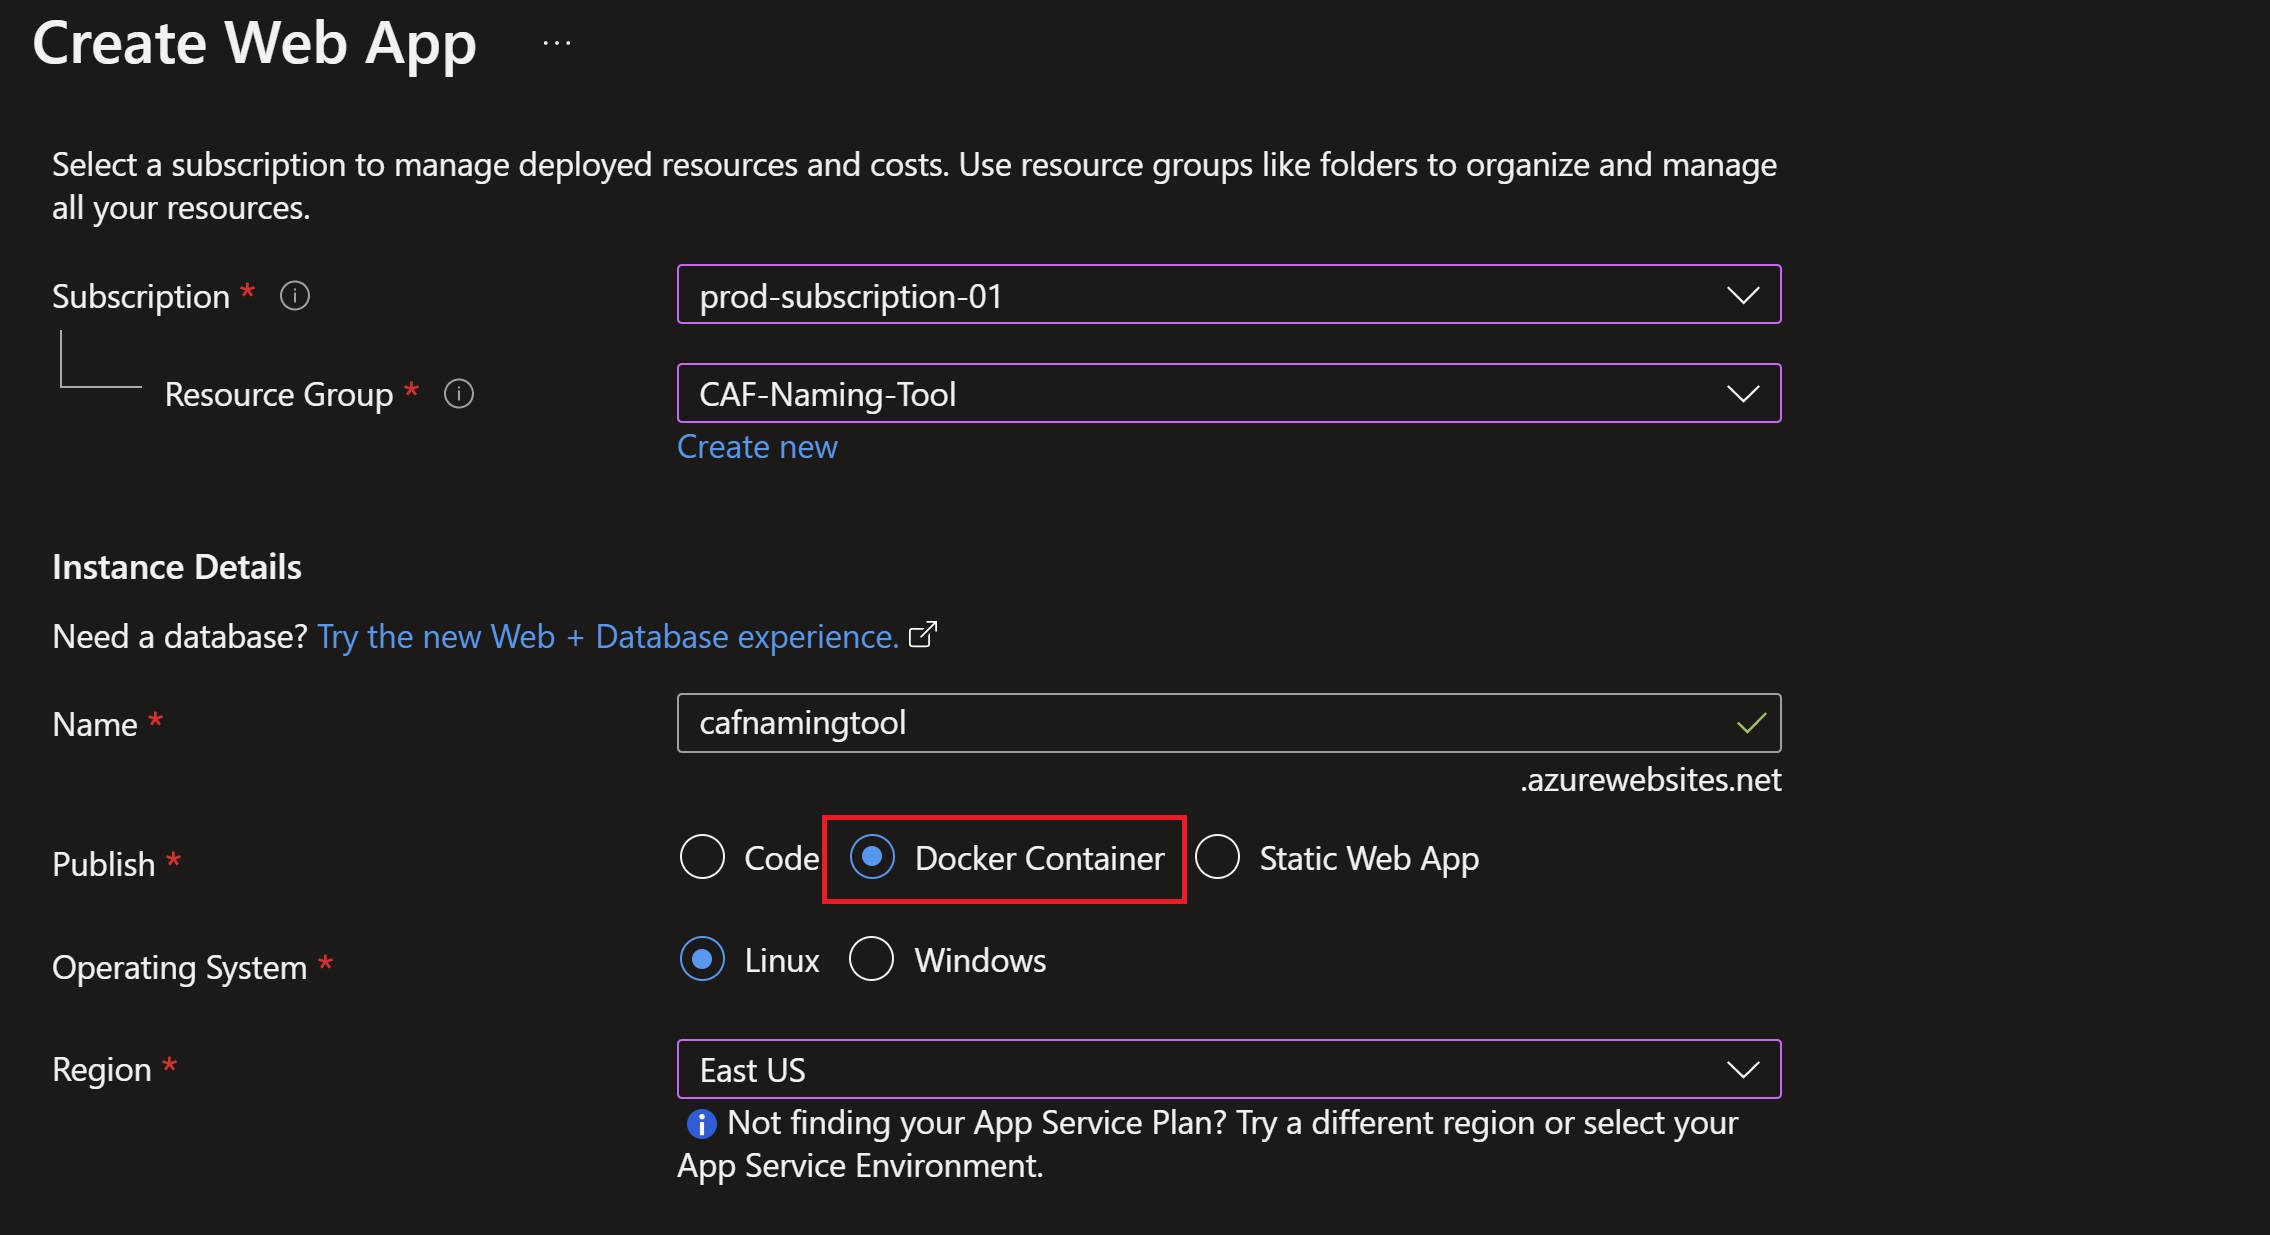
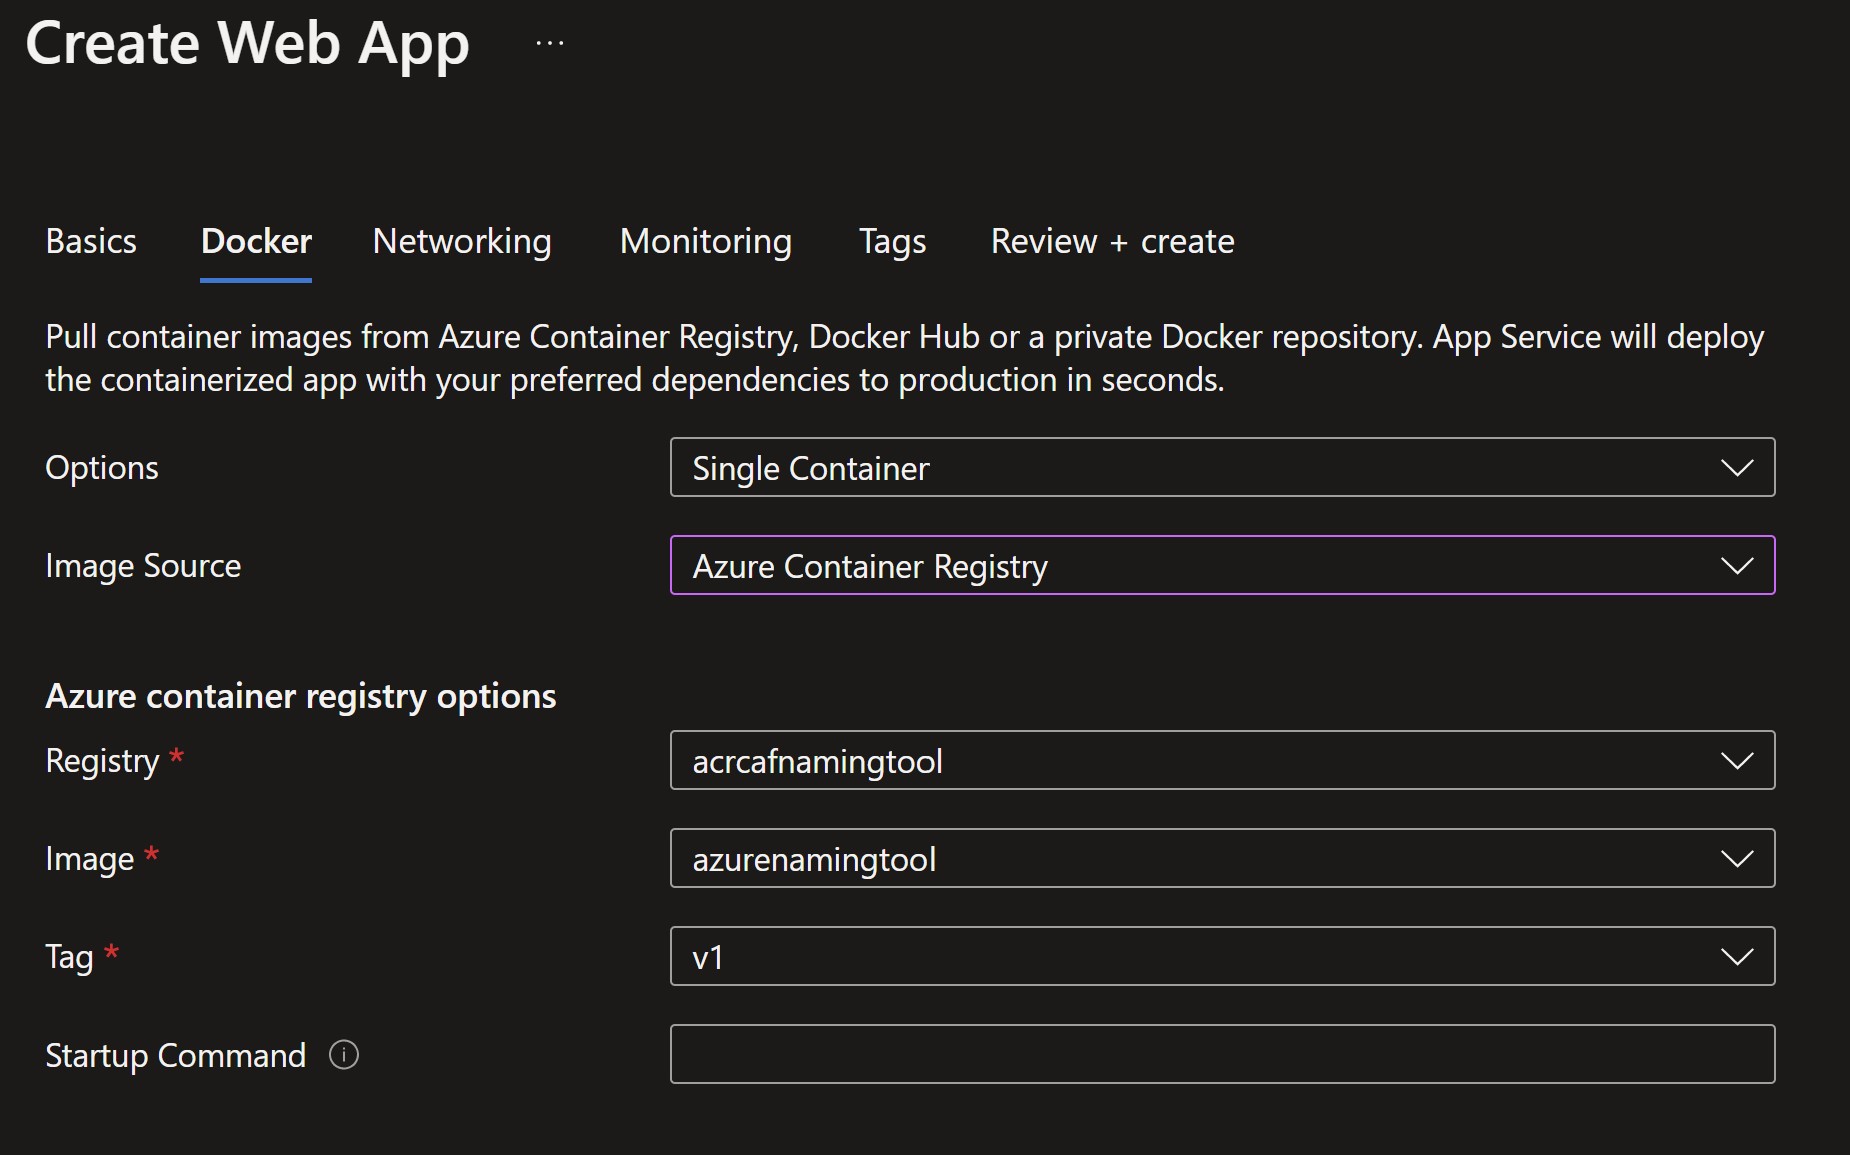
Now we are ready to create the Web App, we need to select Docker Container as the publish method, and provide the Azure Container Registry and image details.
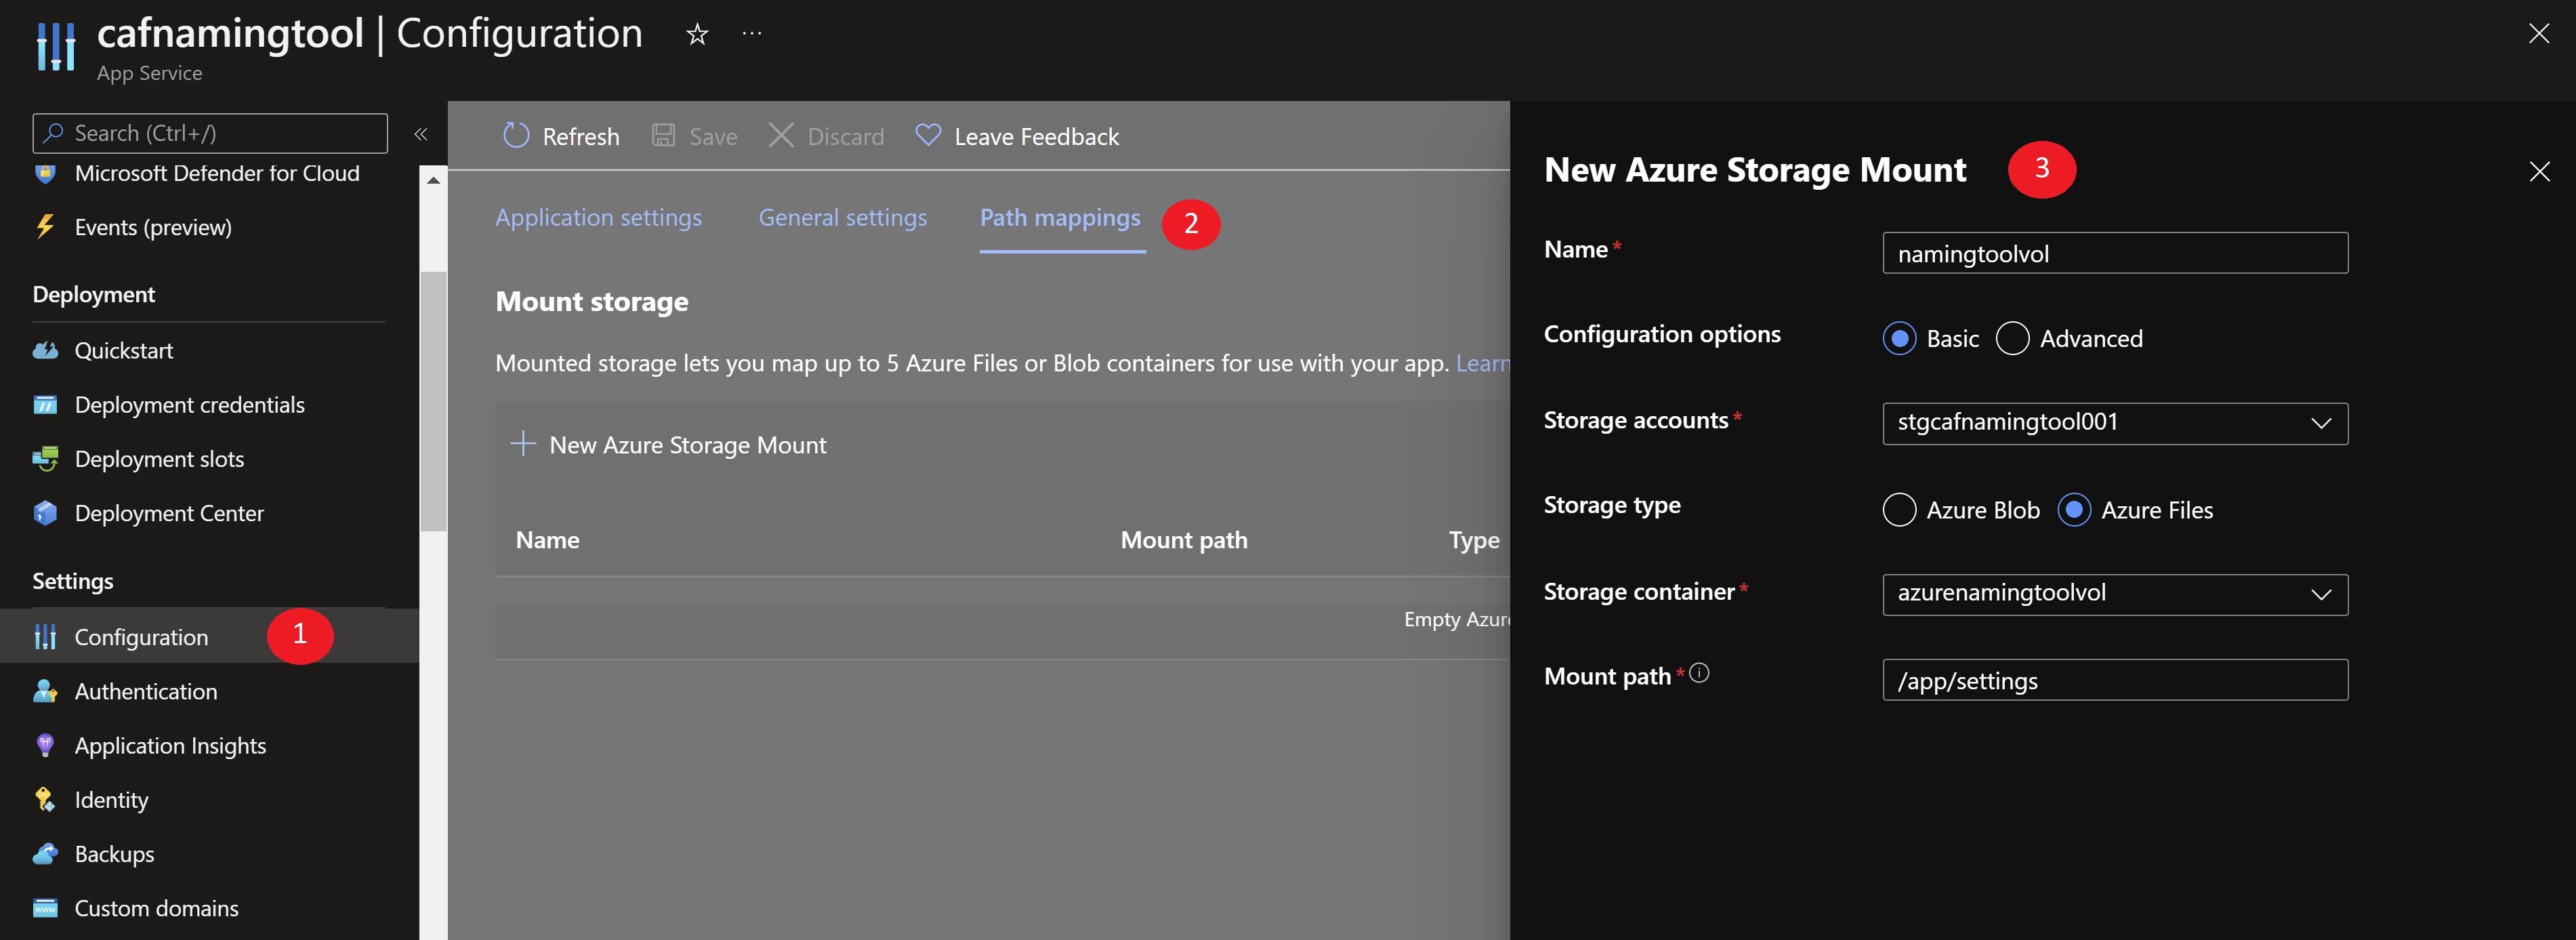
After creating the Web App, we need to provide the volume configuration to use the Azure File Share we created earlier to mount it to the /app.settings path in the container.
Finally, trying to browse to the Web App URL.

Resources
- Cloud Adoption Framework naming convention guidance can be found here
- The GitHub repo for the Azure naming tool can be found here
- You can install Docker Desktop from here

My name is
Seif Bassem
You May Also Like

Am I being attacked?!
Recently there has been some new tools introduced in Microsoft …

Estimate your Infrastructure-as-code costs before deploying
I recently stumbled on a very useful API called Infracost, that allows …

Improving your security posture with Governance Rules
Microsoft Defender for Cloud analyzes your resources on a regular …