
Crash test the resiliency of your zone-redundant solution!
Remember that time your app mysteriously tanked during peak traffic? Or how a rogue spike in CPU usage brought everything to a screeching halt? While unplanned chaos can be a nightmare, controlled chaos, on the other hand, can be your best friend. Azure Chaos Studio steps in as your personal mad scientist, helping you inject simulated failures into your Azure applications, so you can identify and fix weaknesses before they wreak havoc in the real world.
Chaos Studio lets you take your app for a controlled stress test, simulating outages, network disruptions, and resource limitations. By observing how your app responds to these simulated attacks, you can uncover hidden vulnerabilities, test your disaster recovery plans, and build in self-healing mechanisms. It’s like proactively stress-testing your app’s muscles, making it stronger and more adaptable to the inevitable bumps in the cloud road.
So, ditch the fear of the unknown and embrace the controlled chaos of Azure Chaos Studio. It might just be the secret weapon you need to build applications that are truly resilient and ready to face whatever the cloud throws their way.
In this post, we will use chaos studio to test the resiliency of a very simple application hosted on a virtual machine scale set distributed across 3 availability zones.
What are Azure Availability Zones?
Azure Availability Zones are unique data center locations within an Azure region, each comprising its own power, cooling, and networking. These zones are physically separate from one another, often located miles apart, providing independent power sources and networking to minimize the risk of simultaneous failures. By distributing resources across Availability Zones, Azure aims to protect applications and data from data center-level failures, ensuring high availability and business continuity. Advantages of Azure Availability Zones:
Fault Isolation: Azure Availability Zones enable fault isolation by spreading resources across multiple zones. In the unfortunate event of a hardware failure, power outage, or network issue in one zone, the others continue to operate seamlessly. This ensures that your applications remain online and available, even in the face of localized incidents.
Redundant Networking: Each Availability Zone is equipped with its own dedicated networking infrastructure. This redundancy minimizes the risk of a single point of failure in your application’s network connectivity. In case of a network disruption in one zone, traffic is automatically redirected to alternate zones, maintaining continuous service availability.
Business Continuity: By strategically deploying resources across Azure Availability Zones, businesses can enhance their disaster recovery strategies. In the event of a regional catastrophe, such as a natural disaster or an extended power outage, the unaffected zones continue to operate, ensuring business continuity and data integrity.
Scalability and Performance: Leveraging Availability Zones allows for horizontal scaling of applications across zones, facilitating optimal performance and resource utilization. This enables businesses to meet growing demands while maintaining high availability standards.
Compliance and Security: Azure Availability Zones adhere to rigorous compliance standards and security protocols. By design, these zones provide a foundation for meeting regulatory requirements and ensuring the confidentiality and integrity of your data.
Unleashing Chaos on our app 🚀
Setting up the application
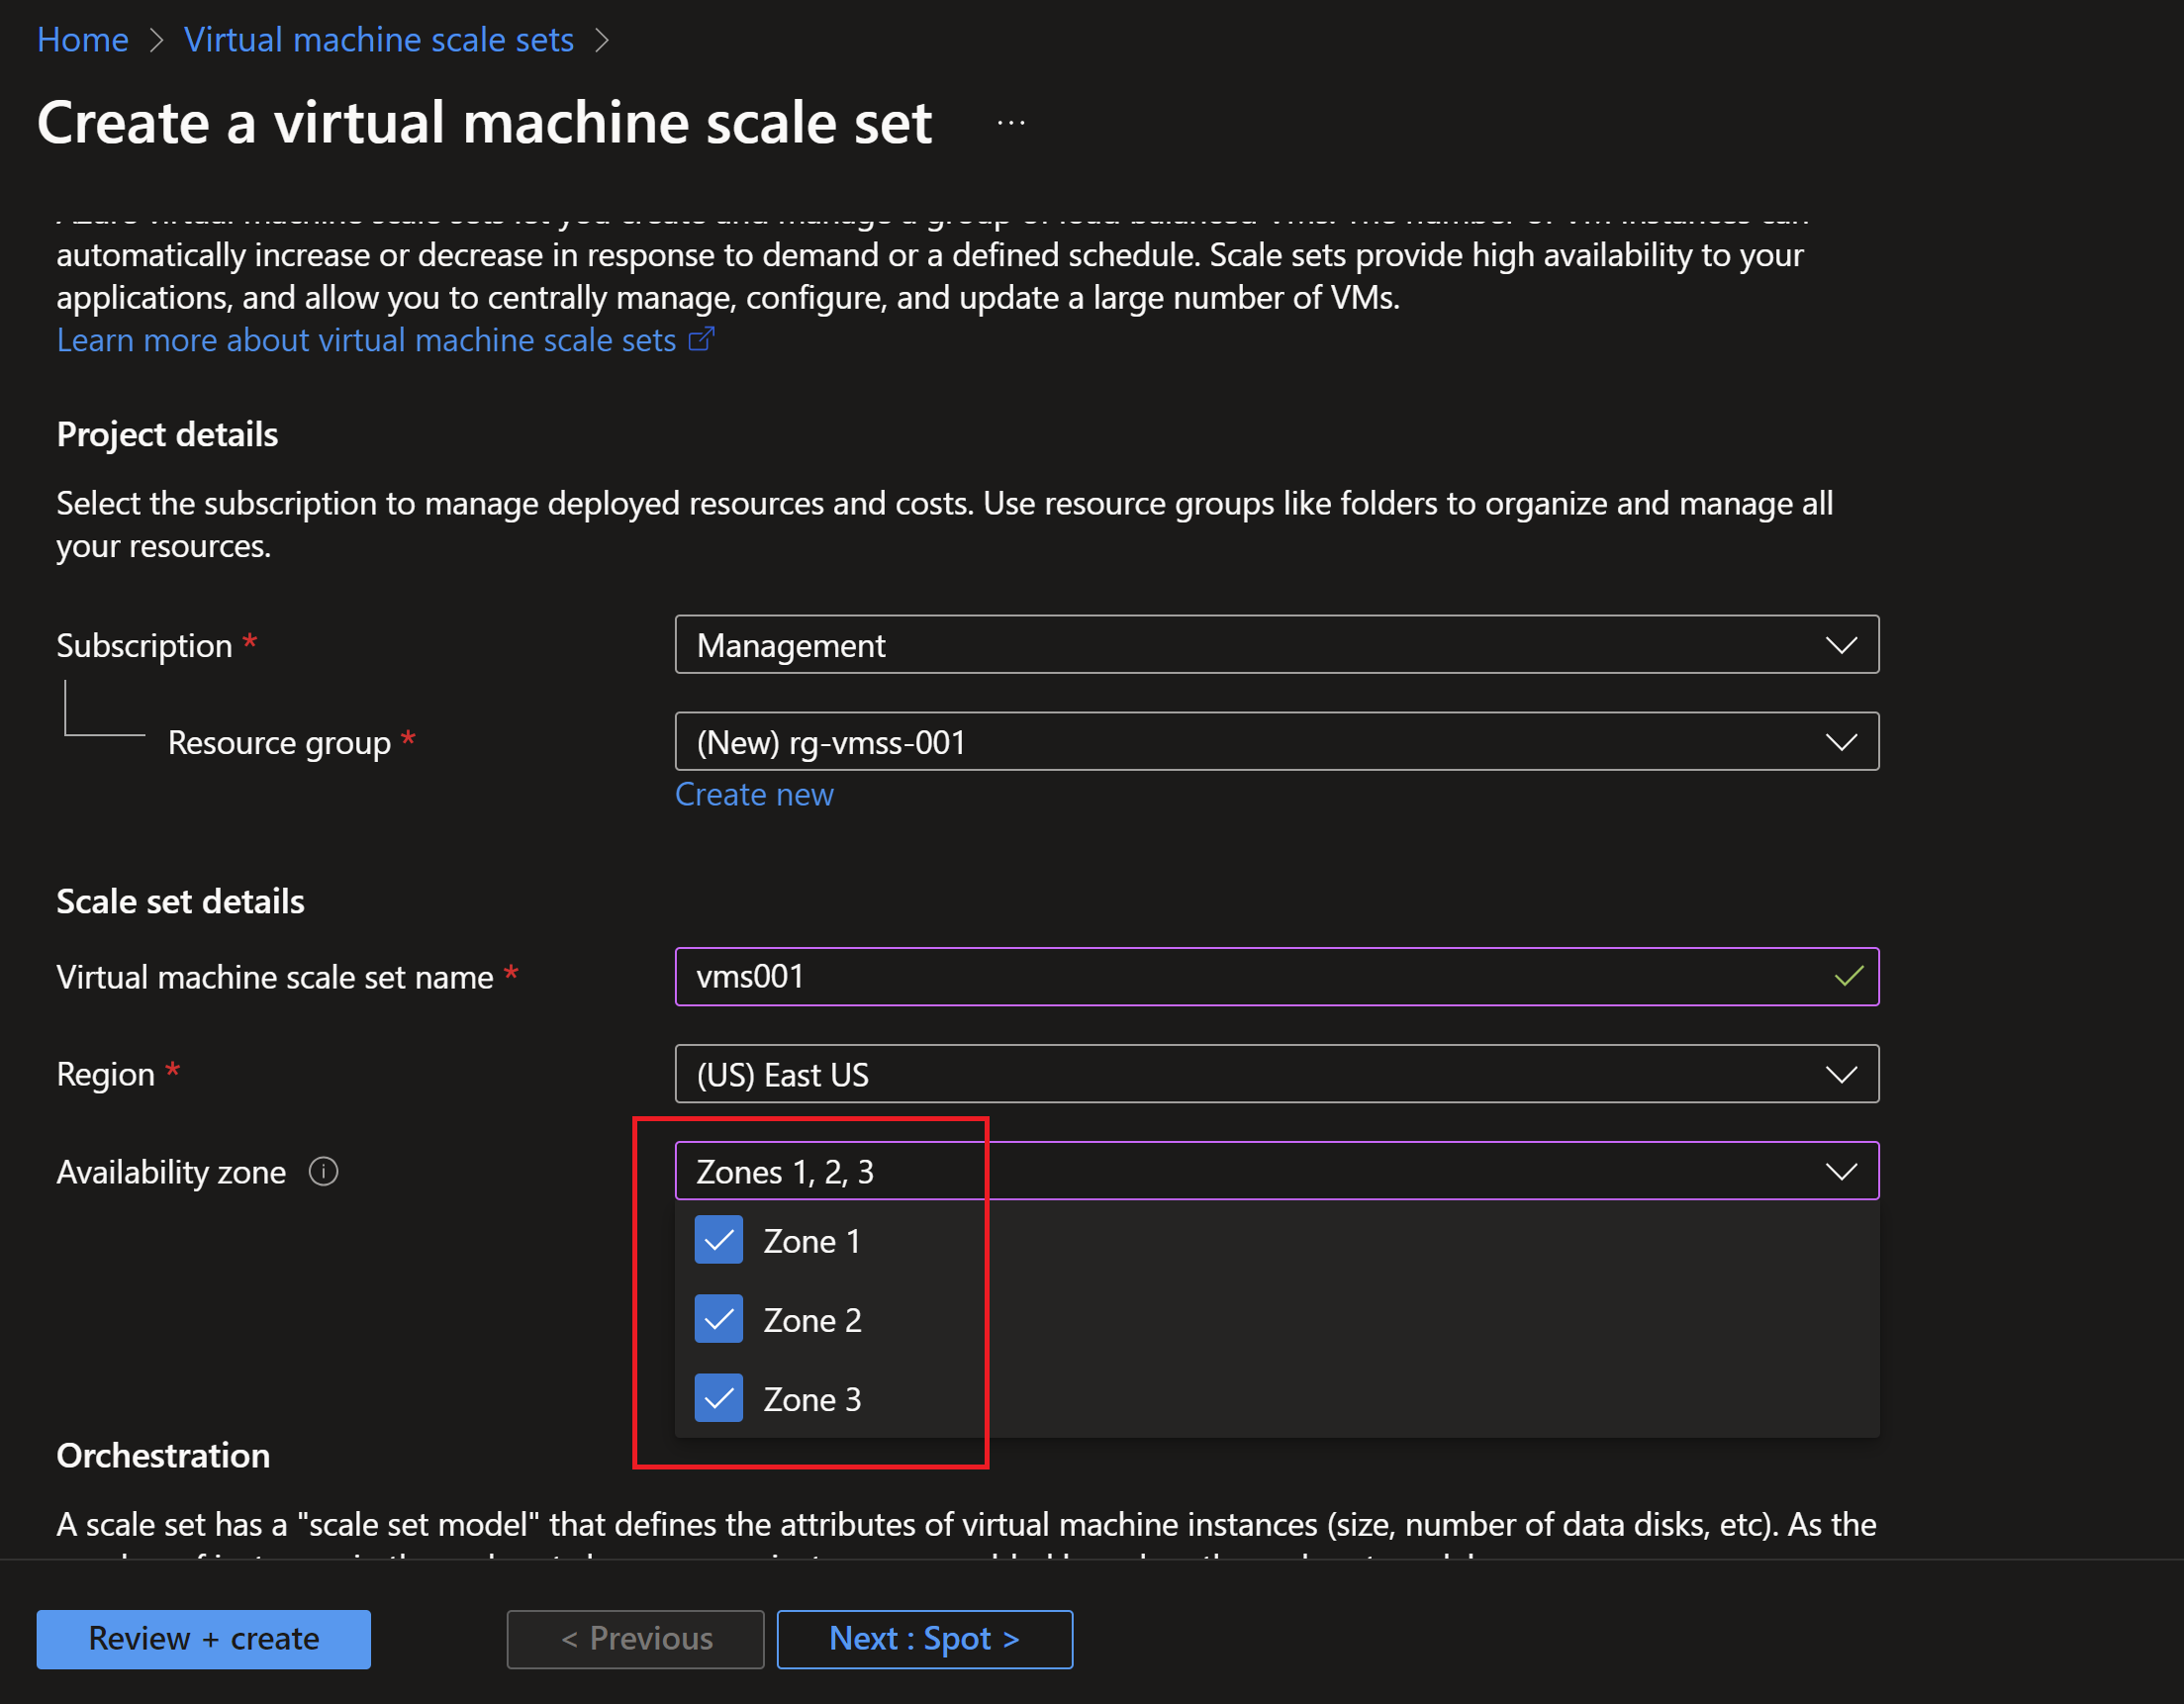
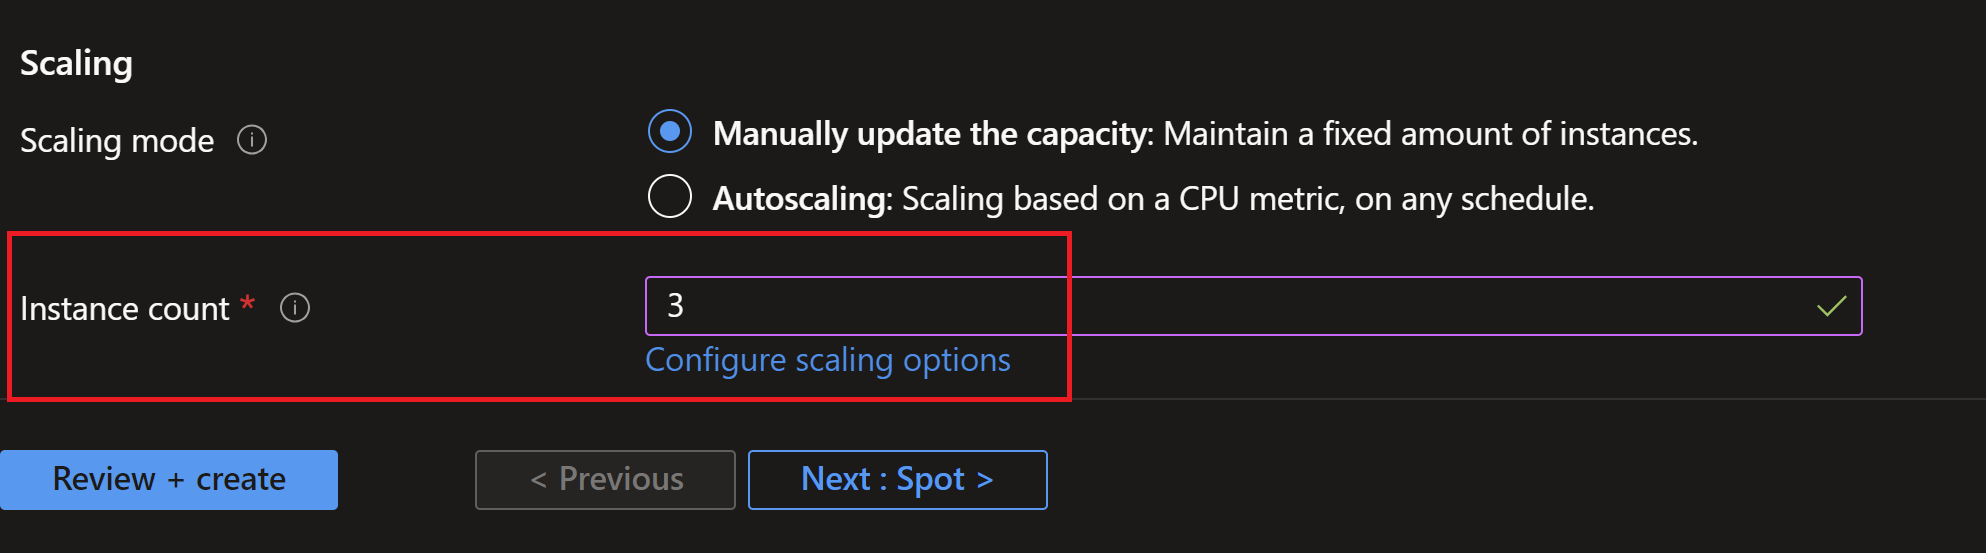
- I will create a new virtual machine scale set and distribute it’s instances on 3 availability zones.
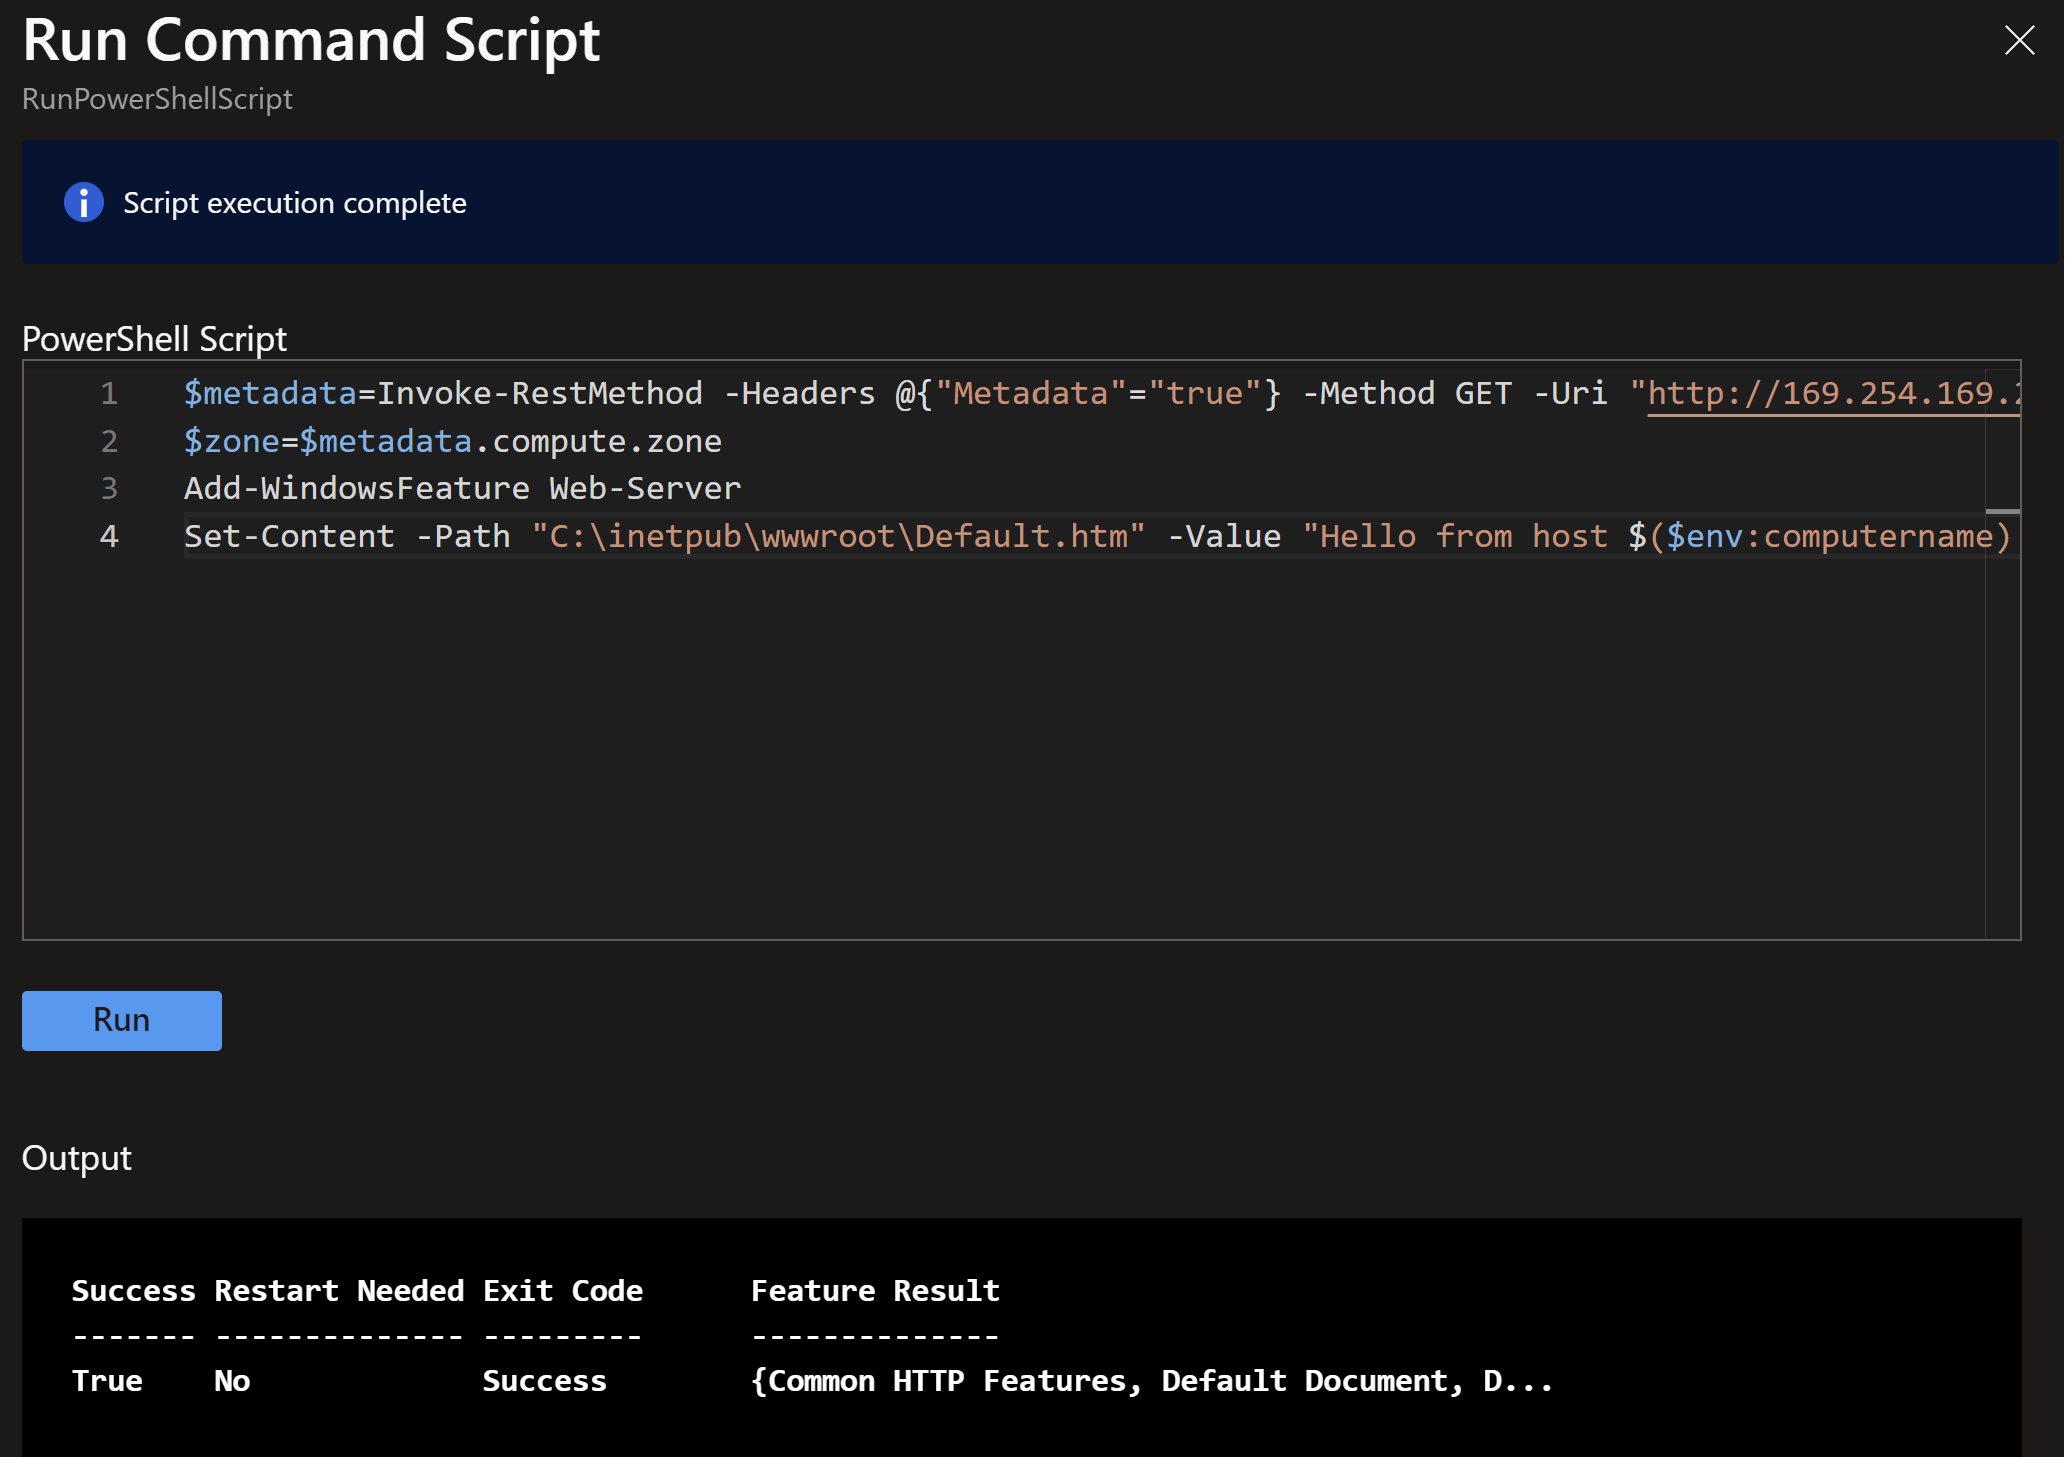
- Usually you would use DSC or VM applications to deploy apps to your scale sets, but in this demo, I will just run a simple command on each instance to install IIS and create a simple HTML page with the instance name and zone. We can leverage the instance metadate to get this information.
$metadata=Invoke-RestMethod -Headers @{"Metadata"="true"} -Method GET -Uri "http://169.254.169.254/metadata/instance?api-version=2021-02-01"
$zone=$metadata.compute.zone
Add-WindowsFeature Web-Server
Set-Content -Path "C:\inetpub\wwwroot\Default.htm" -Value "Hello from host $($env:computername) deployed in zone #${zone} !"
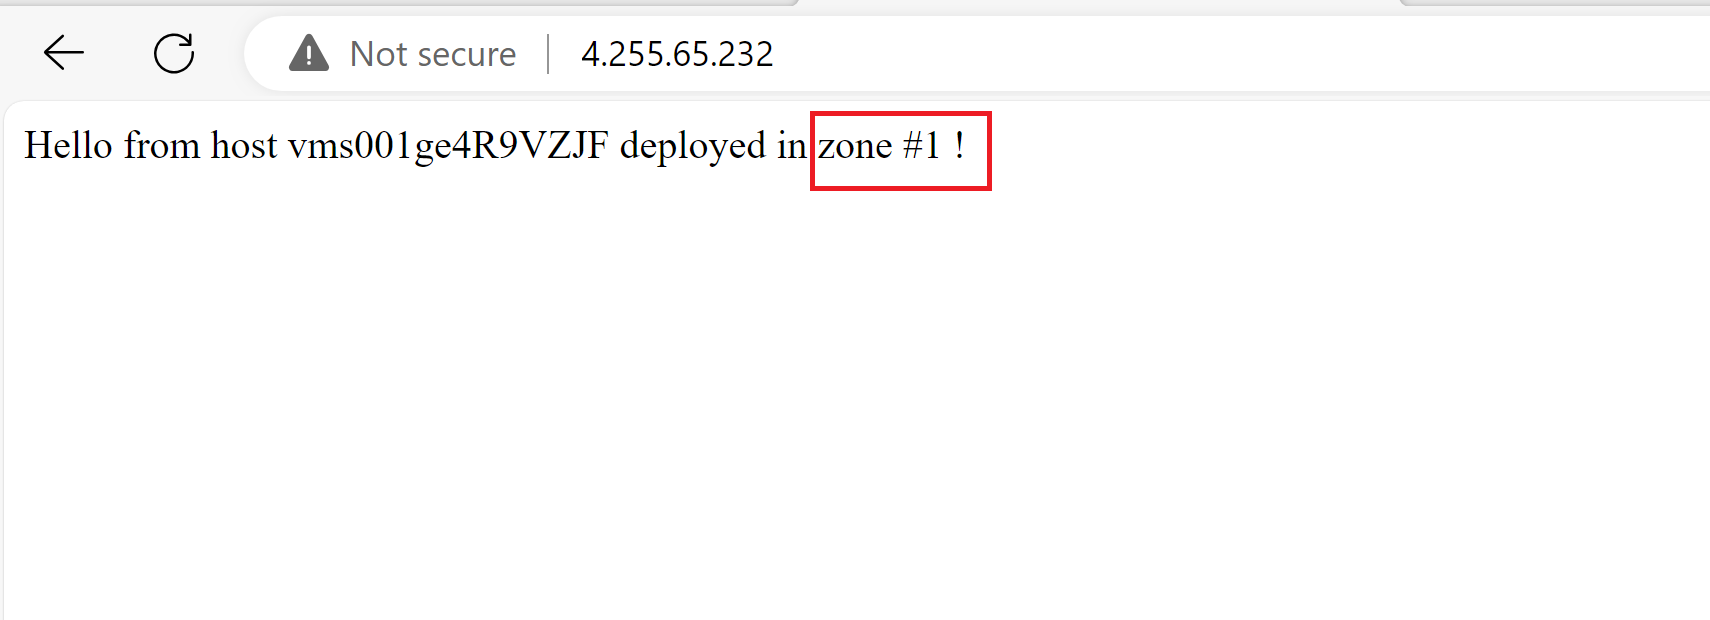
- Now, when trying to browse to the app (the scale set’s load balancer IP address), I can see that I’m being redirected to the instance in zone #1.
Preparing Chaos studio
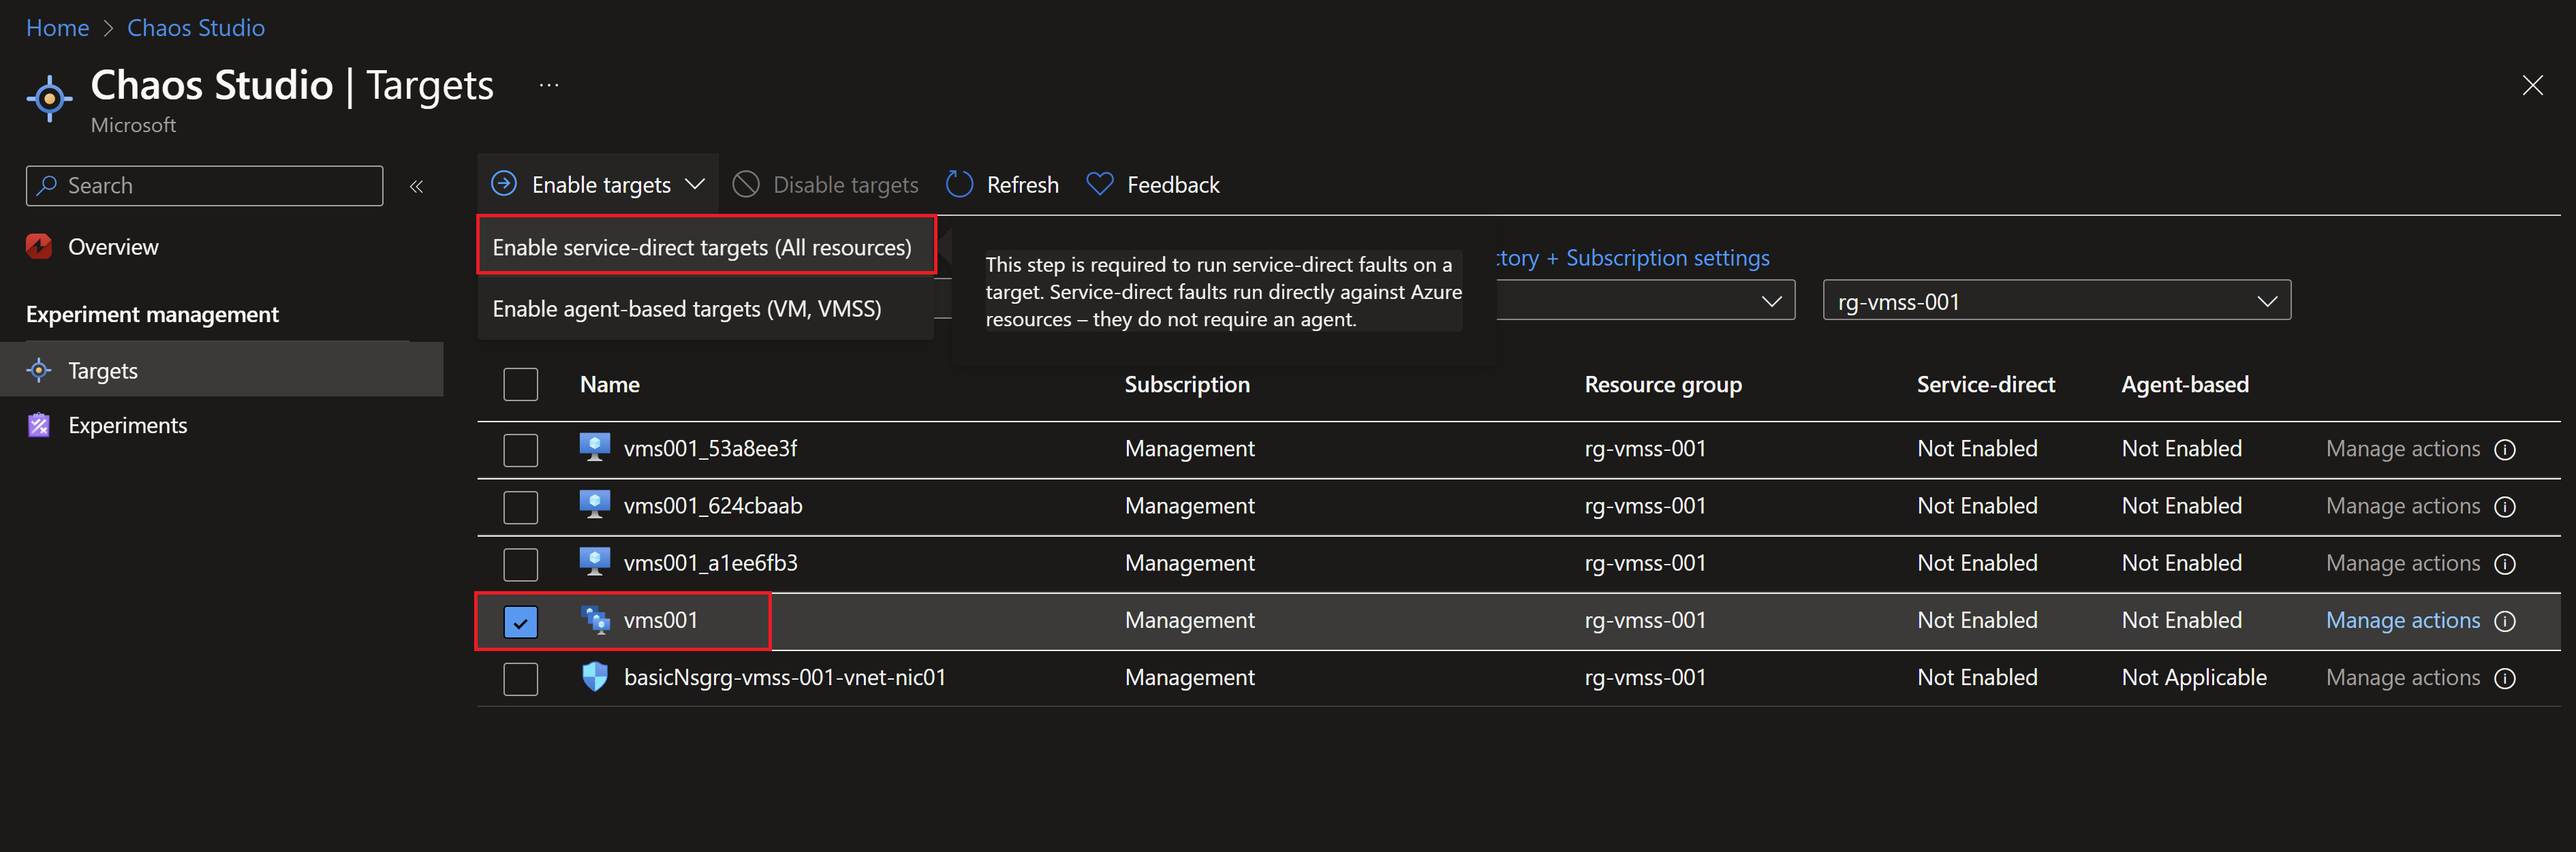
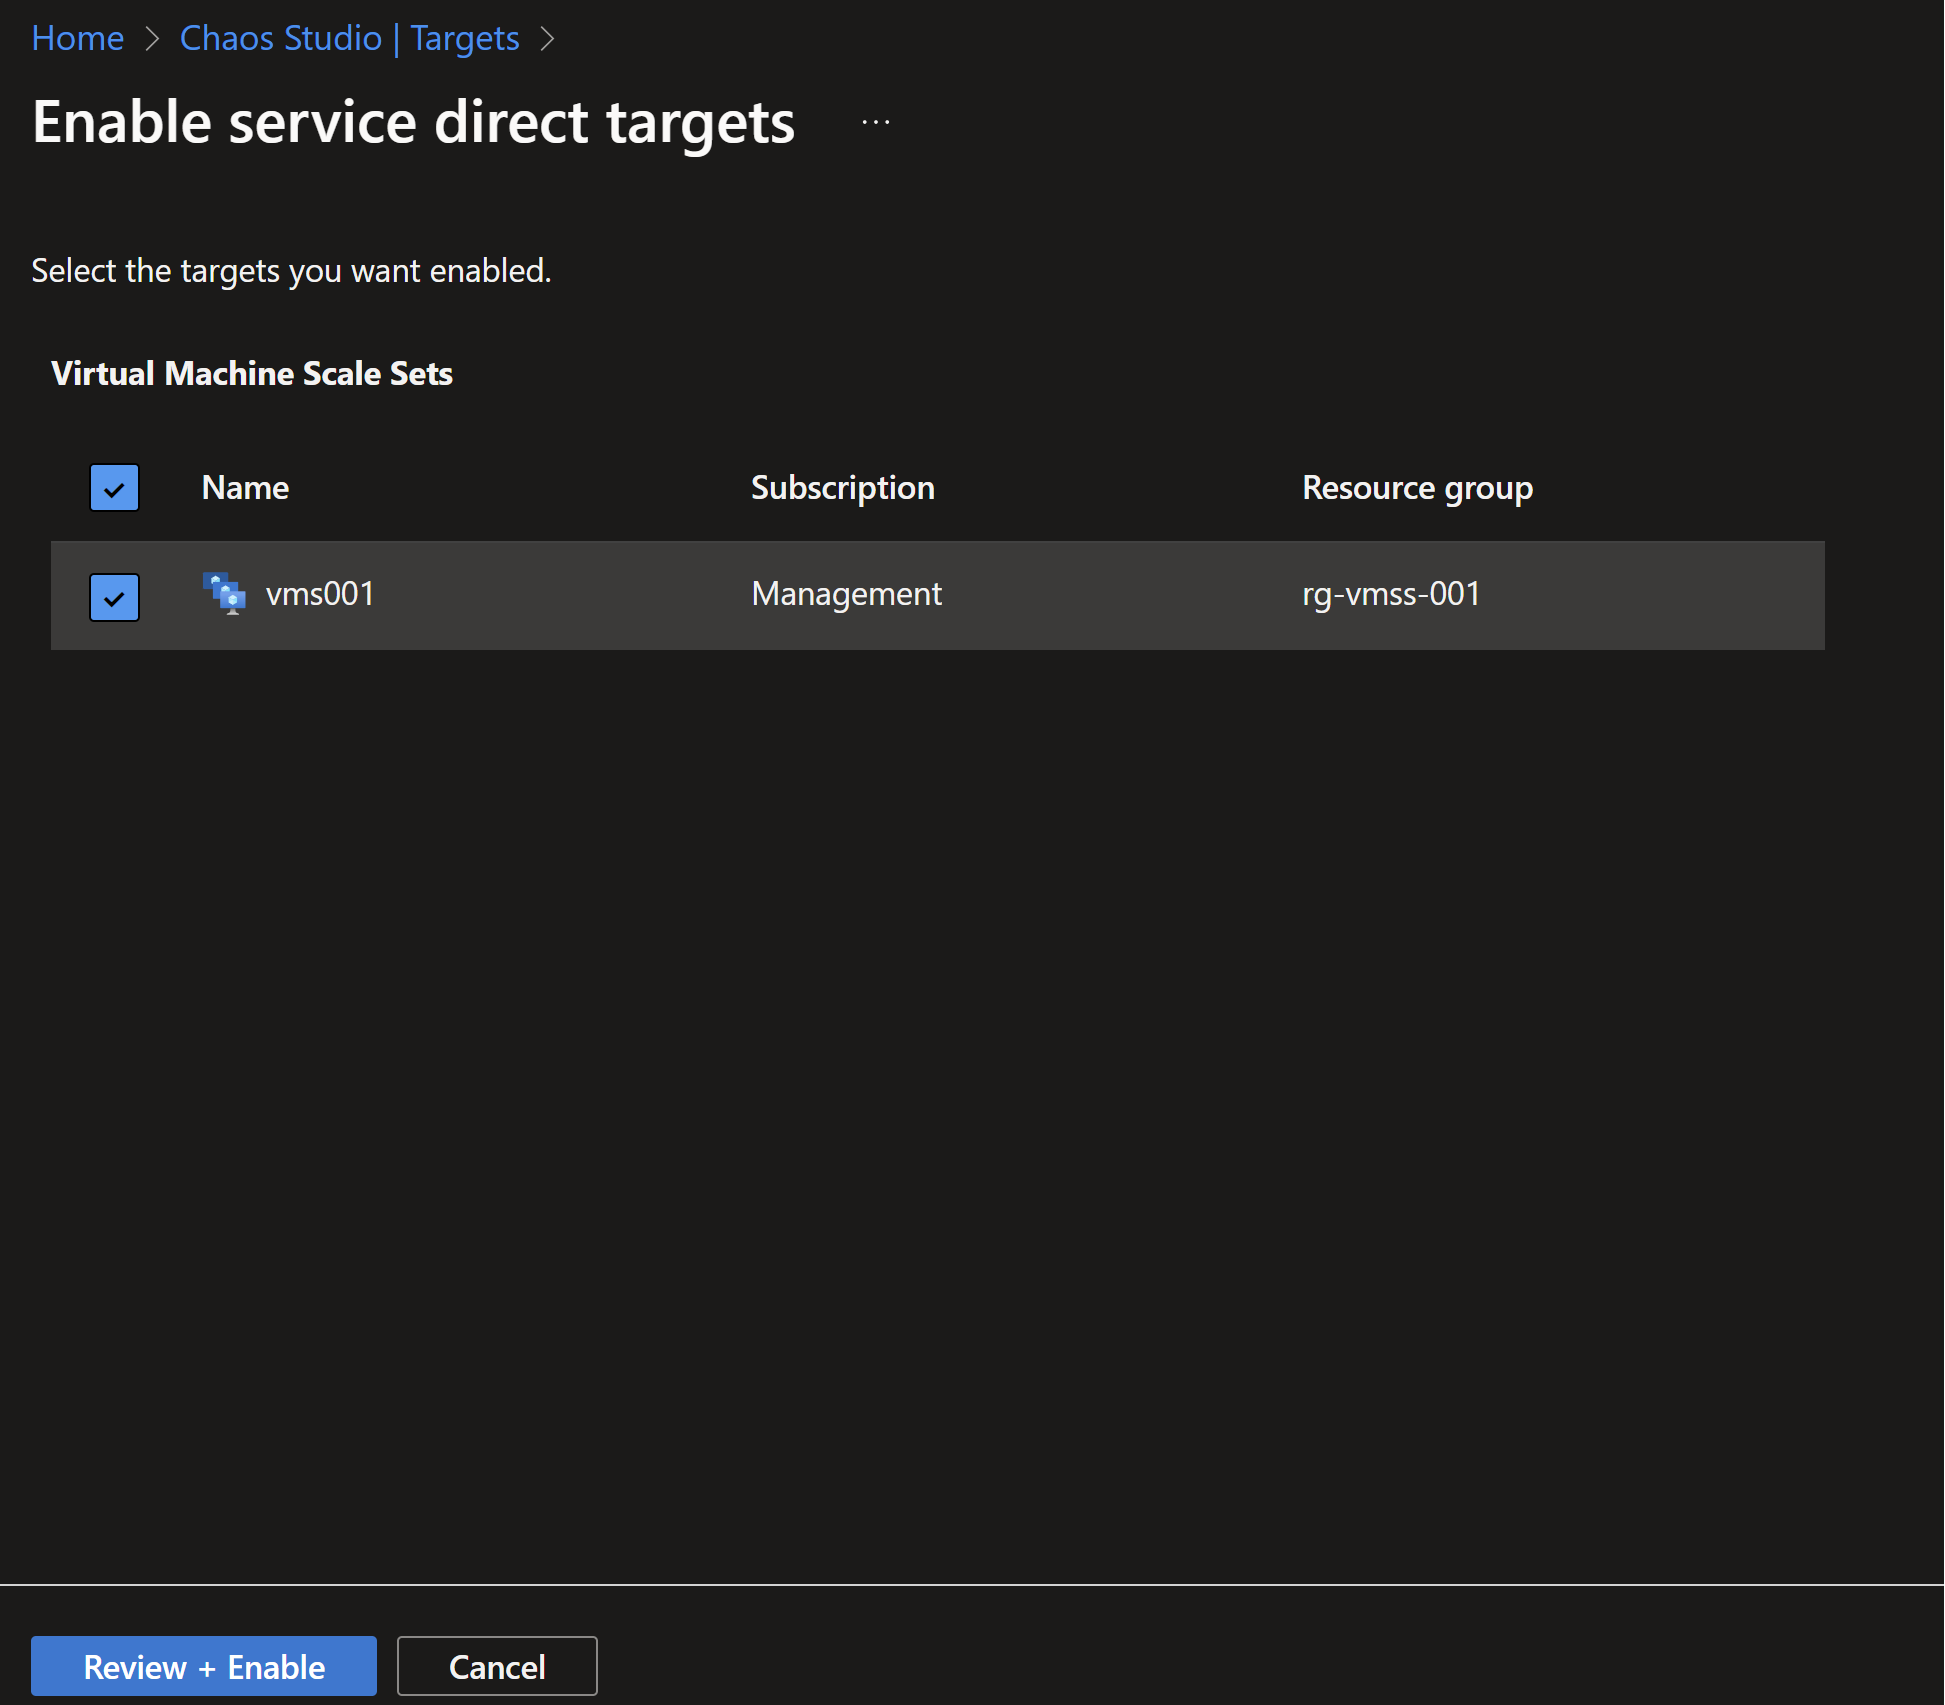
- To use chaos studio, we first need to enable our targets, in that case it will be the virtual machine scale set hosting our simple application.
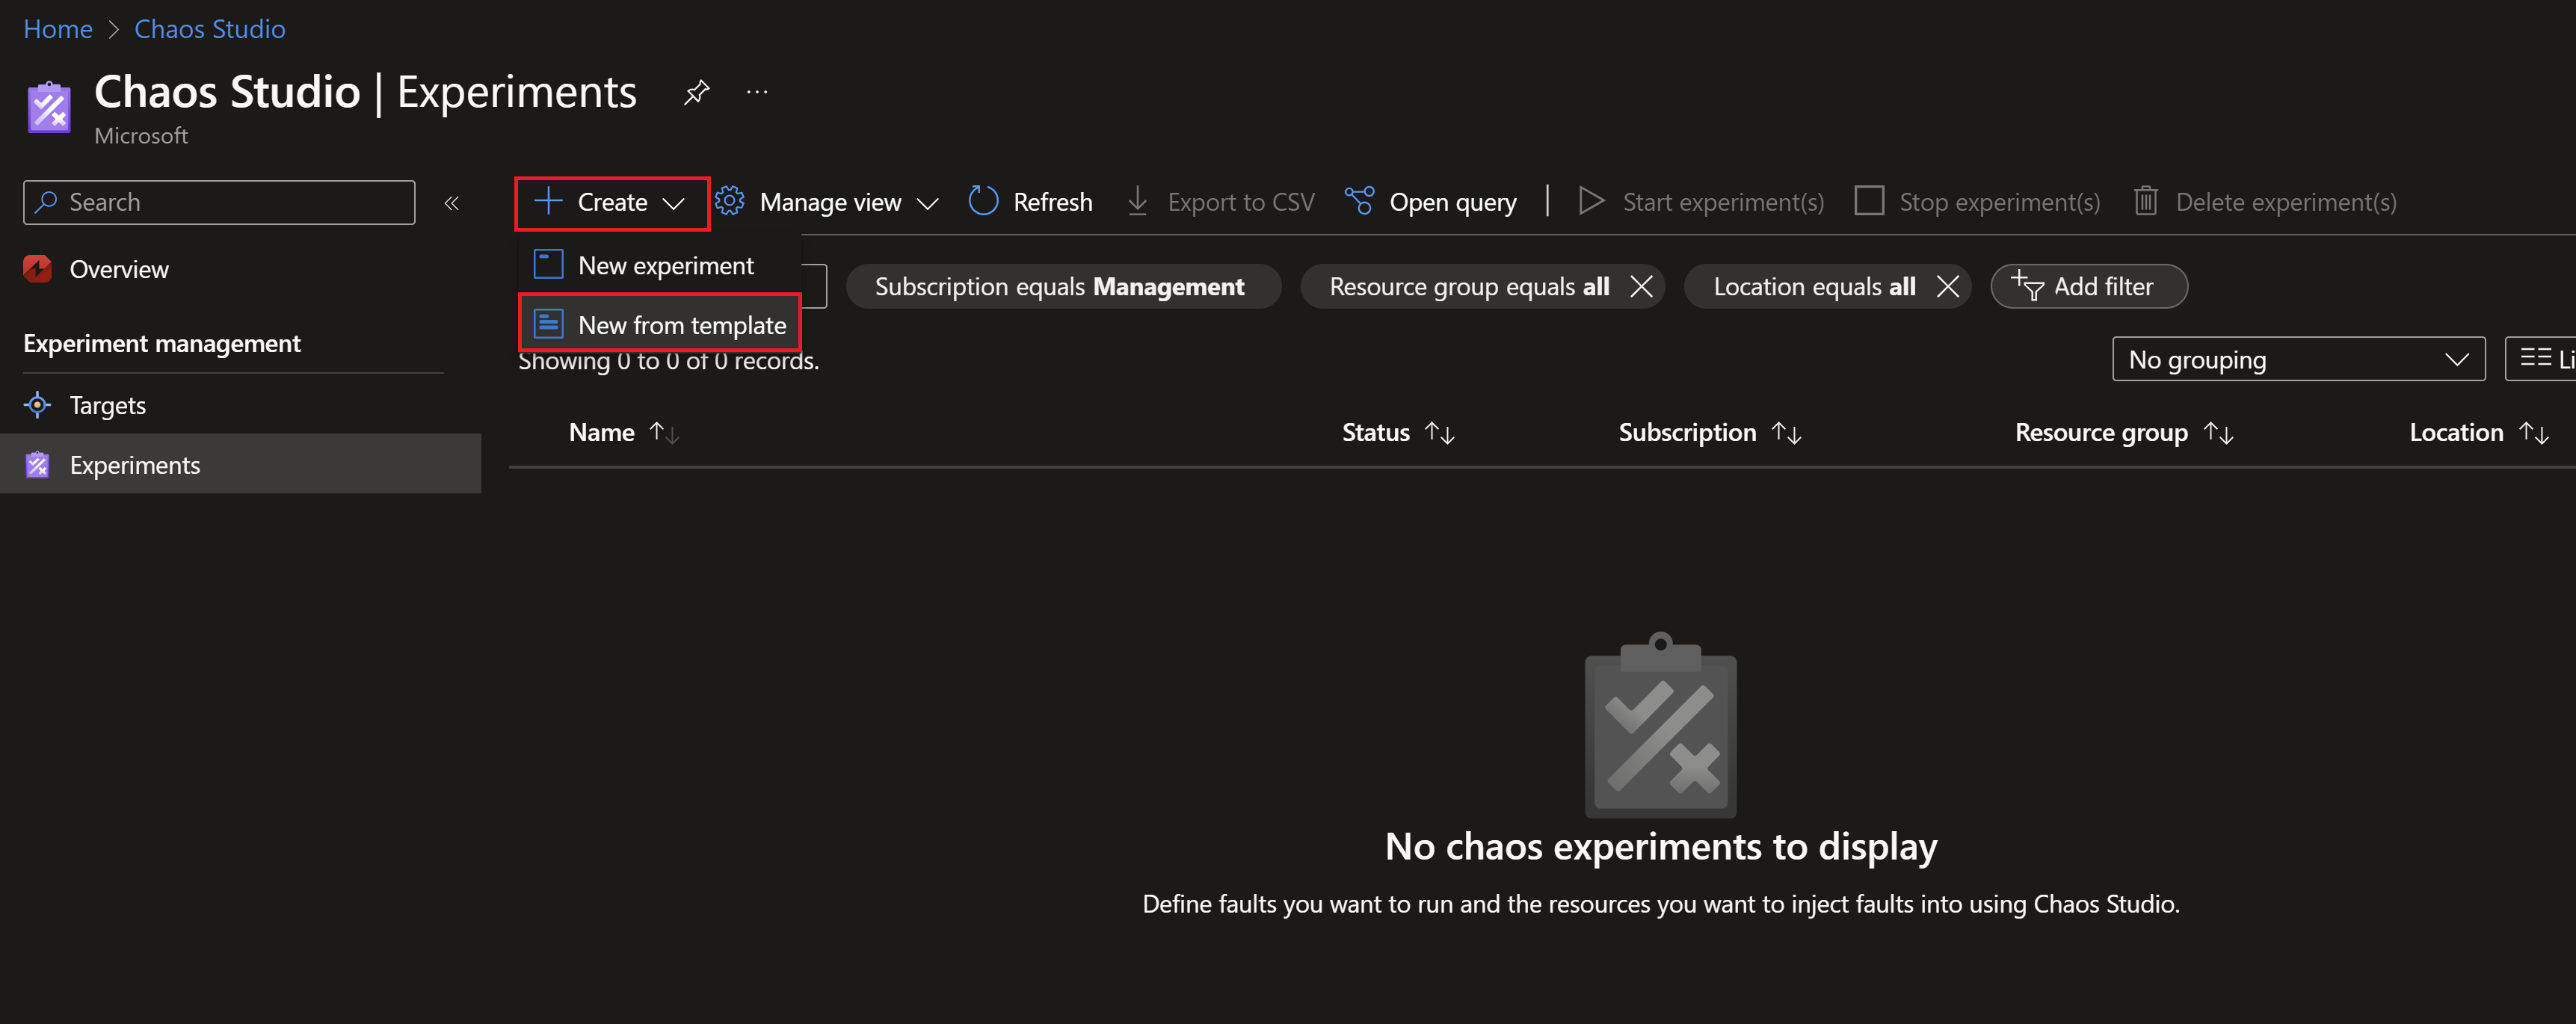
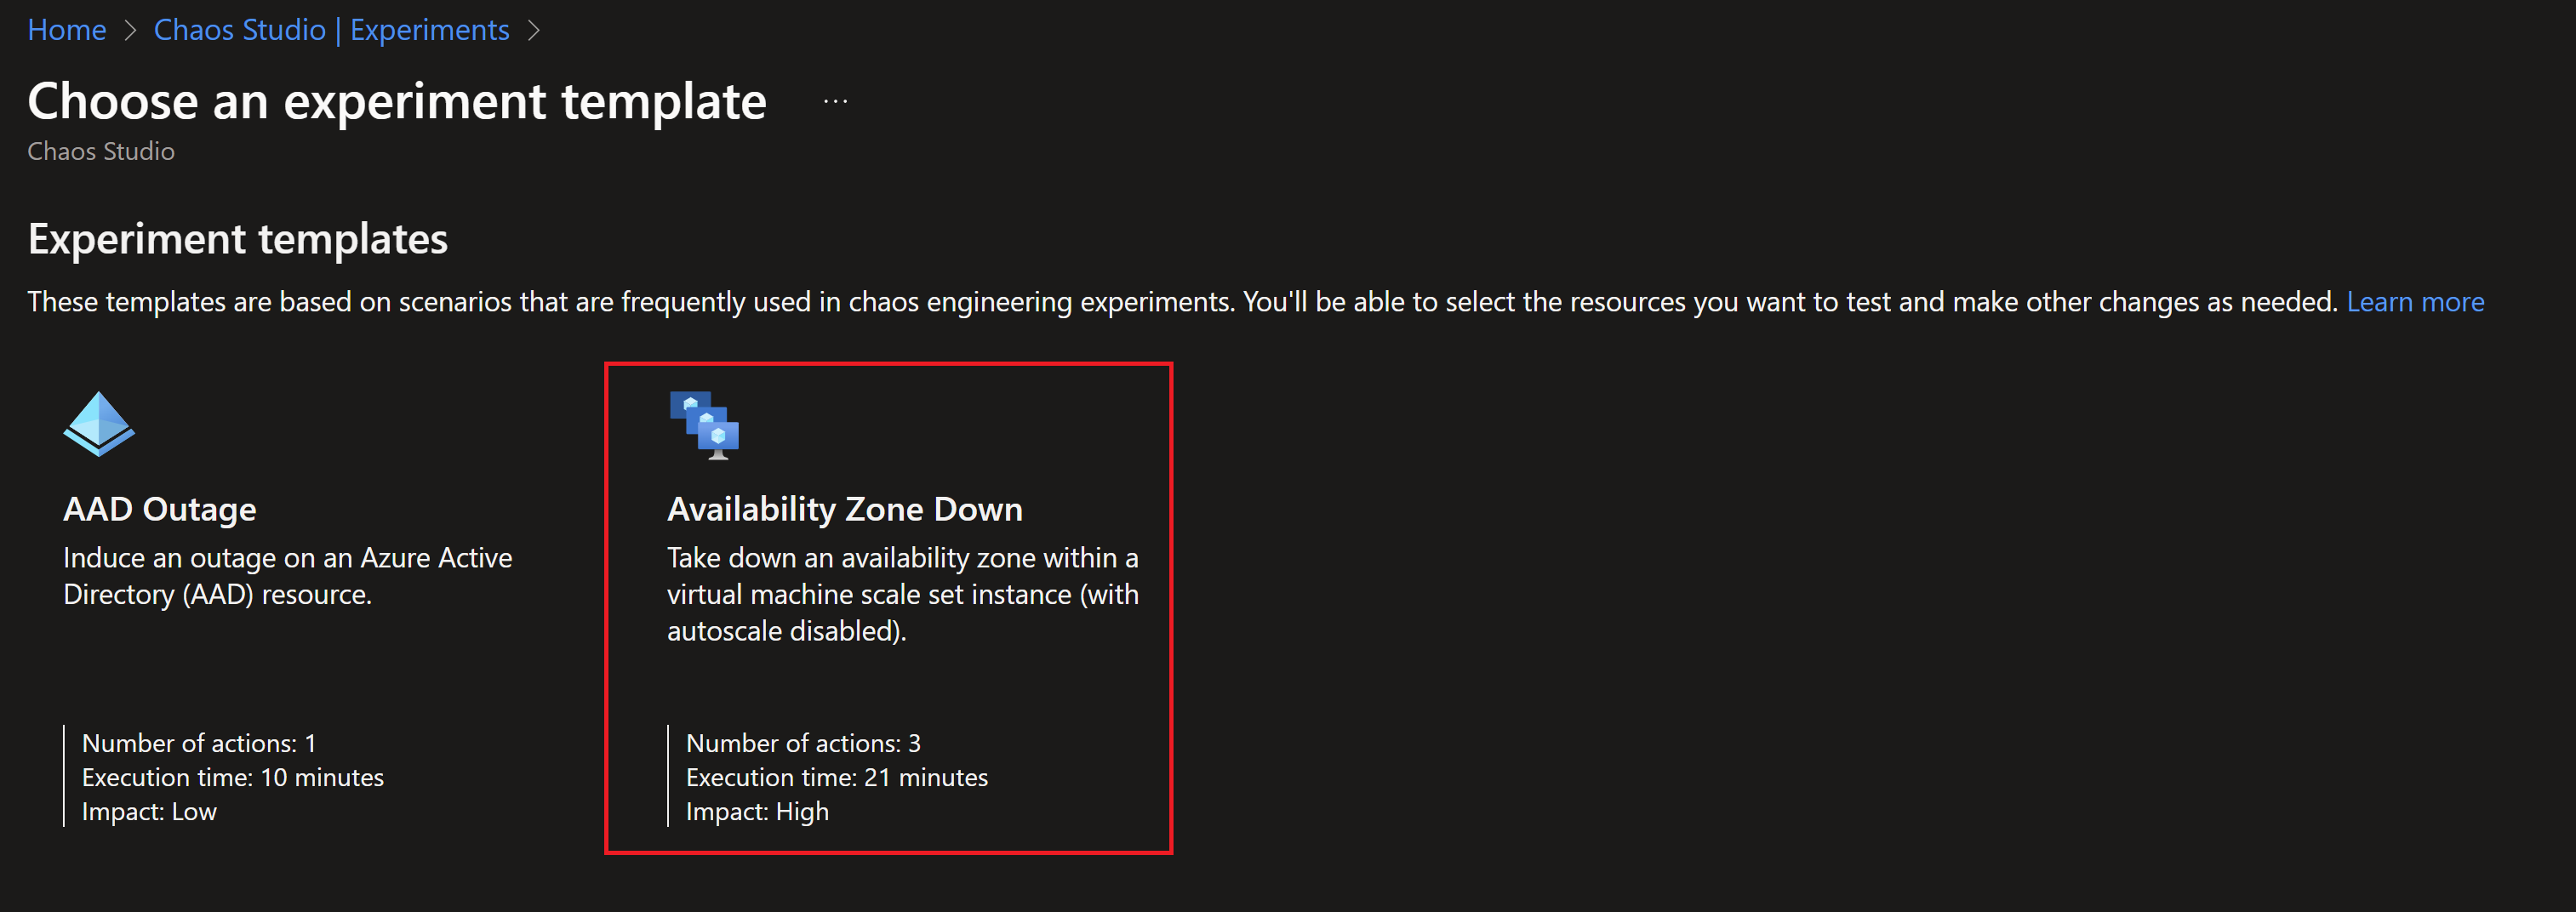
- Then we need to create a new experiment, we can create one from scratch but there is already a template for availability zones failure.
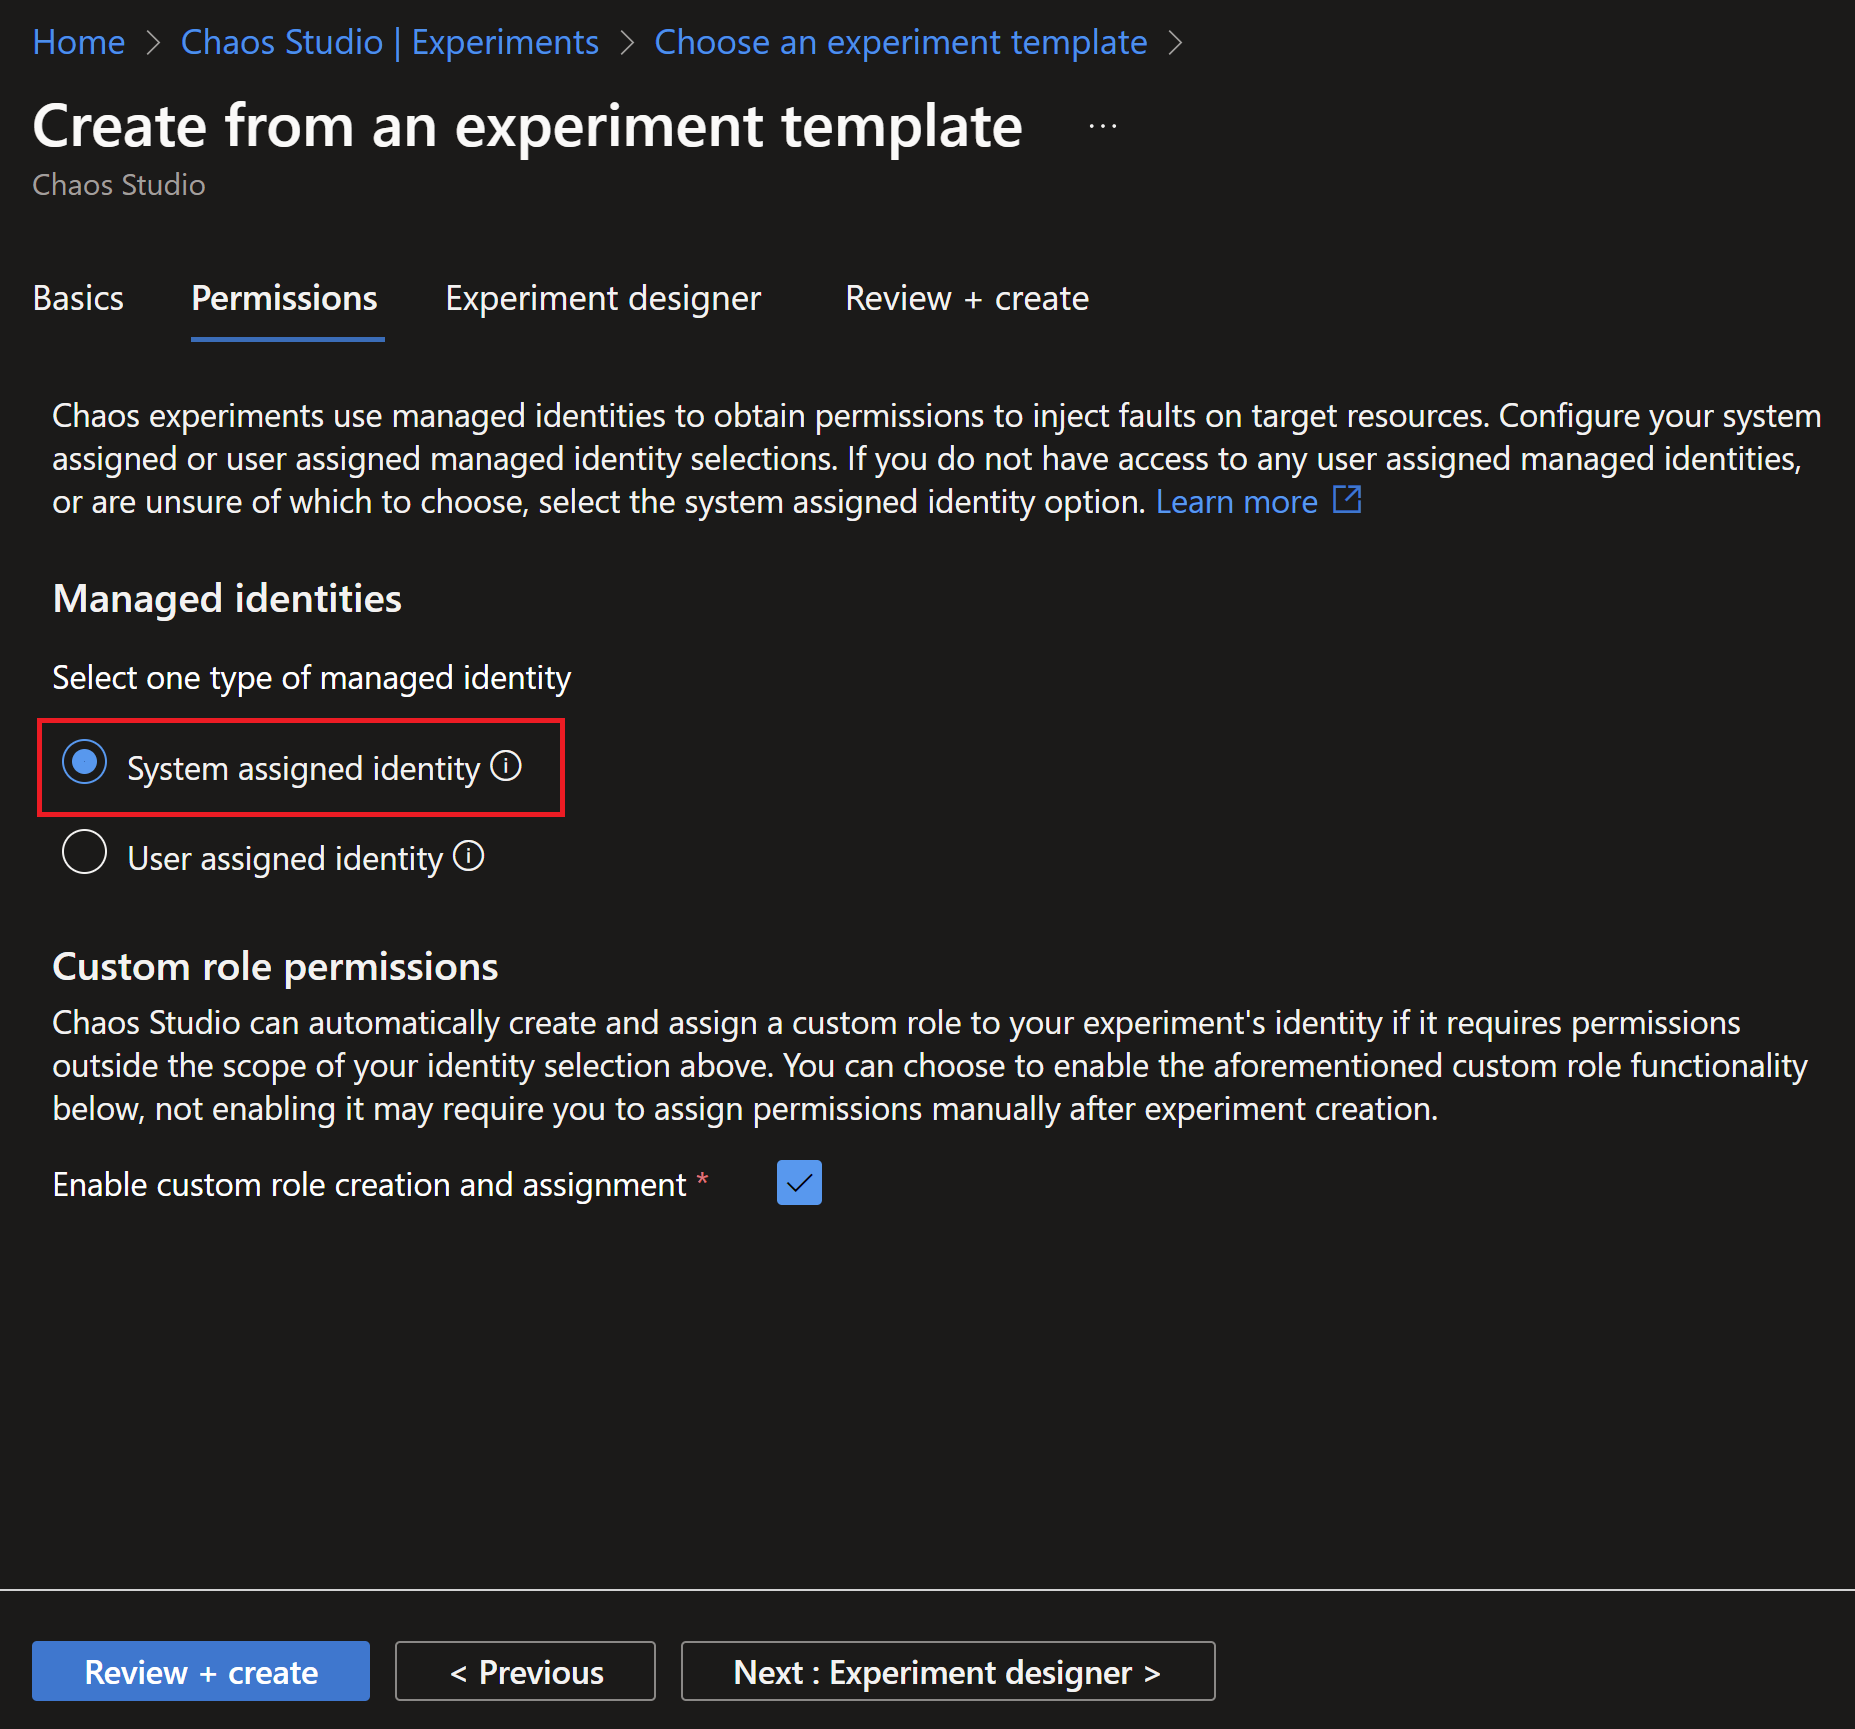
- To run an experiment on a resource, you need to grant the appropriate permissions for the managed identity of the experiment (whether its system or user-assigned). In this example, I will use system assigned.
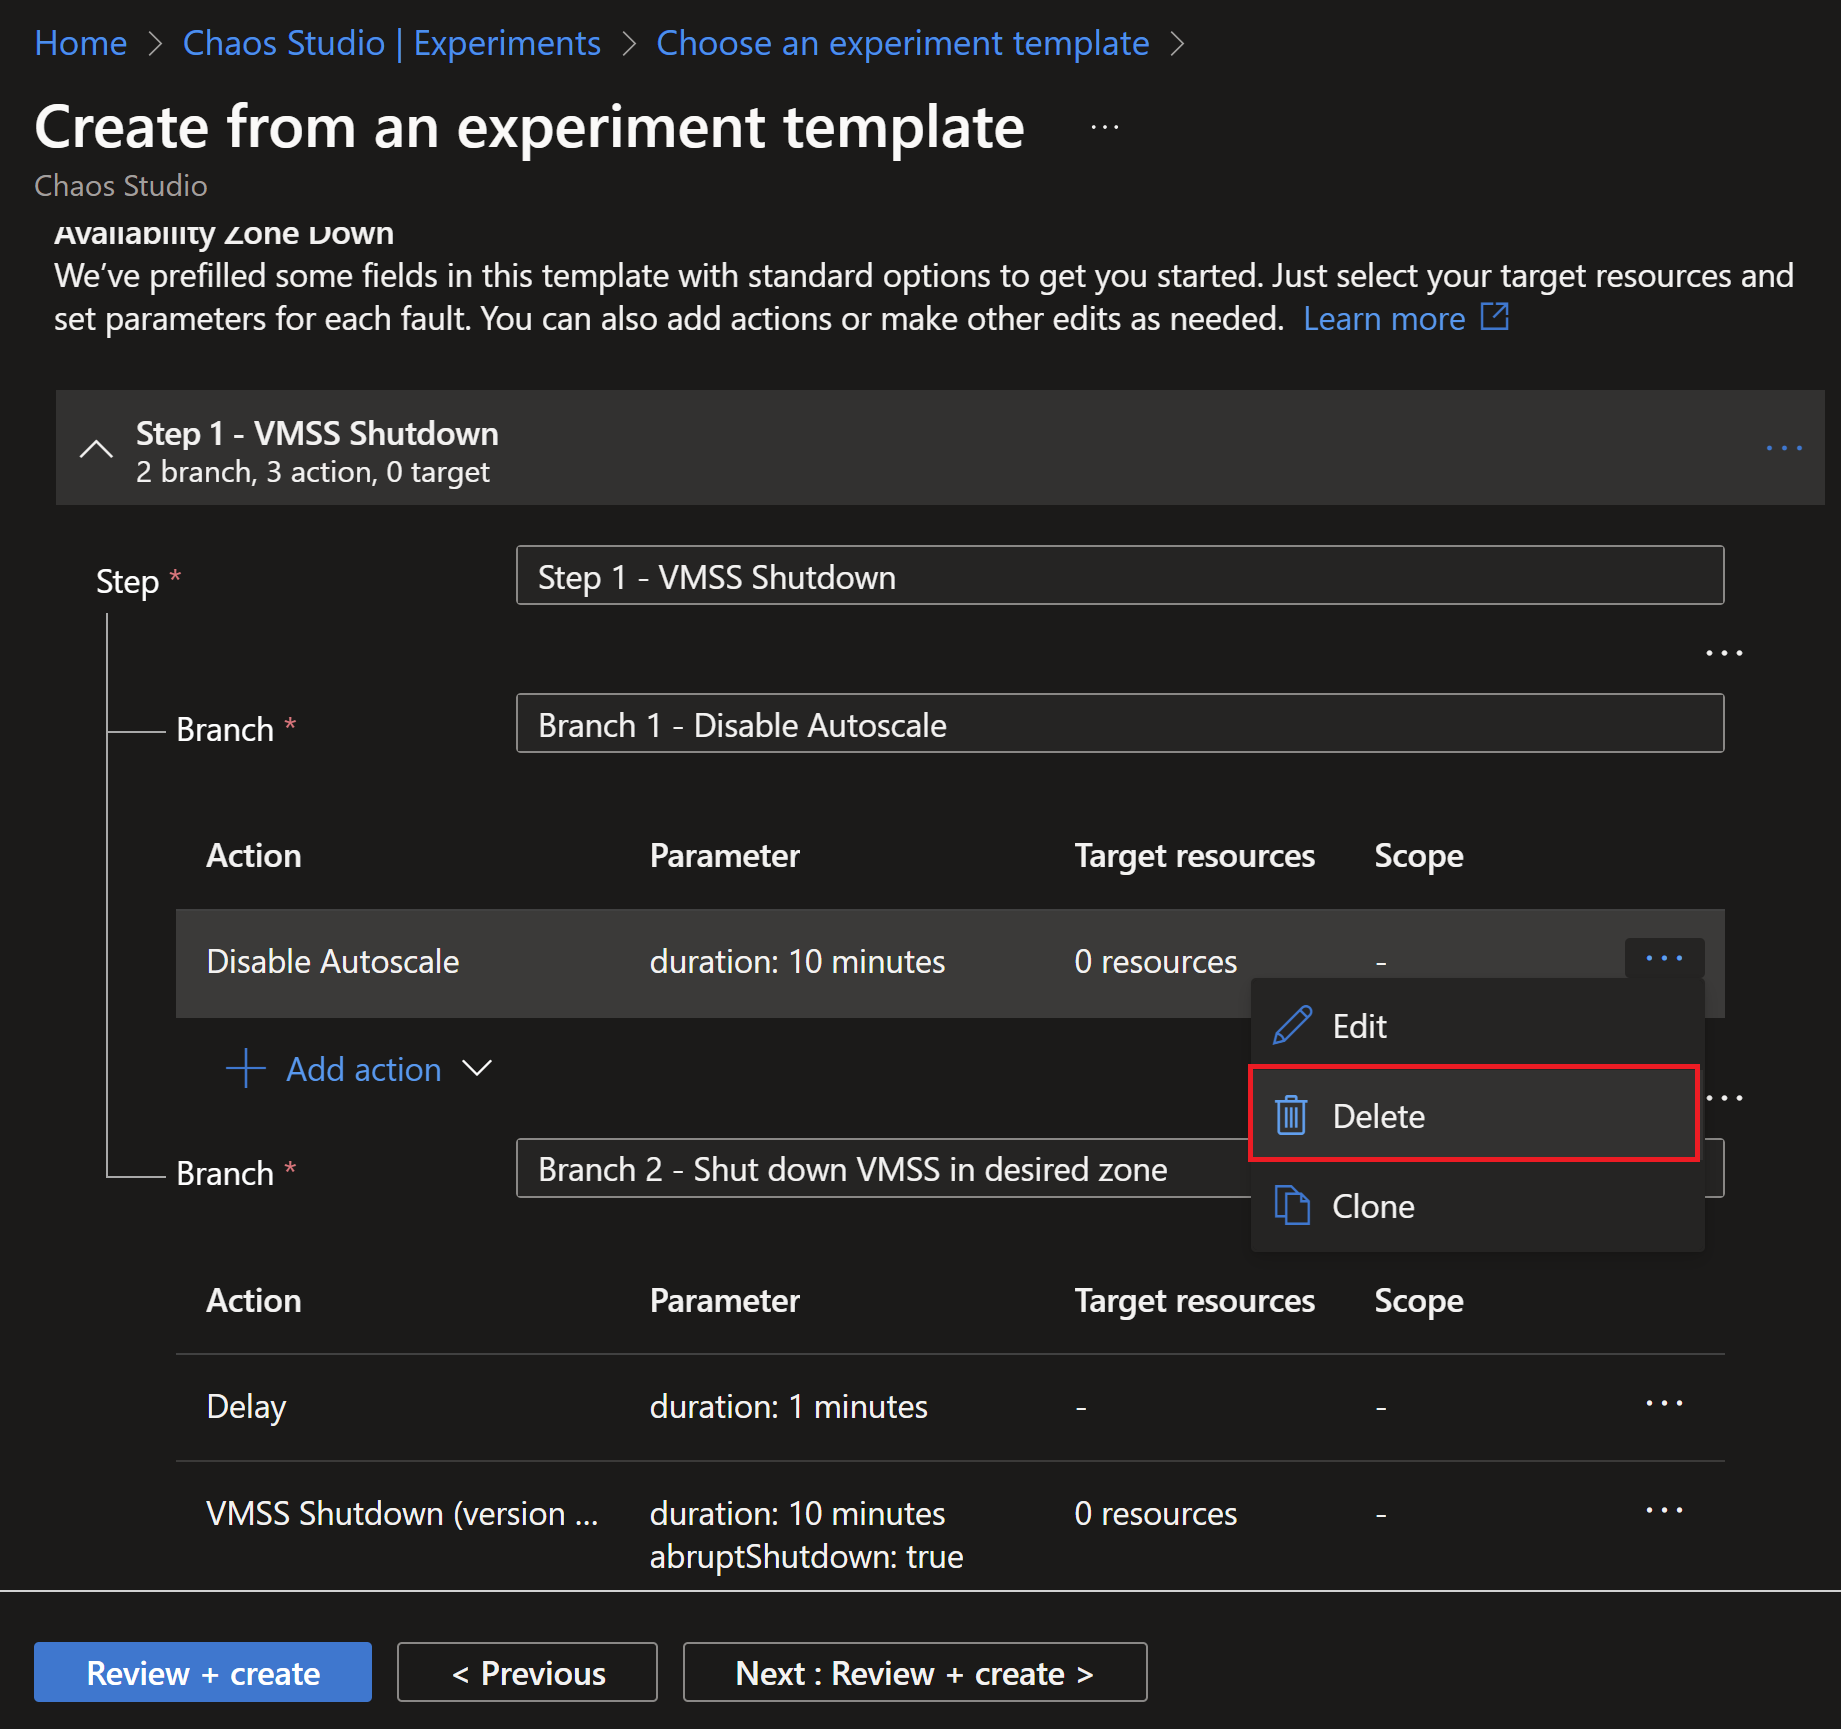
- After finishing with the experiment creation, we can see the steps and actions. In this example, we don’t have autoscale enabled, so we can simply remove this step.
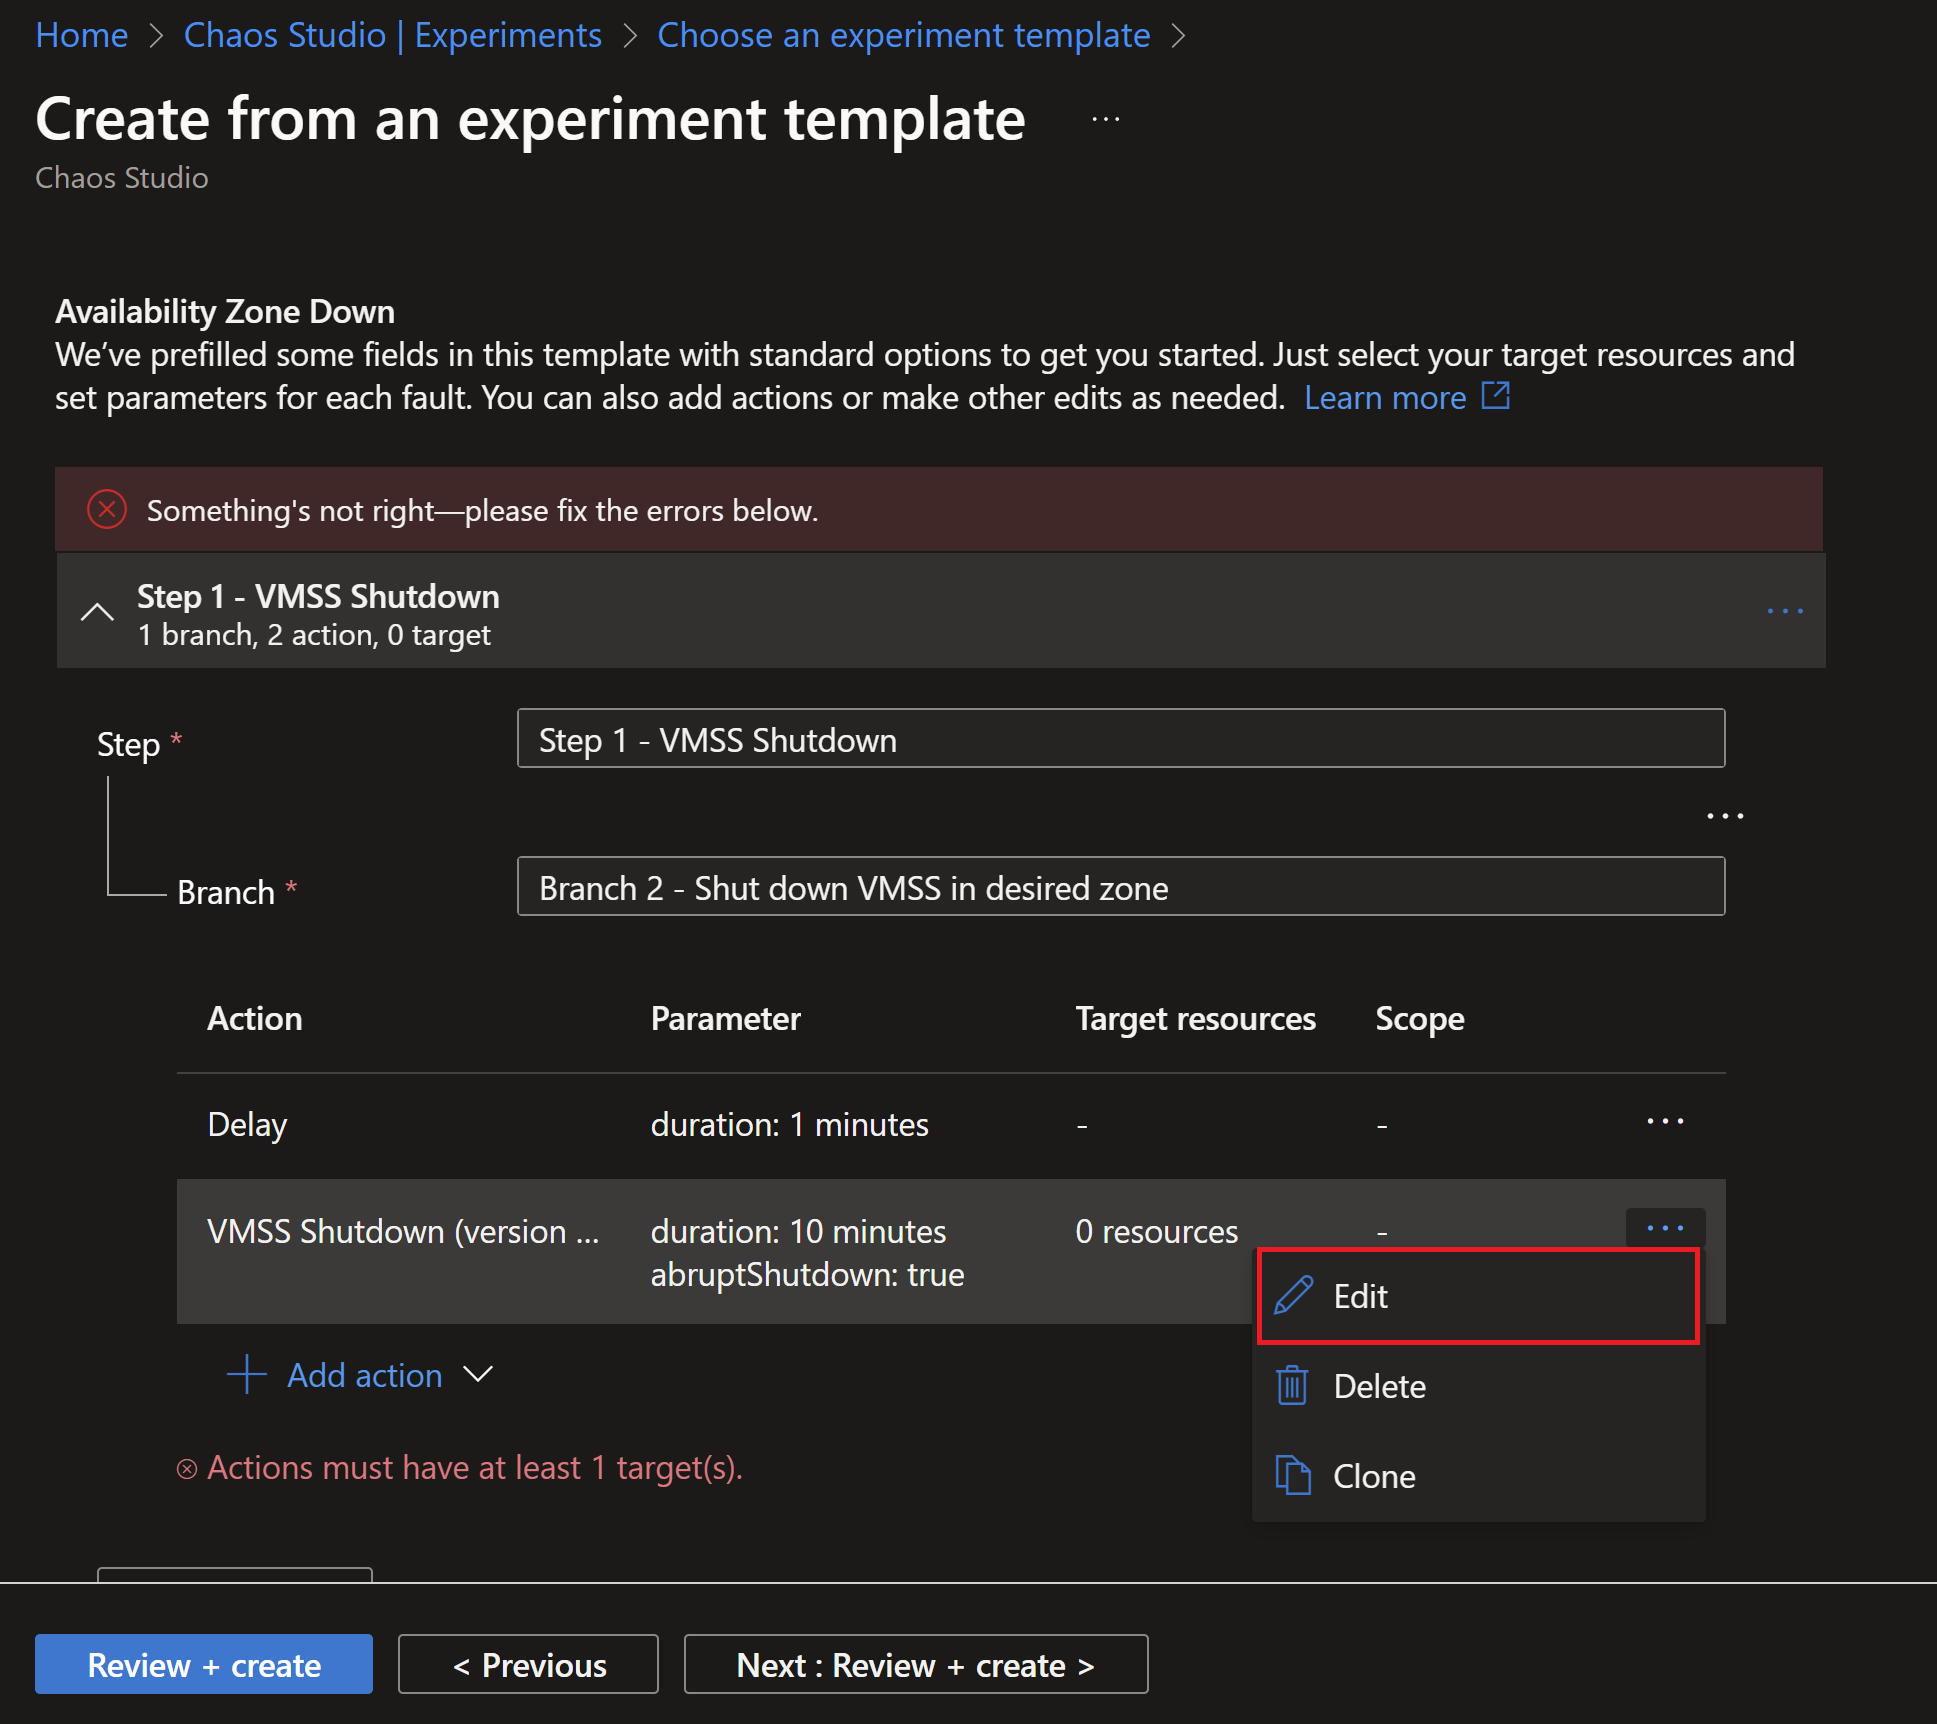
- Then, we need to edit the VMSS shutdown step to select which zones we want to simulate failures in.
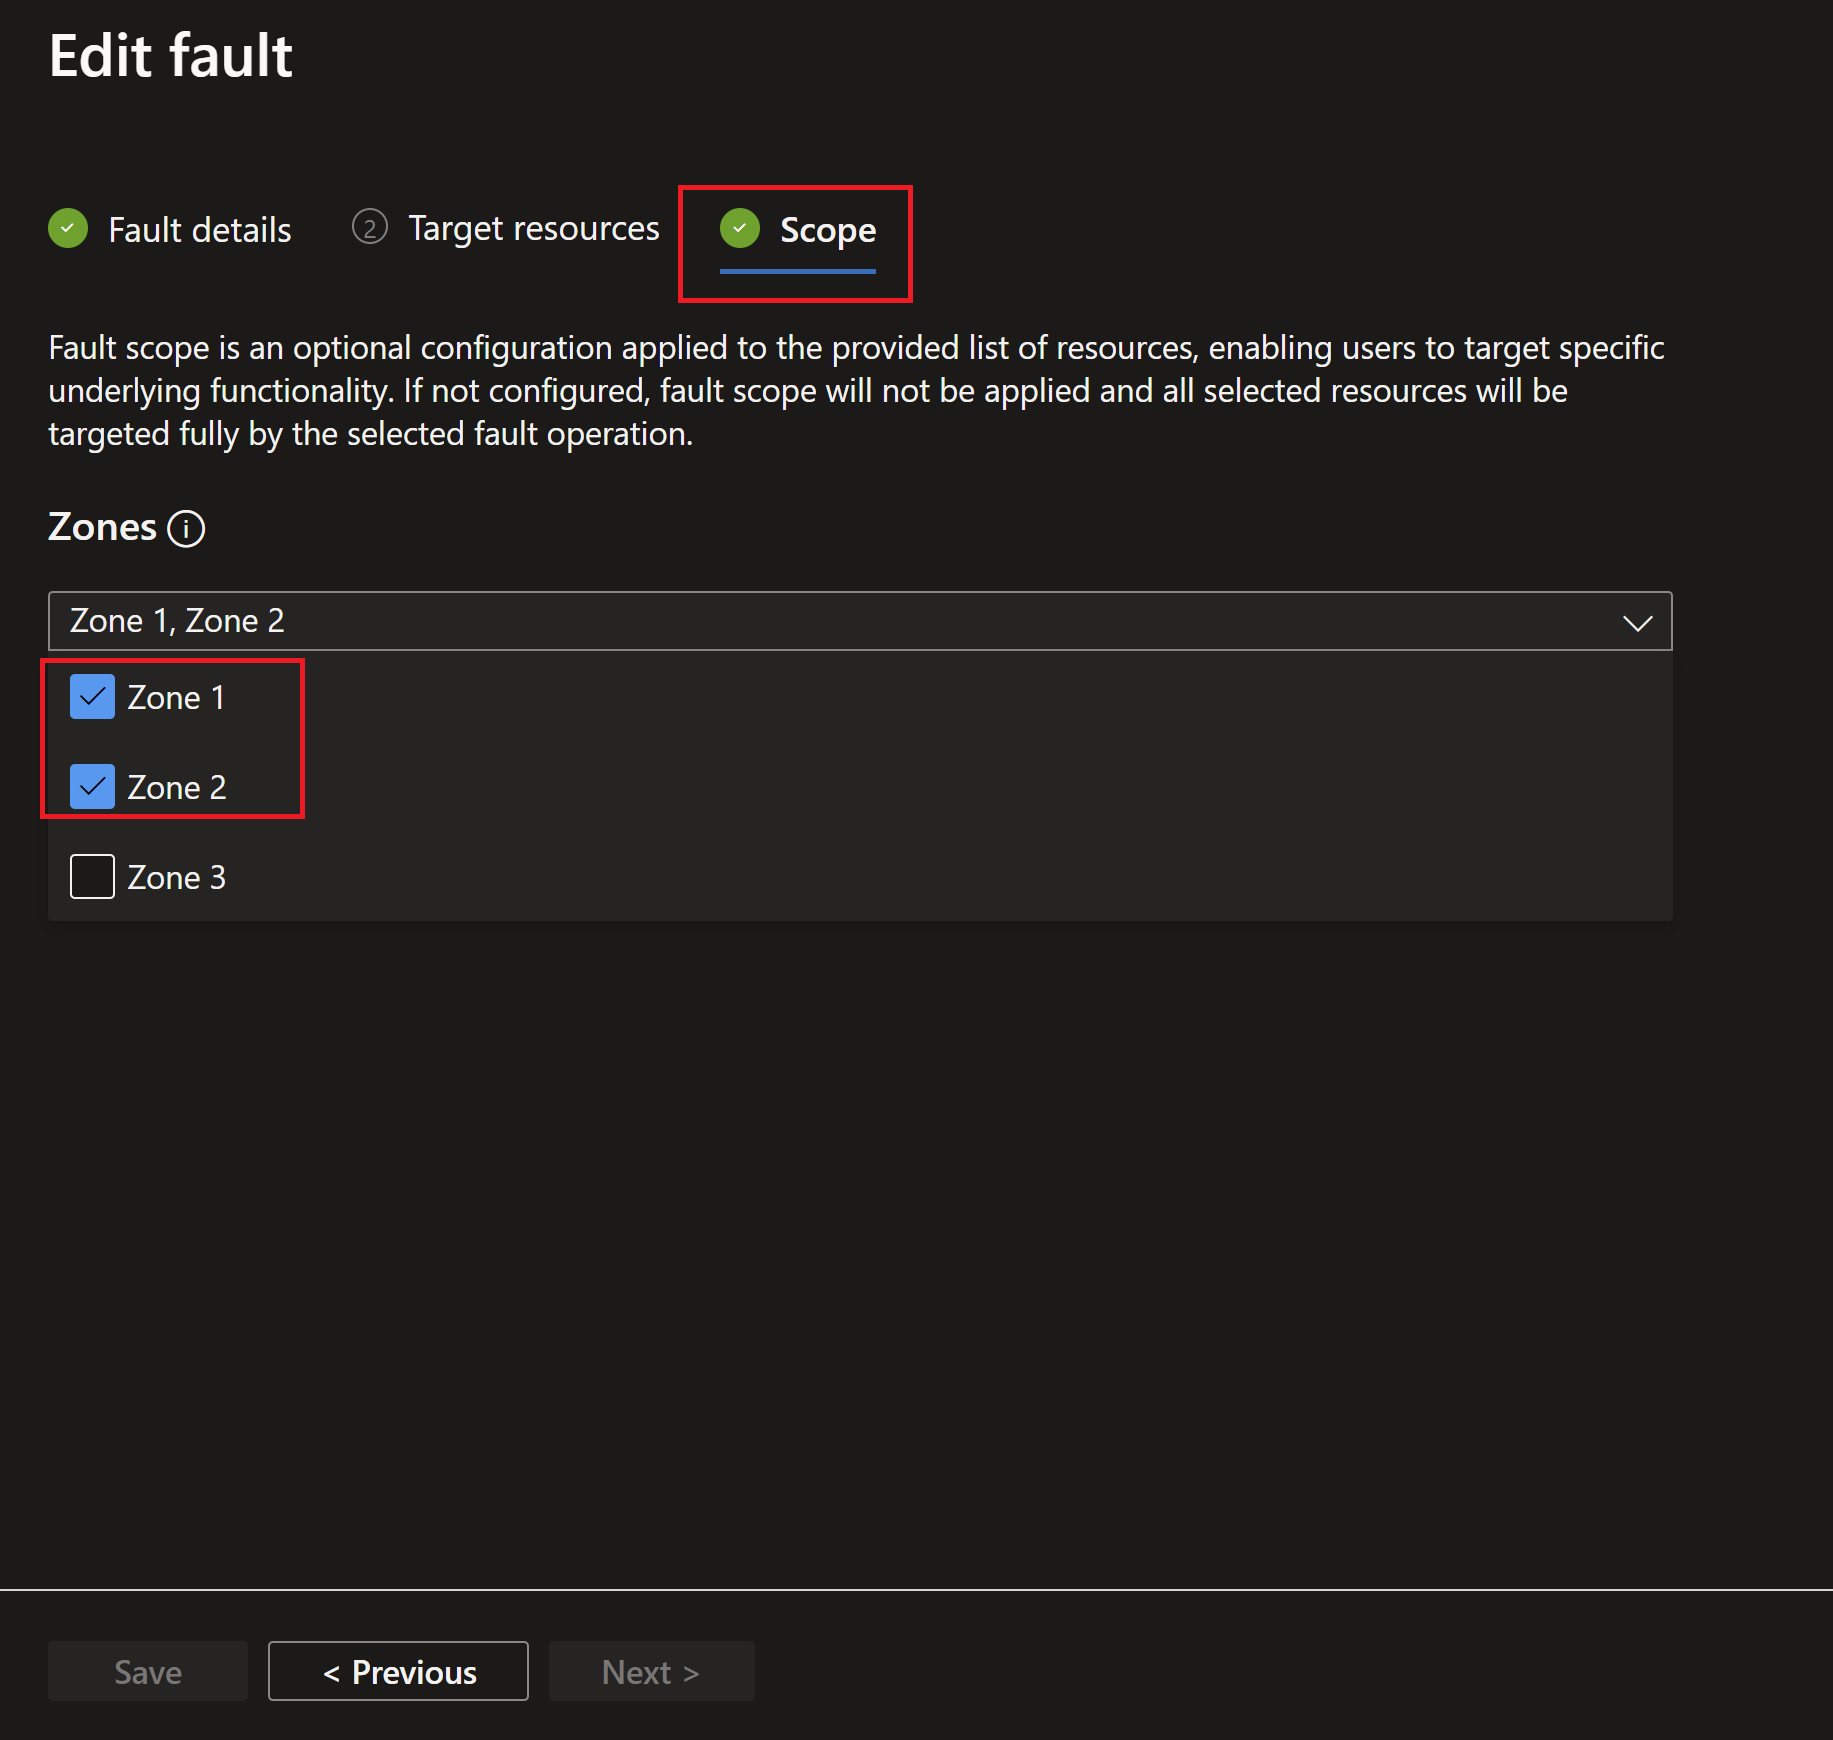
- I will select the Zones 1 and 2 to have failures injected to the instances hosted there.
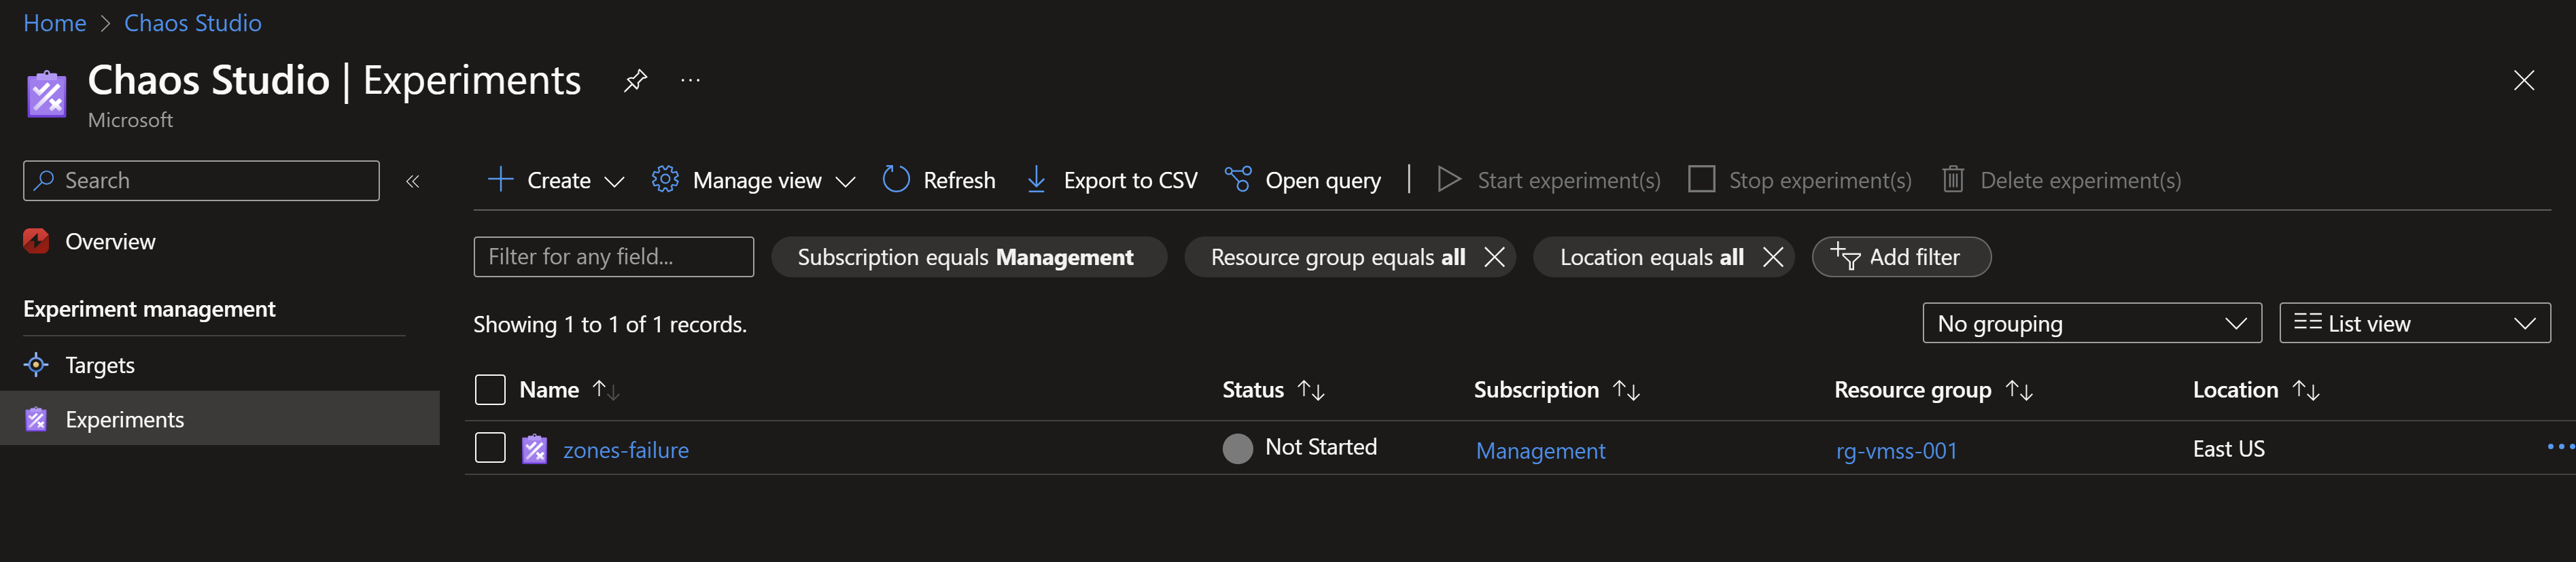
- We can now see the experiment created successfully and ready to run.
- Before we hit the run button, we need to assign the right RBAC role to the managed identity. I will use contributor but you can use a more least-privileged role.

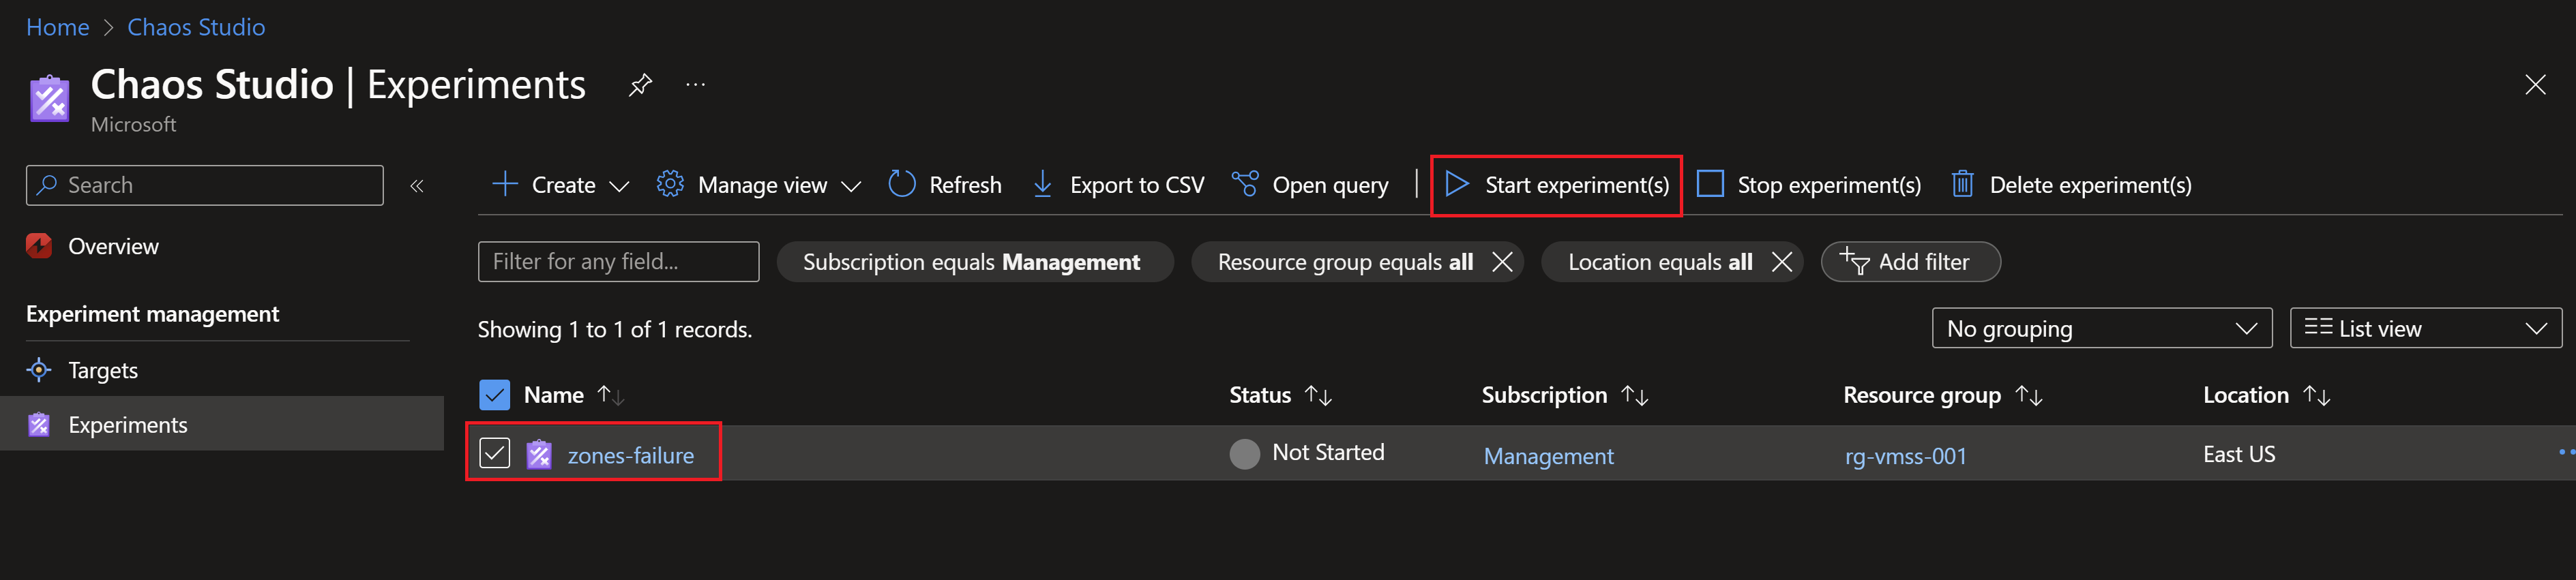
- Now, we can run the experiment and start observing the behavior of our application.
How will our application react to the zones failures?
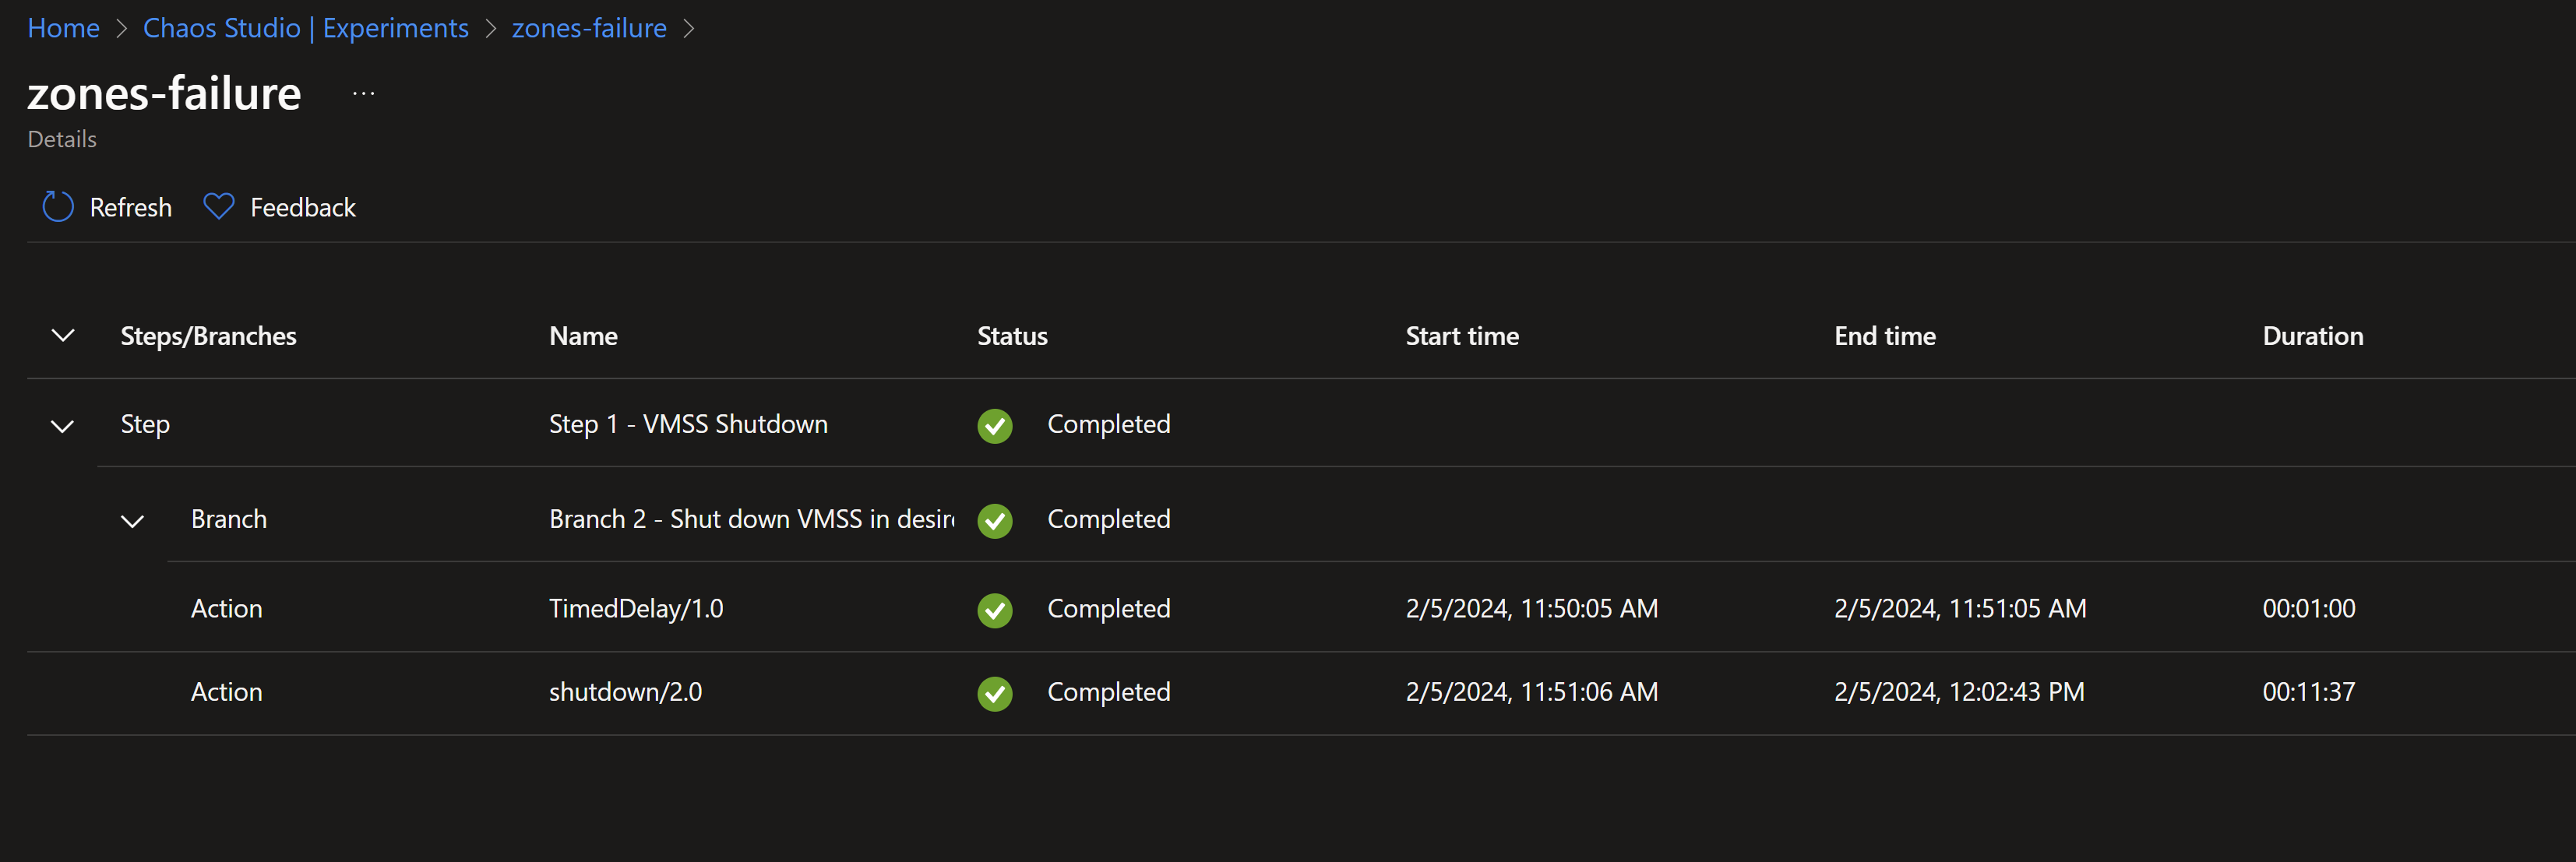
- We can see that the experiment is underway.
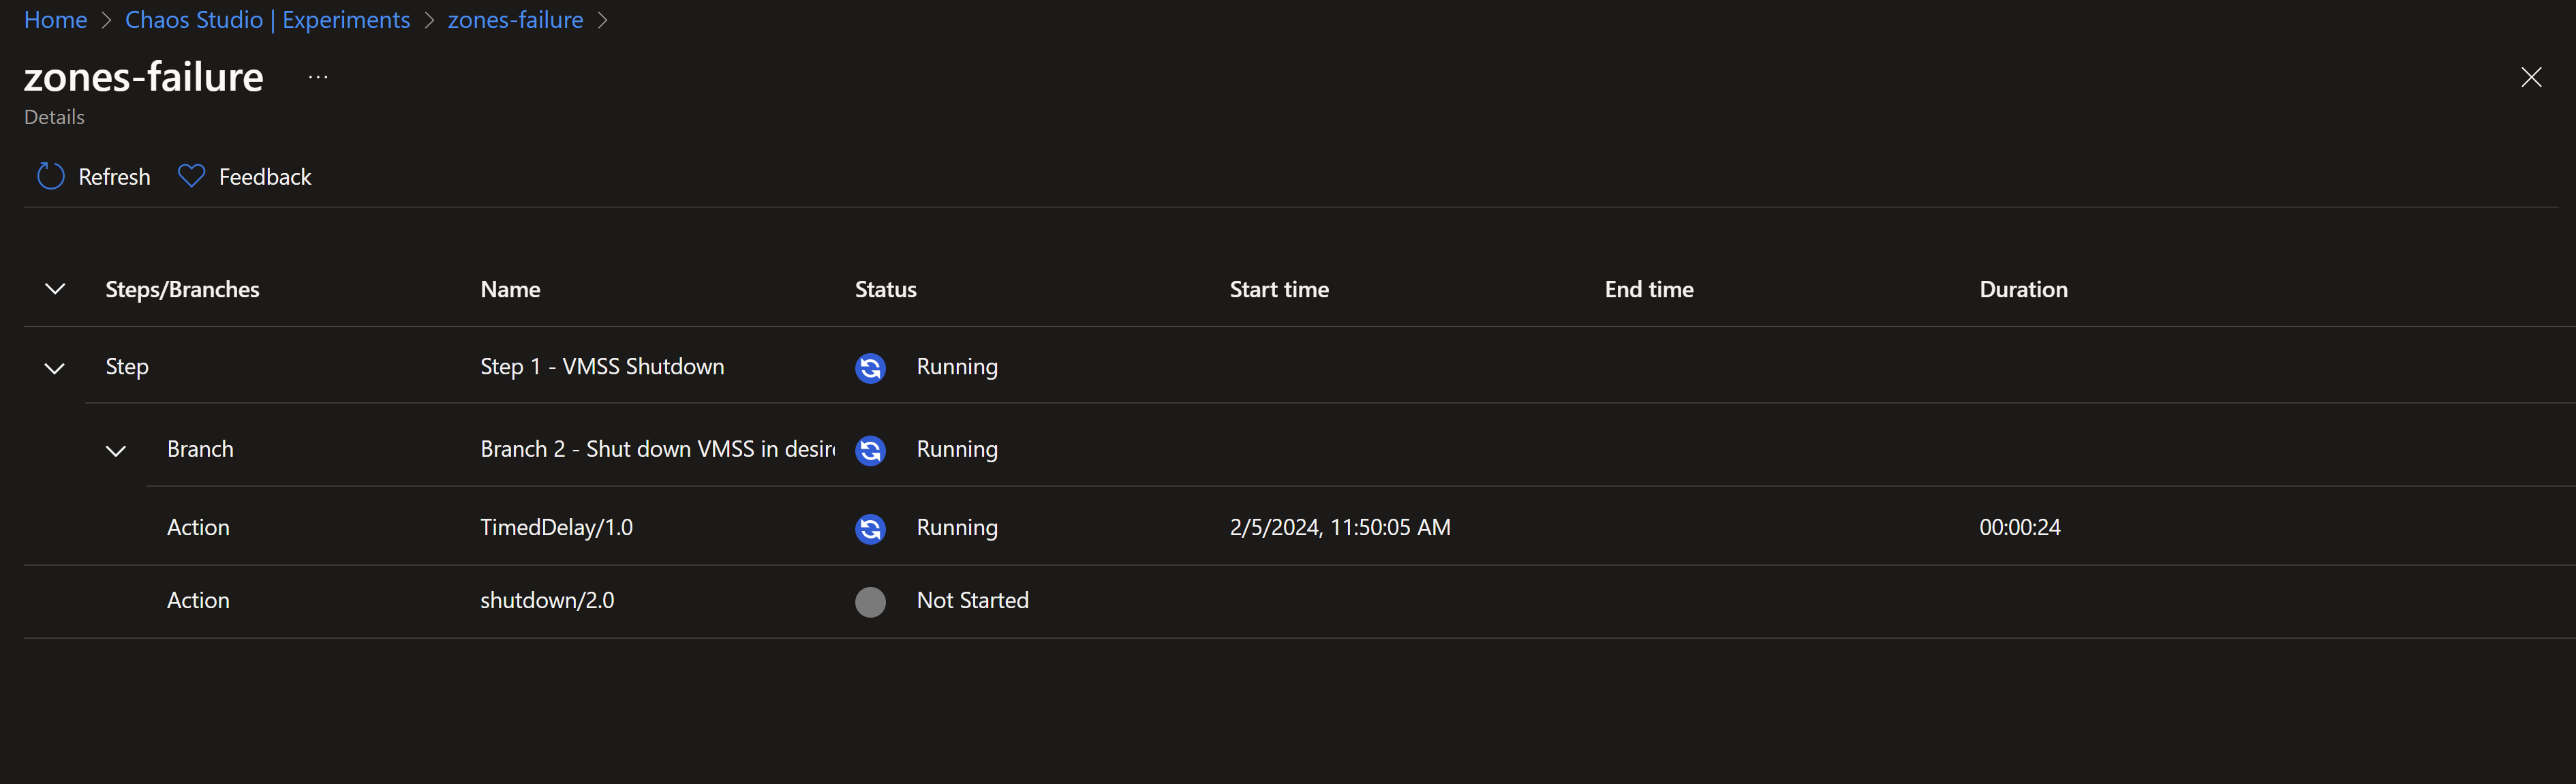
- Once, we reach the shutdown step, our instances in zones 1 and 2 should start shutting down simulating failures in those zones.
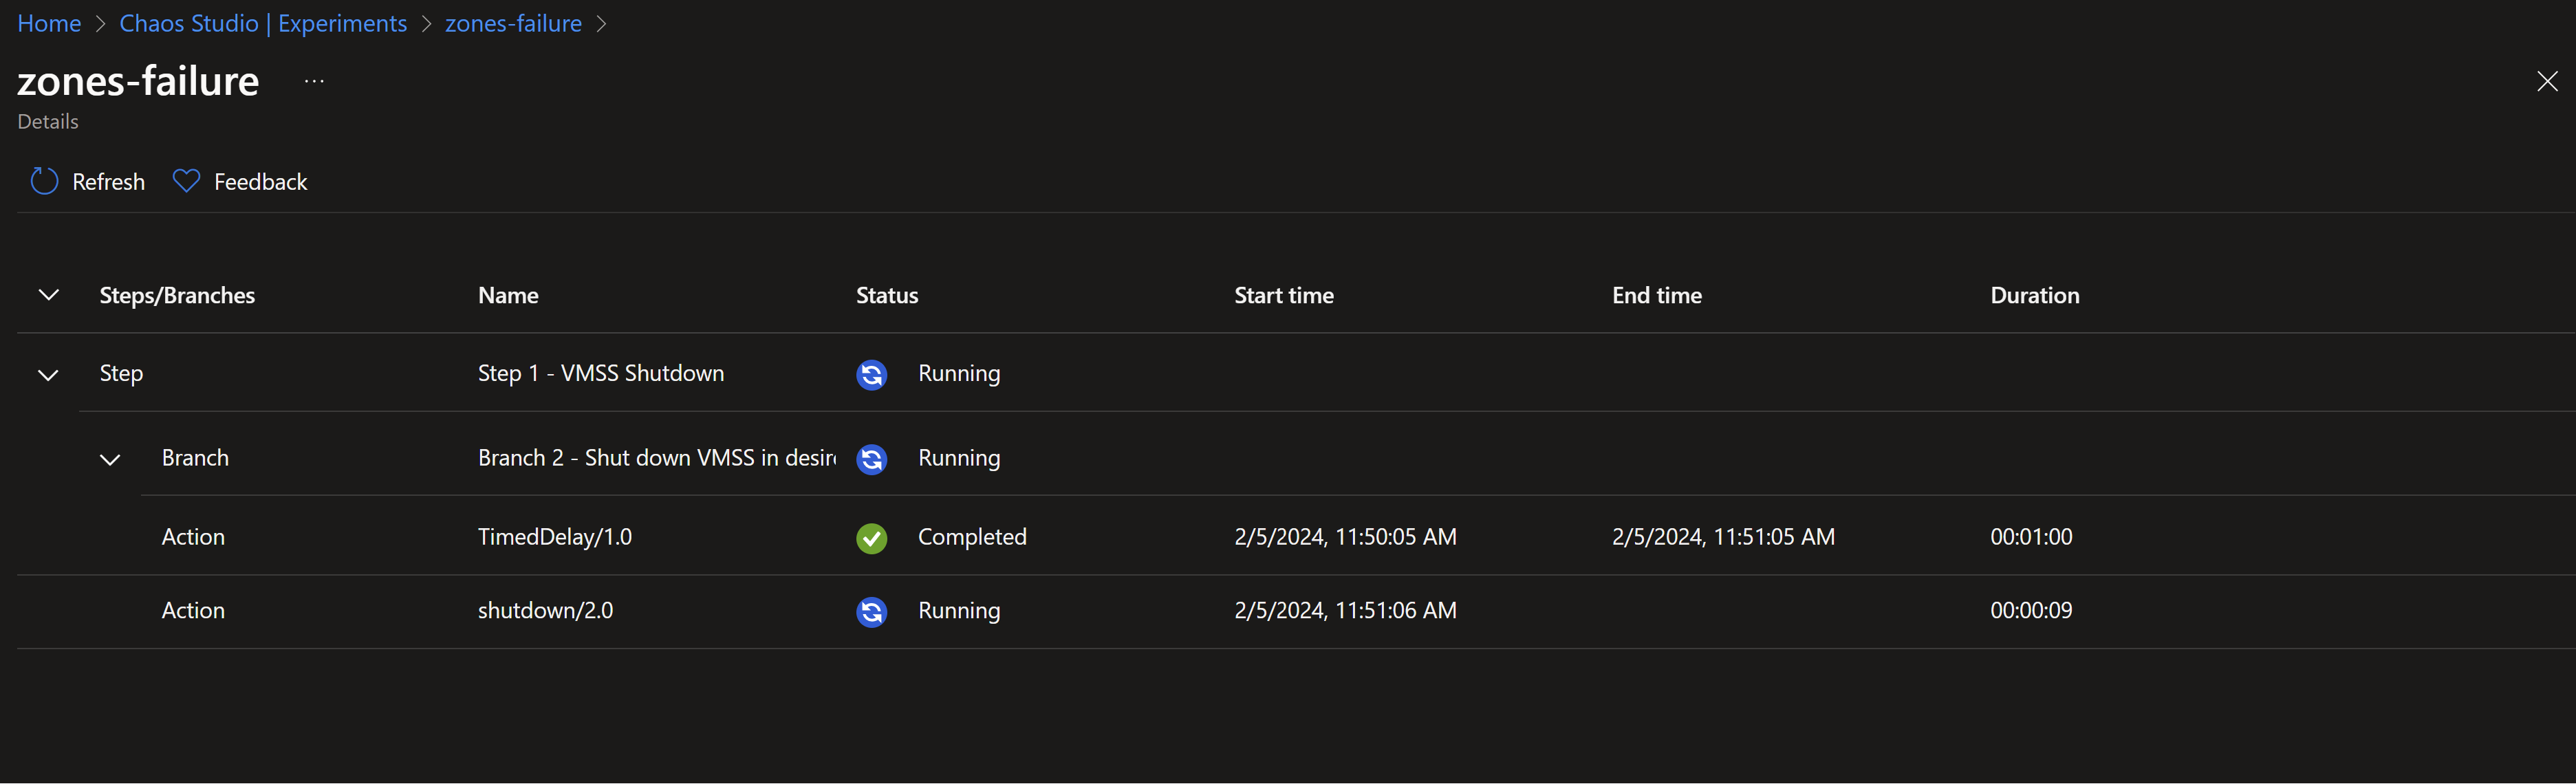
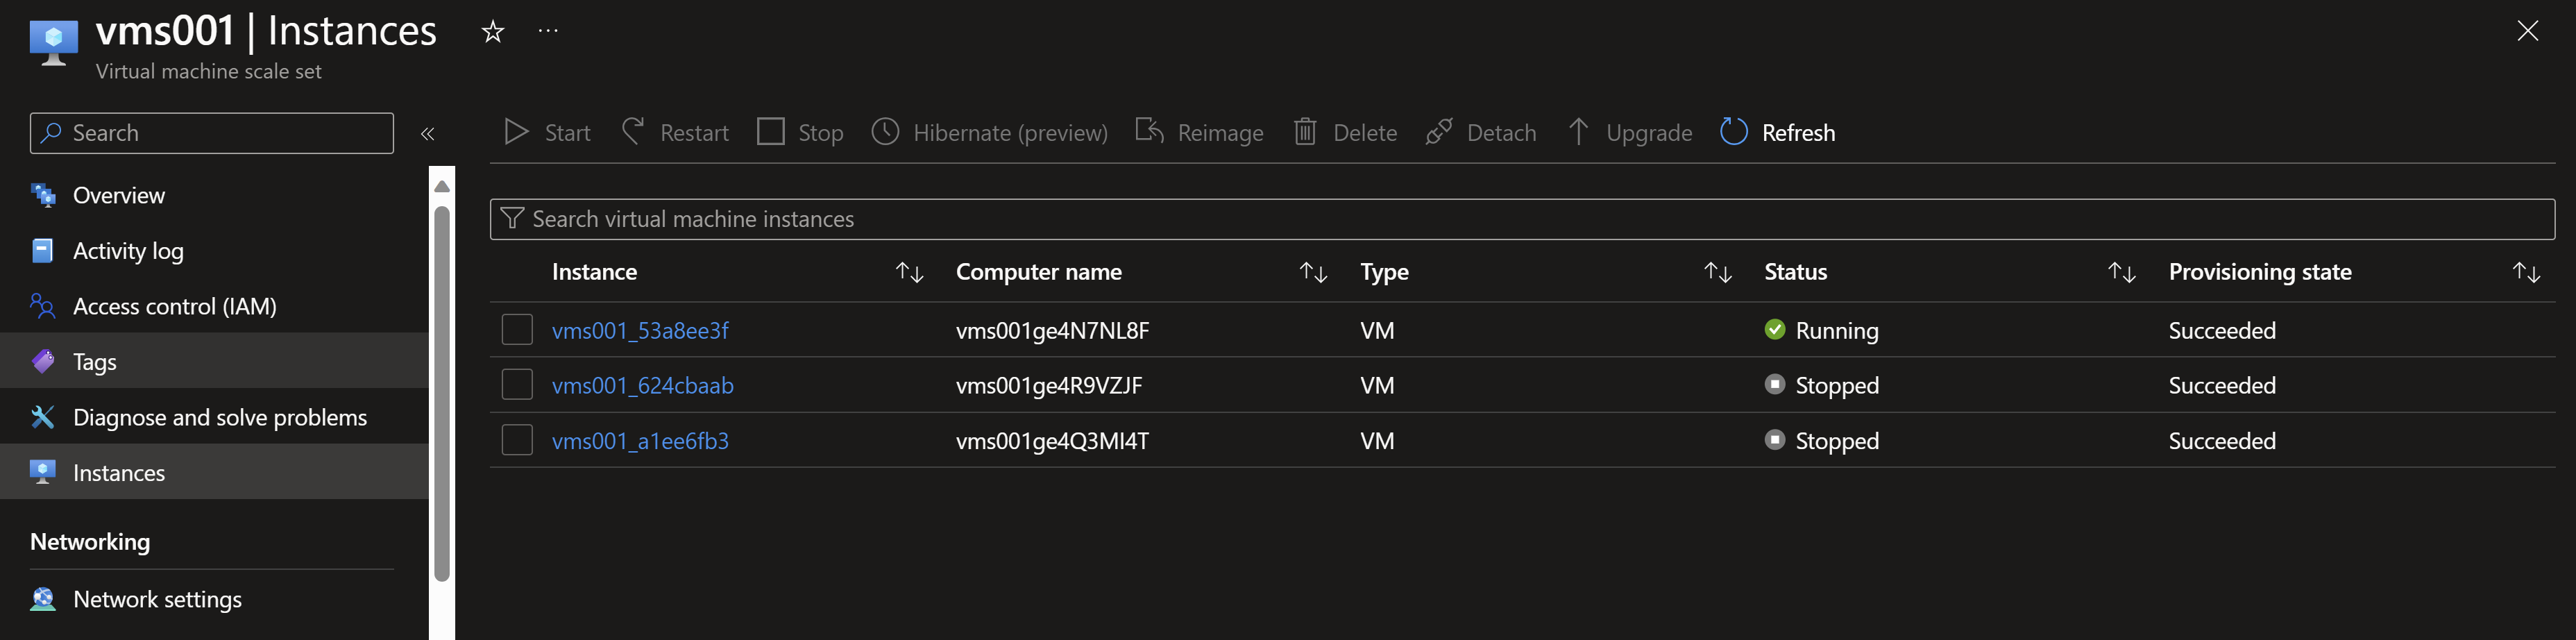
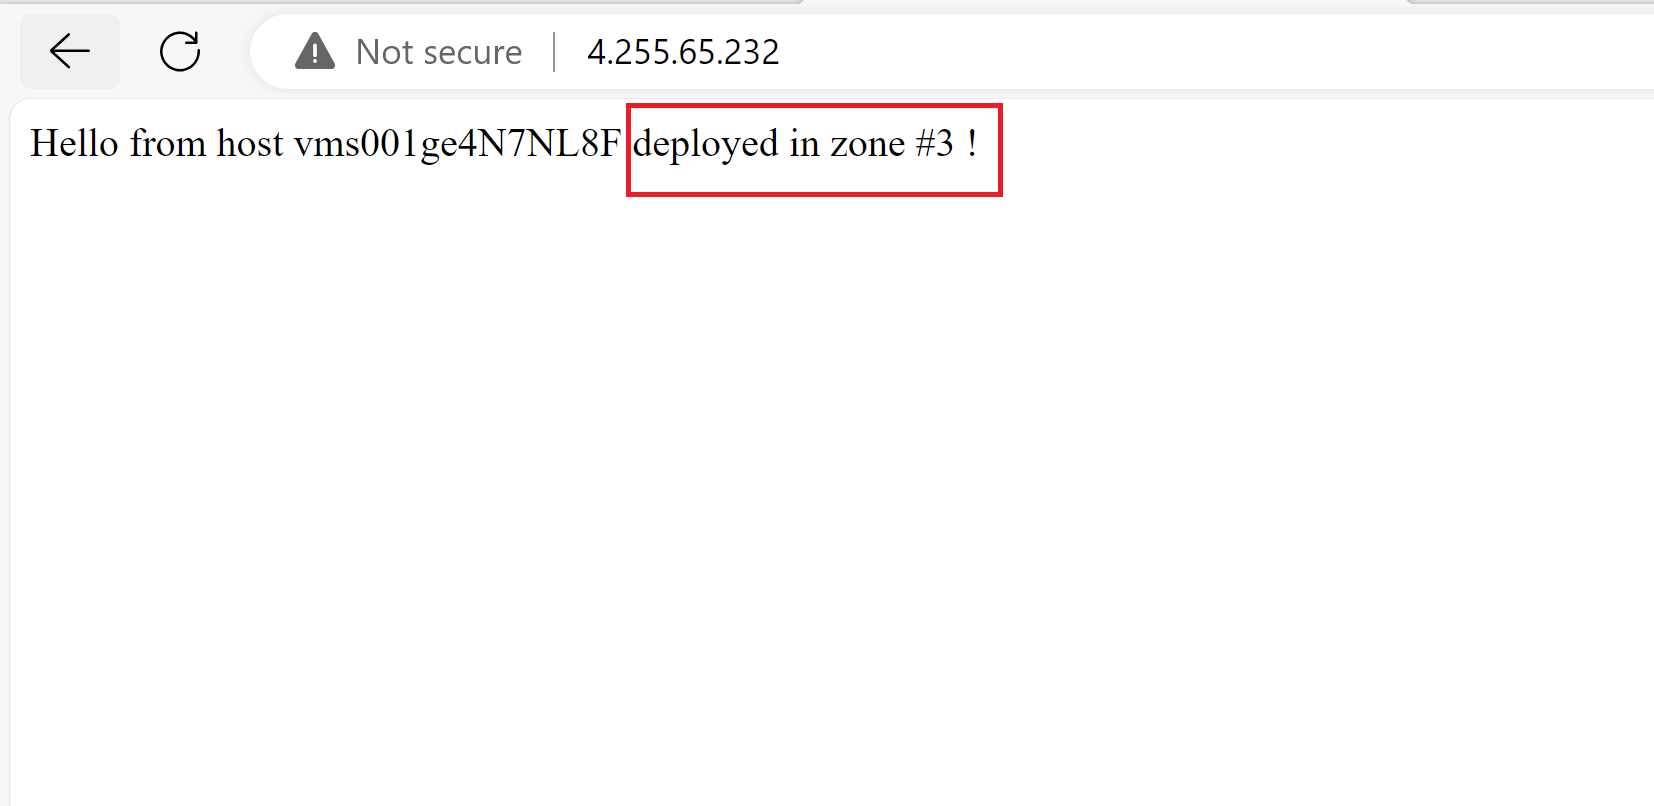
- Now, by testing our application, we can see that its still working and we are always redirected to the instance in the zone number 3 for the time of the experiment run.
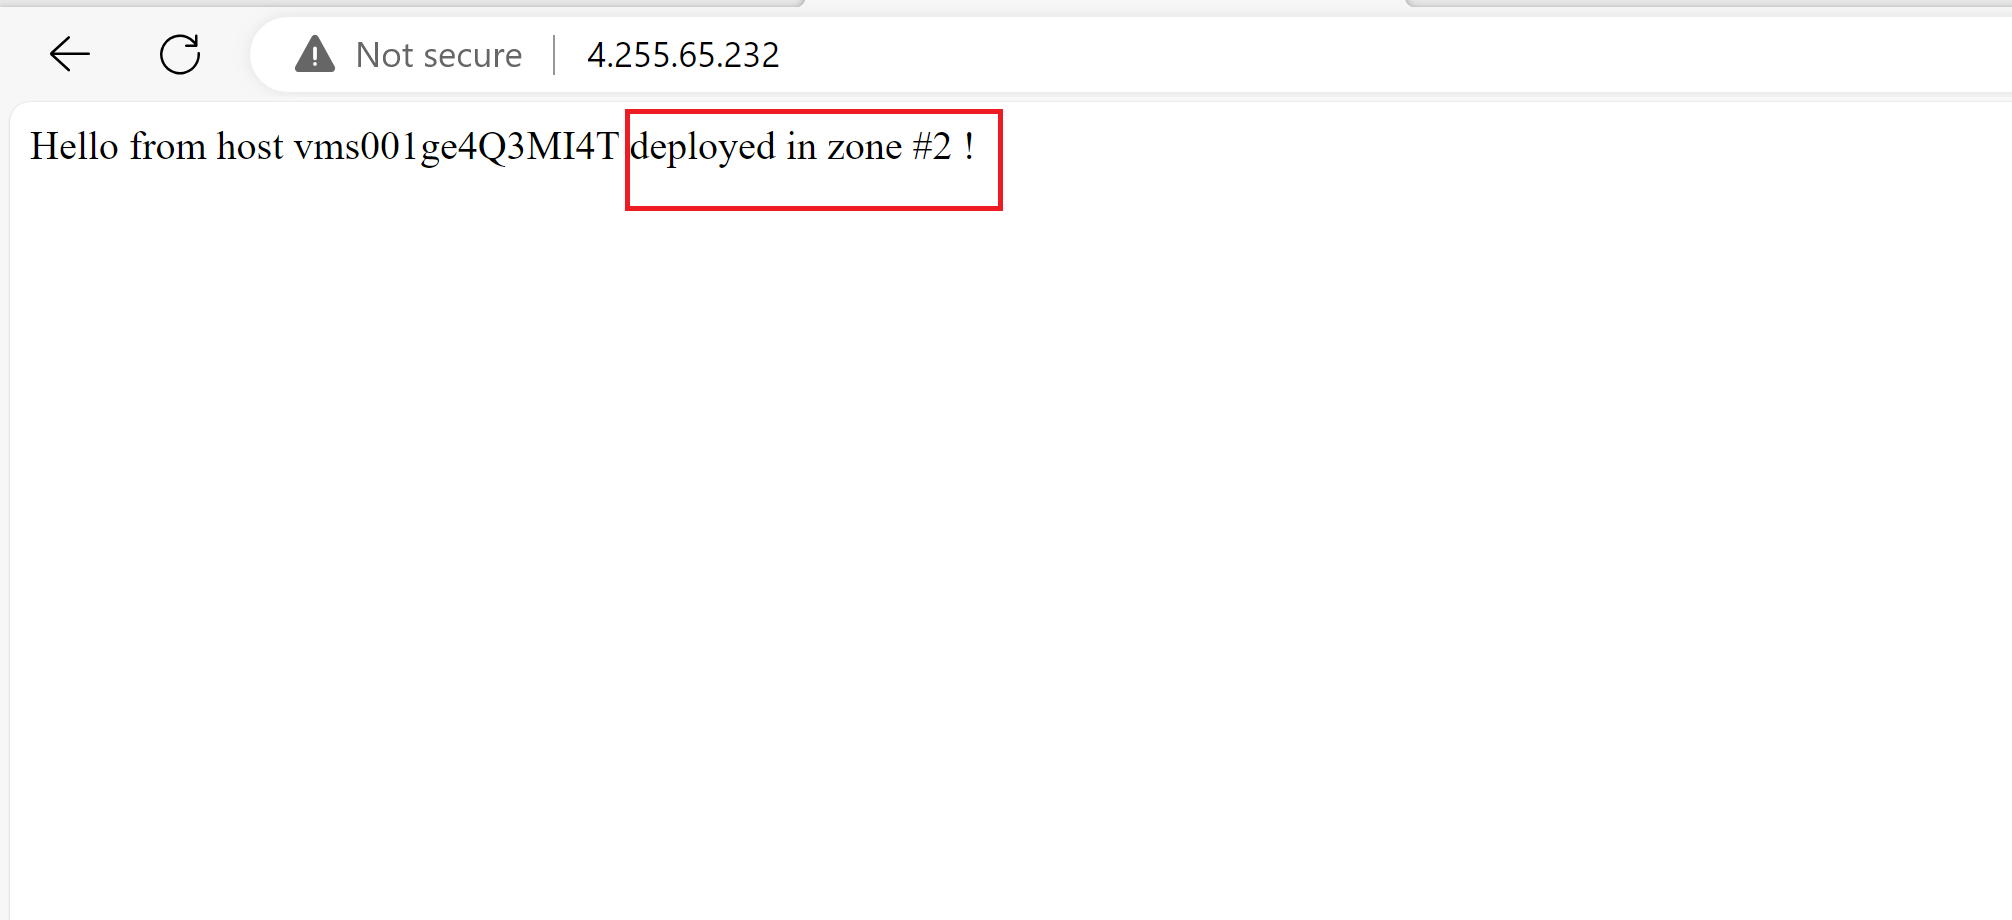
- Once the experiment is complete, we can see that our app now is back to being served across the three zones.
Resources
- Availability zones overview
- Azure services support for availability zones
- Chaos studio template for availability zones

My name is
Seif Bassem
You May Also Like
Build your own custom copilot for Azure!!
Large language models (LLMs) taking the world by storm Large language …
Manage Defender for servers plans on a machine level!!
You can now manage Defender for servers plans on the resource level …
Build PowerShell notebooks using VScode and Polyglot
Notebooks are interactive files that allow you to mix executable code, …