Build PowerShell notebooks using VScode and Polyglot
Notebooks are interactive files that allow you to mix executable code, visualizations, equations, and narrative text. They are composed of code cells that make it easy to quickly iterate on code and document your work. Notebooks are popular among data scientists, machine learning engineers, and researchers, but they can be used by anyone for a variety of tasks, such as teaching, learning, and prototyping.
Notebooks are commonly used by data scientists and are typically used with Python which makes them not really useful for IT pros or developers. But now with Polyglot notebooks this is about to change. Let’s explore what Polyglot notebooks bring to the table:
- Support for multiple languages: VS Code Polyglot Notebooks support a wide range of programming languages, including Python, C#, F#, PowerShell, JavaScript, SQL, and KQL (Kusto Query Language). This allows you to use the right language for the job, without having to switch between different notebooks.
- Native integration with Visual Studio Code: VS Code Polyglot Notebooks are native to Visual Studio Code, so you can take advantage of all the features that VS Code has to offer, such as code completion, syntax highlighting, and debugging.
- Better performance: VS Code Polyglot Notebooks are generally faster than Jupyter Notebooks, especially when working with large notebooks.
- More lightweight: VS Code Polyglot Notebooks are more lightweight than Jupyter Notebooks, making them easier to install and run on resource-constrained machines.
Let’s explore how to use it to build a step-by-step guide on how to get all virtual machines in Azure using PowerShell and Azure Resource Graph.
Preparing your machine to run Polyglot notebooks
You would need to install the VS Code (obviously😄), .Net SDK 7 and then add the extension. You can install all of this using Winget on Windows. I will also add the PowerShell extension to the mix
winget install -e --id Microsoft.VisualStudioCode --no-upgrade
winget install -e --id Microsoft.DotNet.SDK.7 --no-upgrade
code --install-extension ms-dotnettools.dotnet-interactive-vscode
code --install-extension ms-vscode.powershell
Creating a new notebook
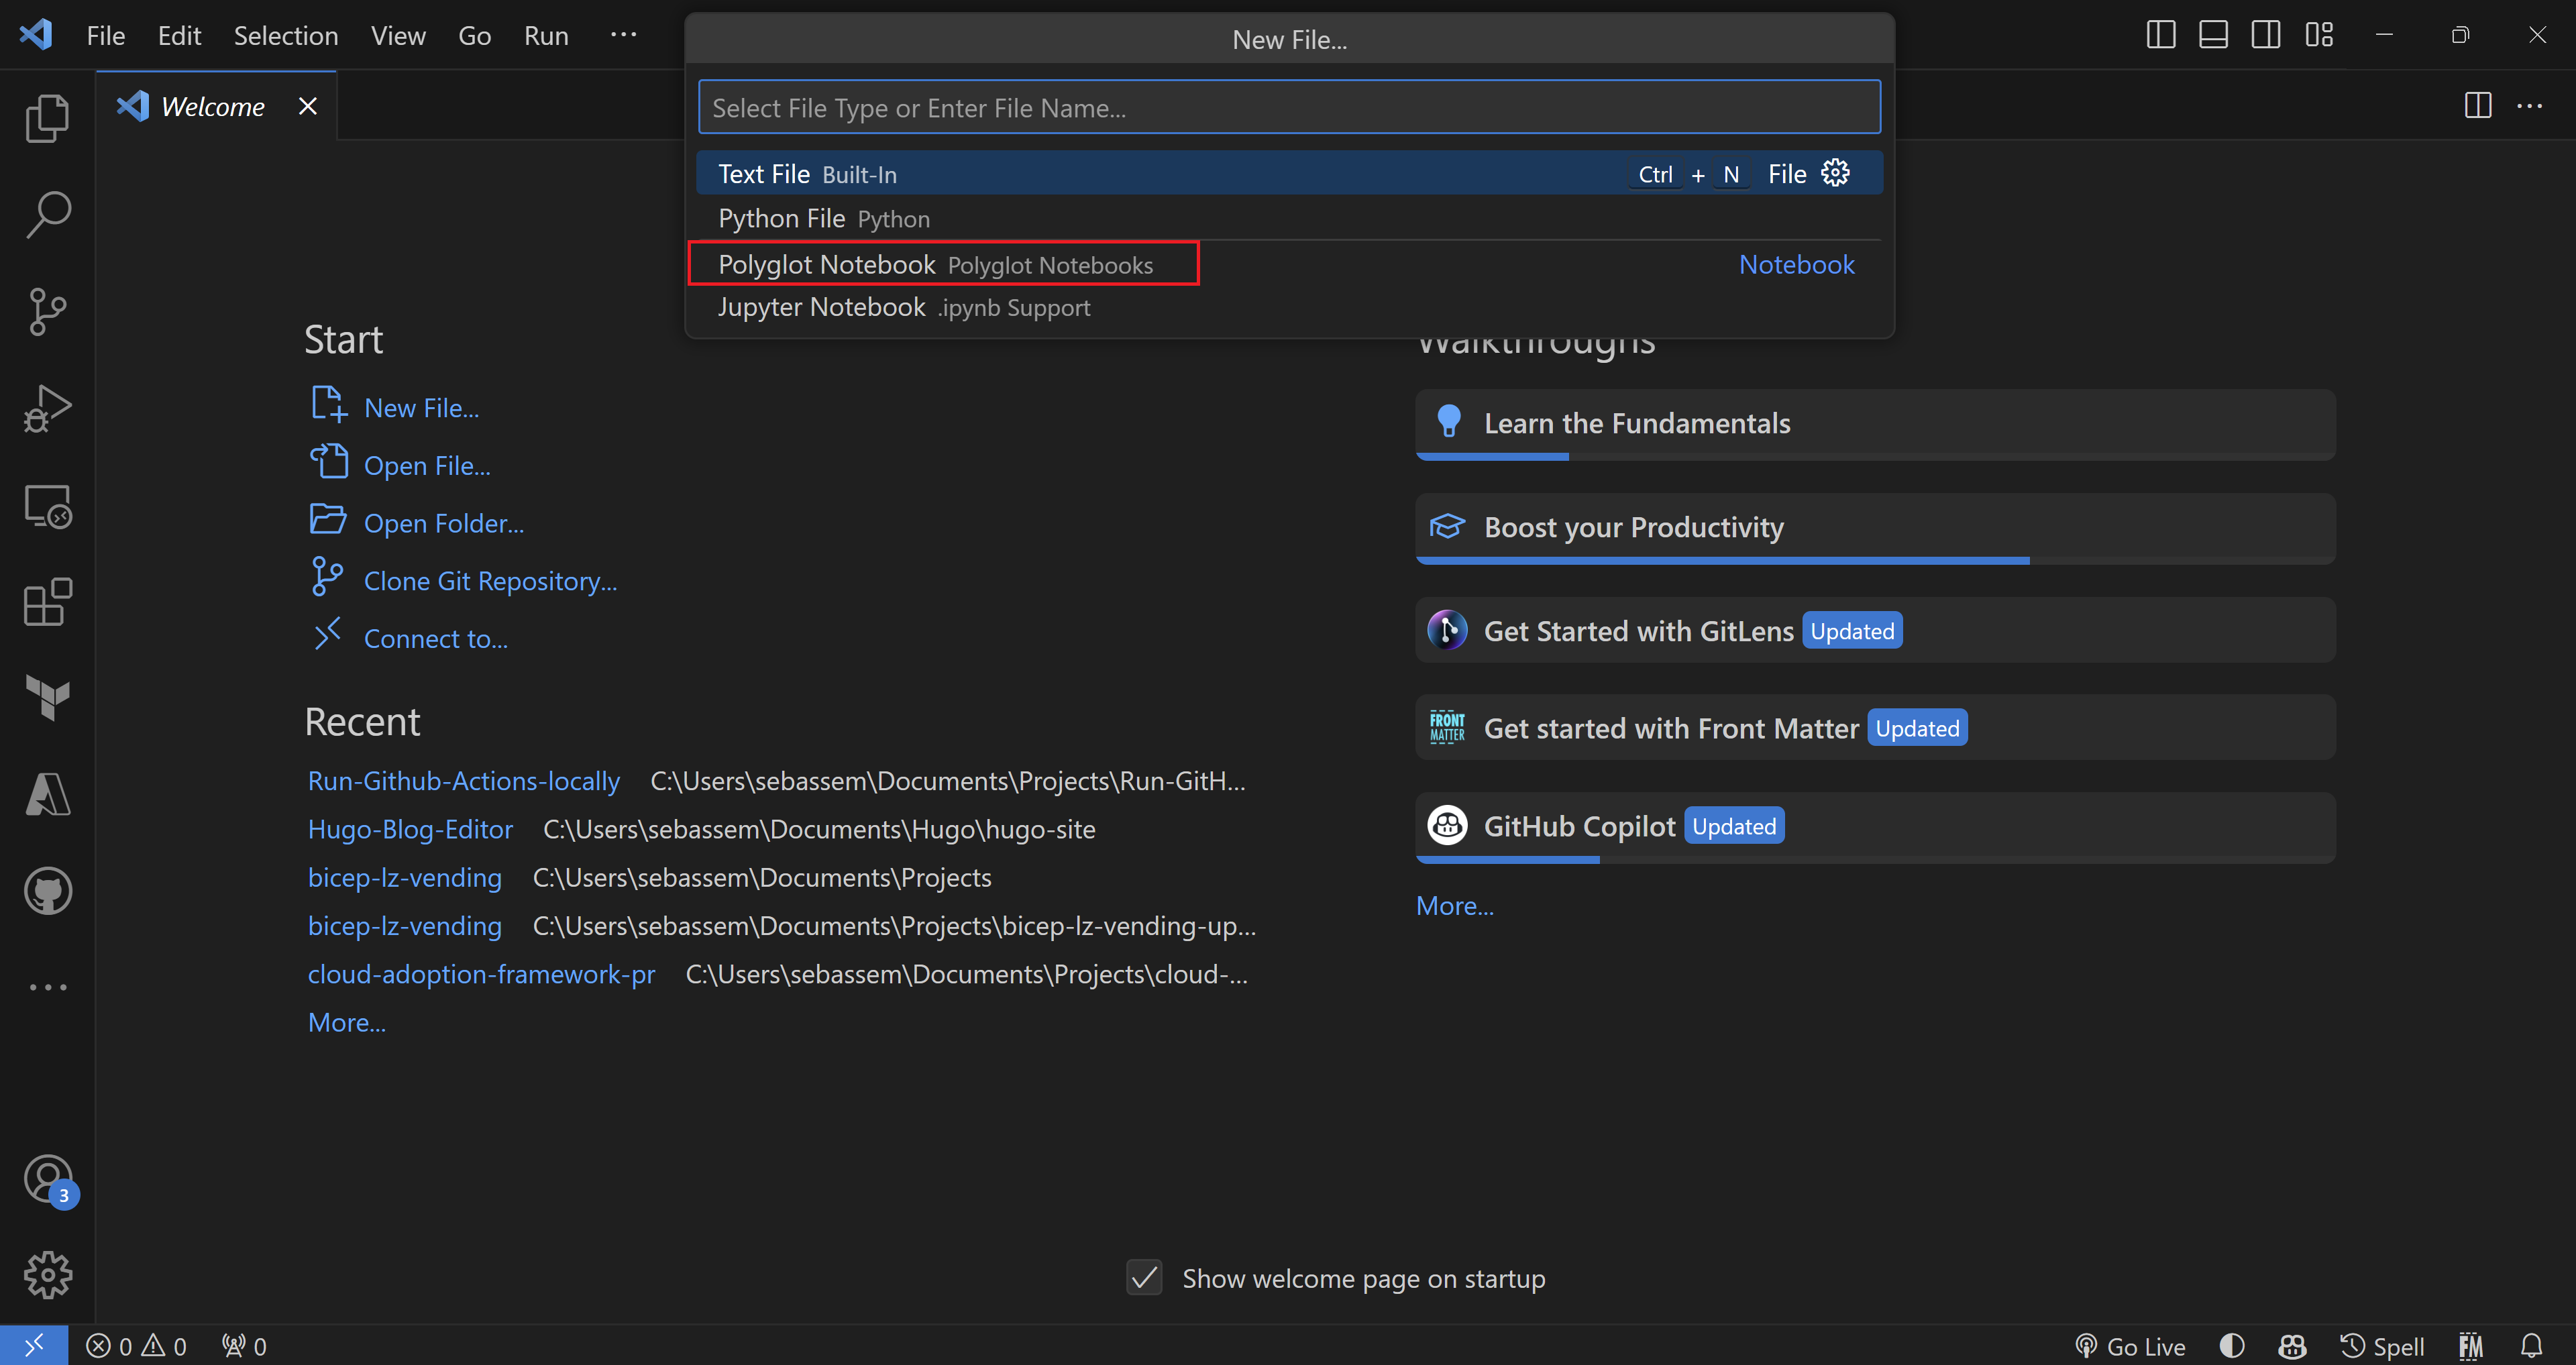
- Open VS Code and click File > Create New File > Polyglot notebook.
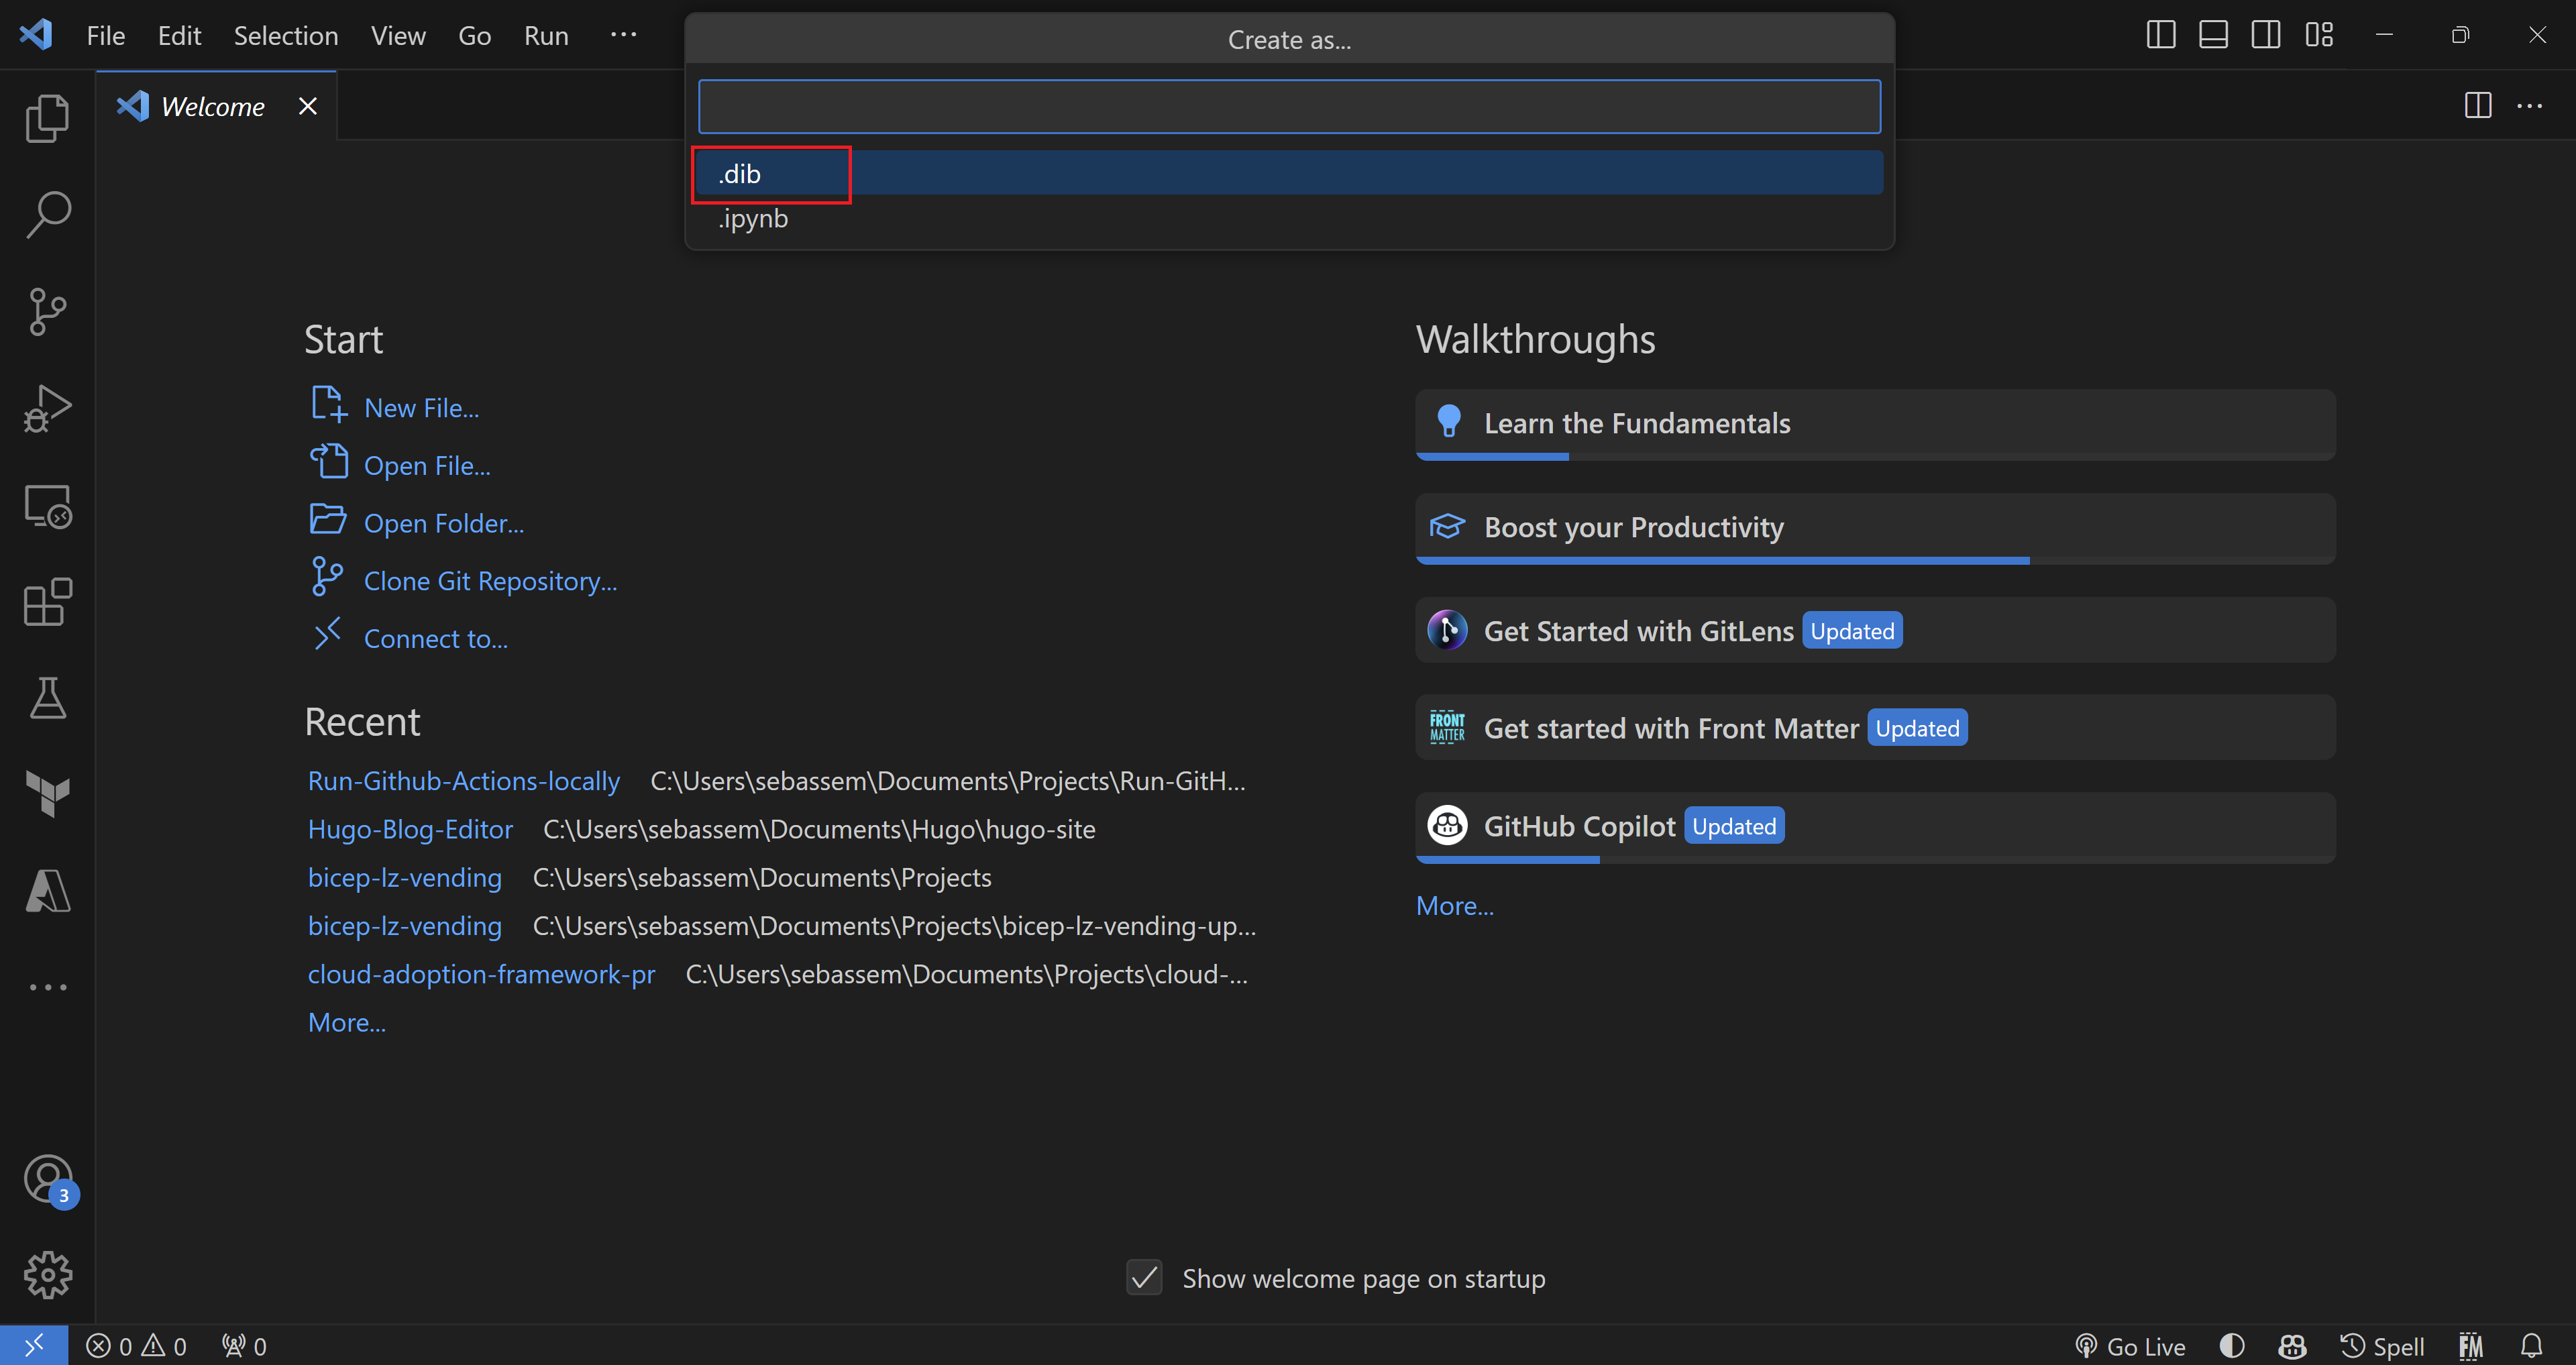
- Choose the dib extension (its faster and more lightweight)
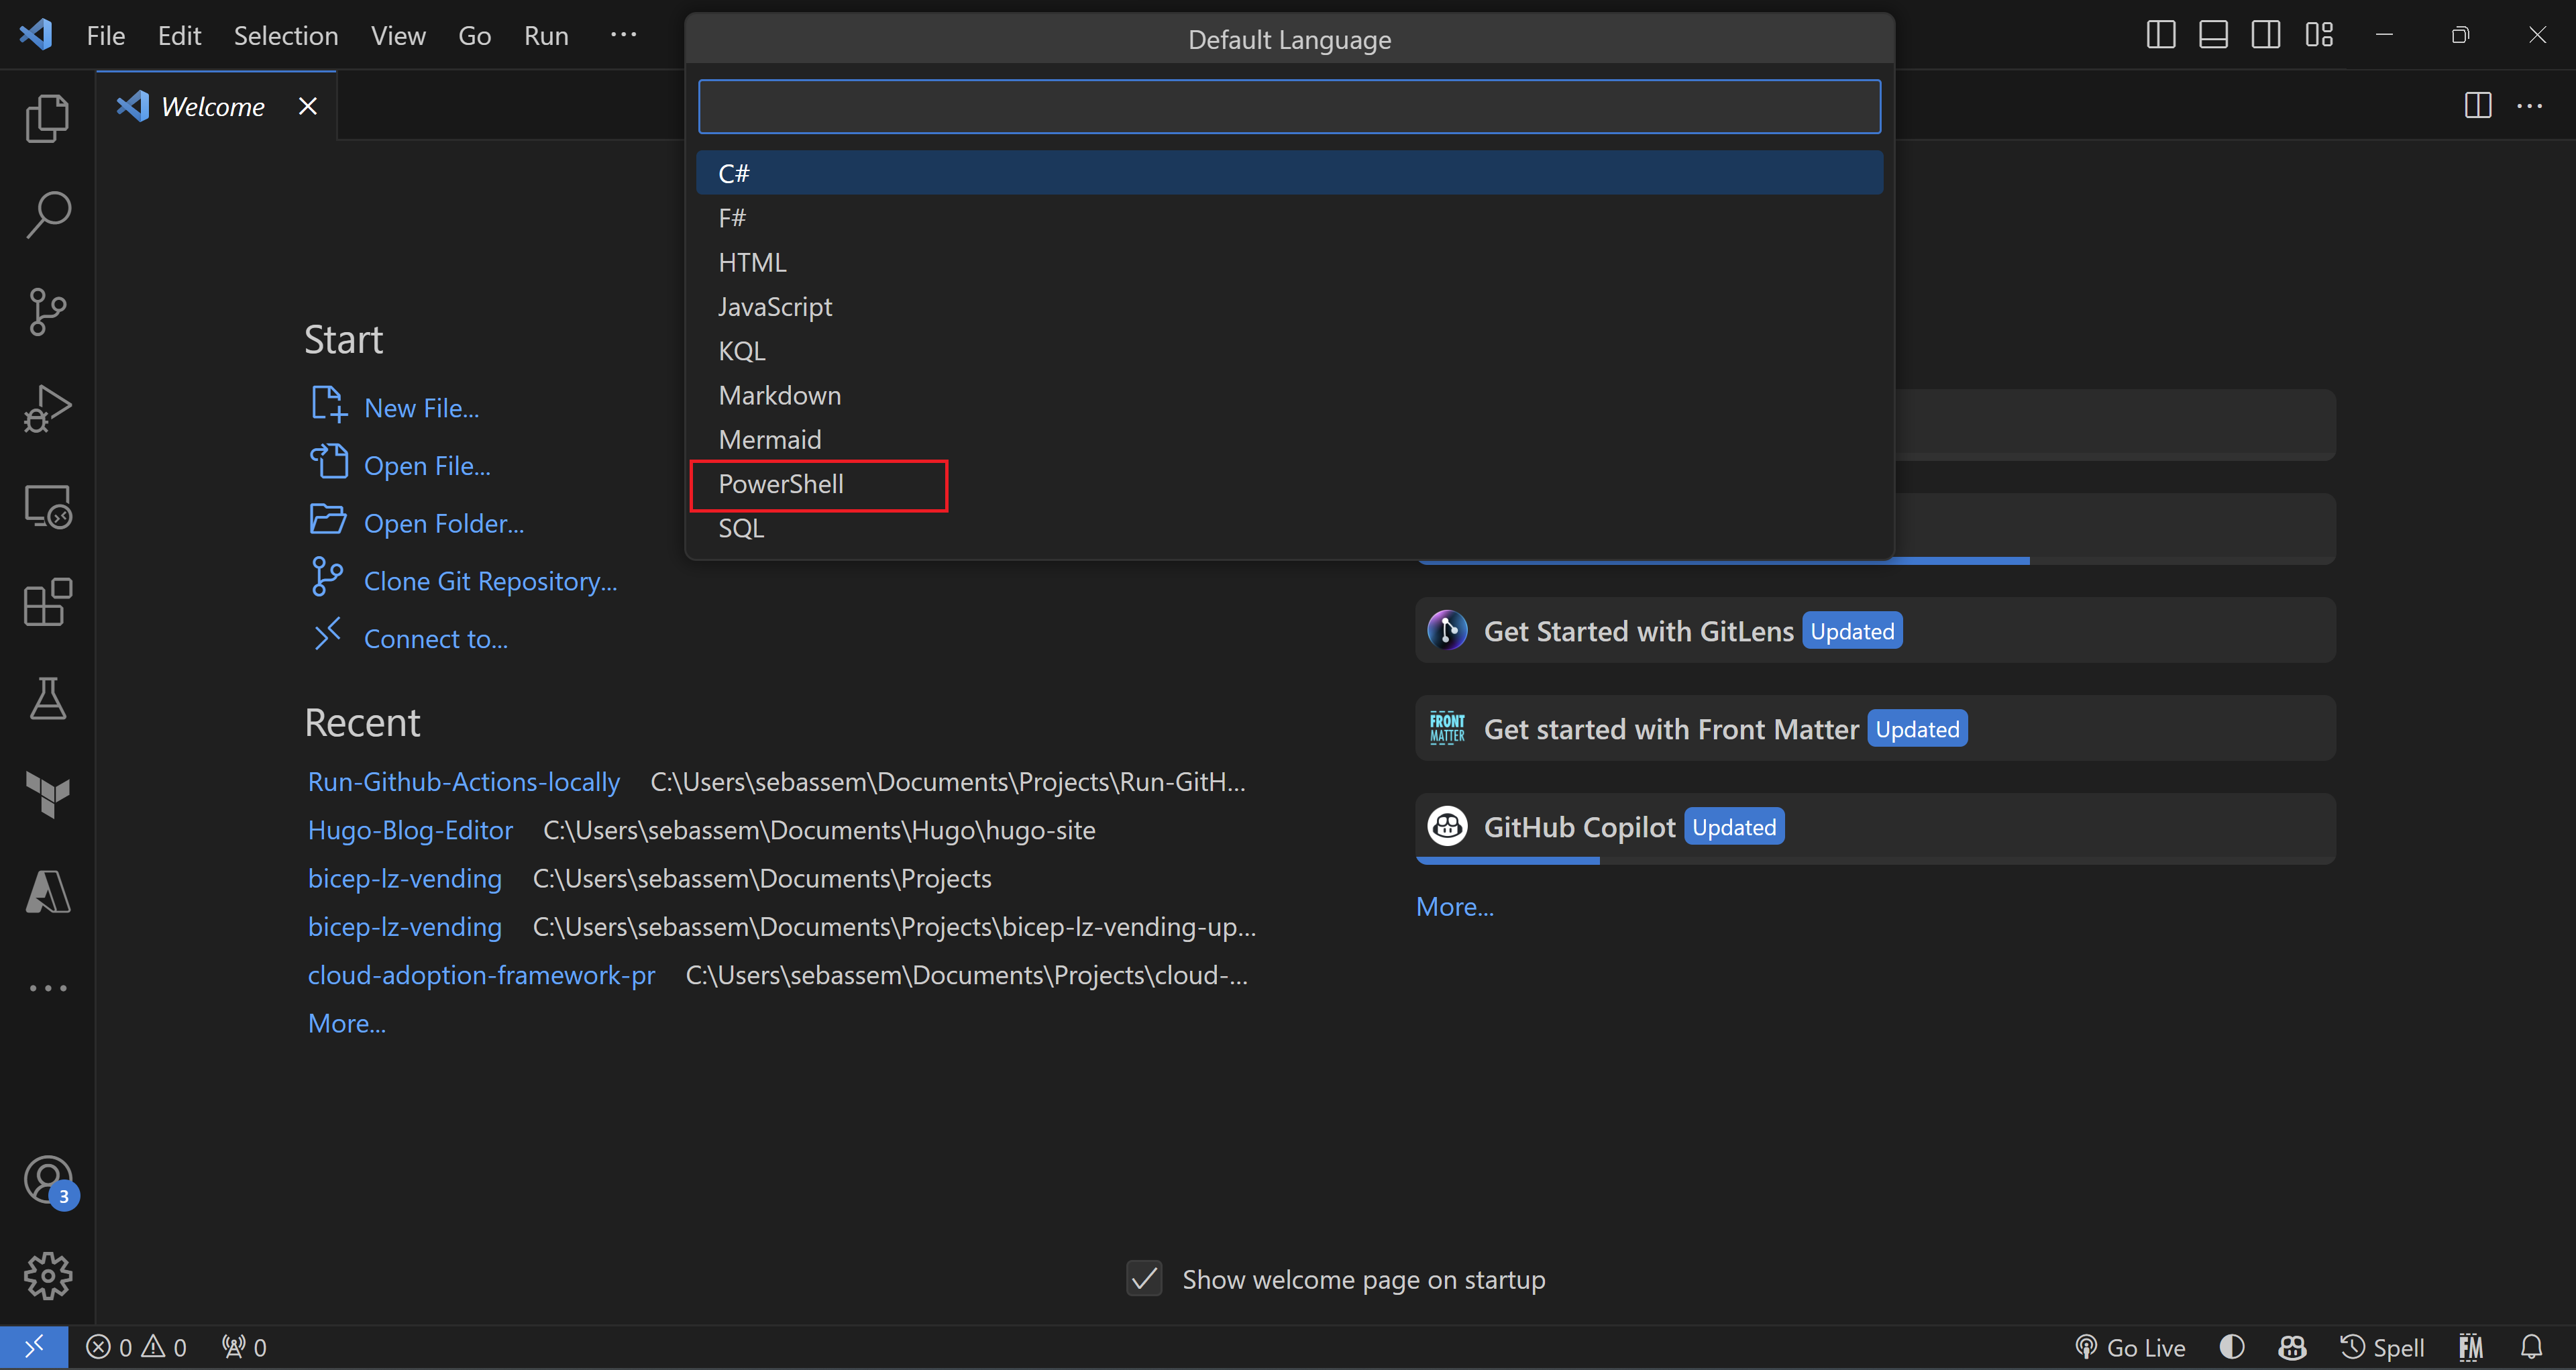
- Choose the primary language, you want to use. I will choose PowerShell for this blog post.
- An empty notebook is created for us.

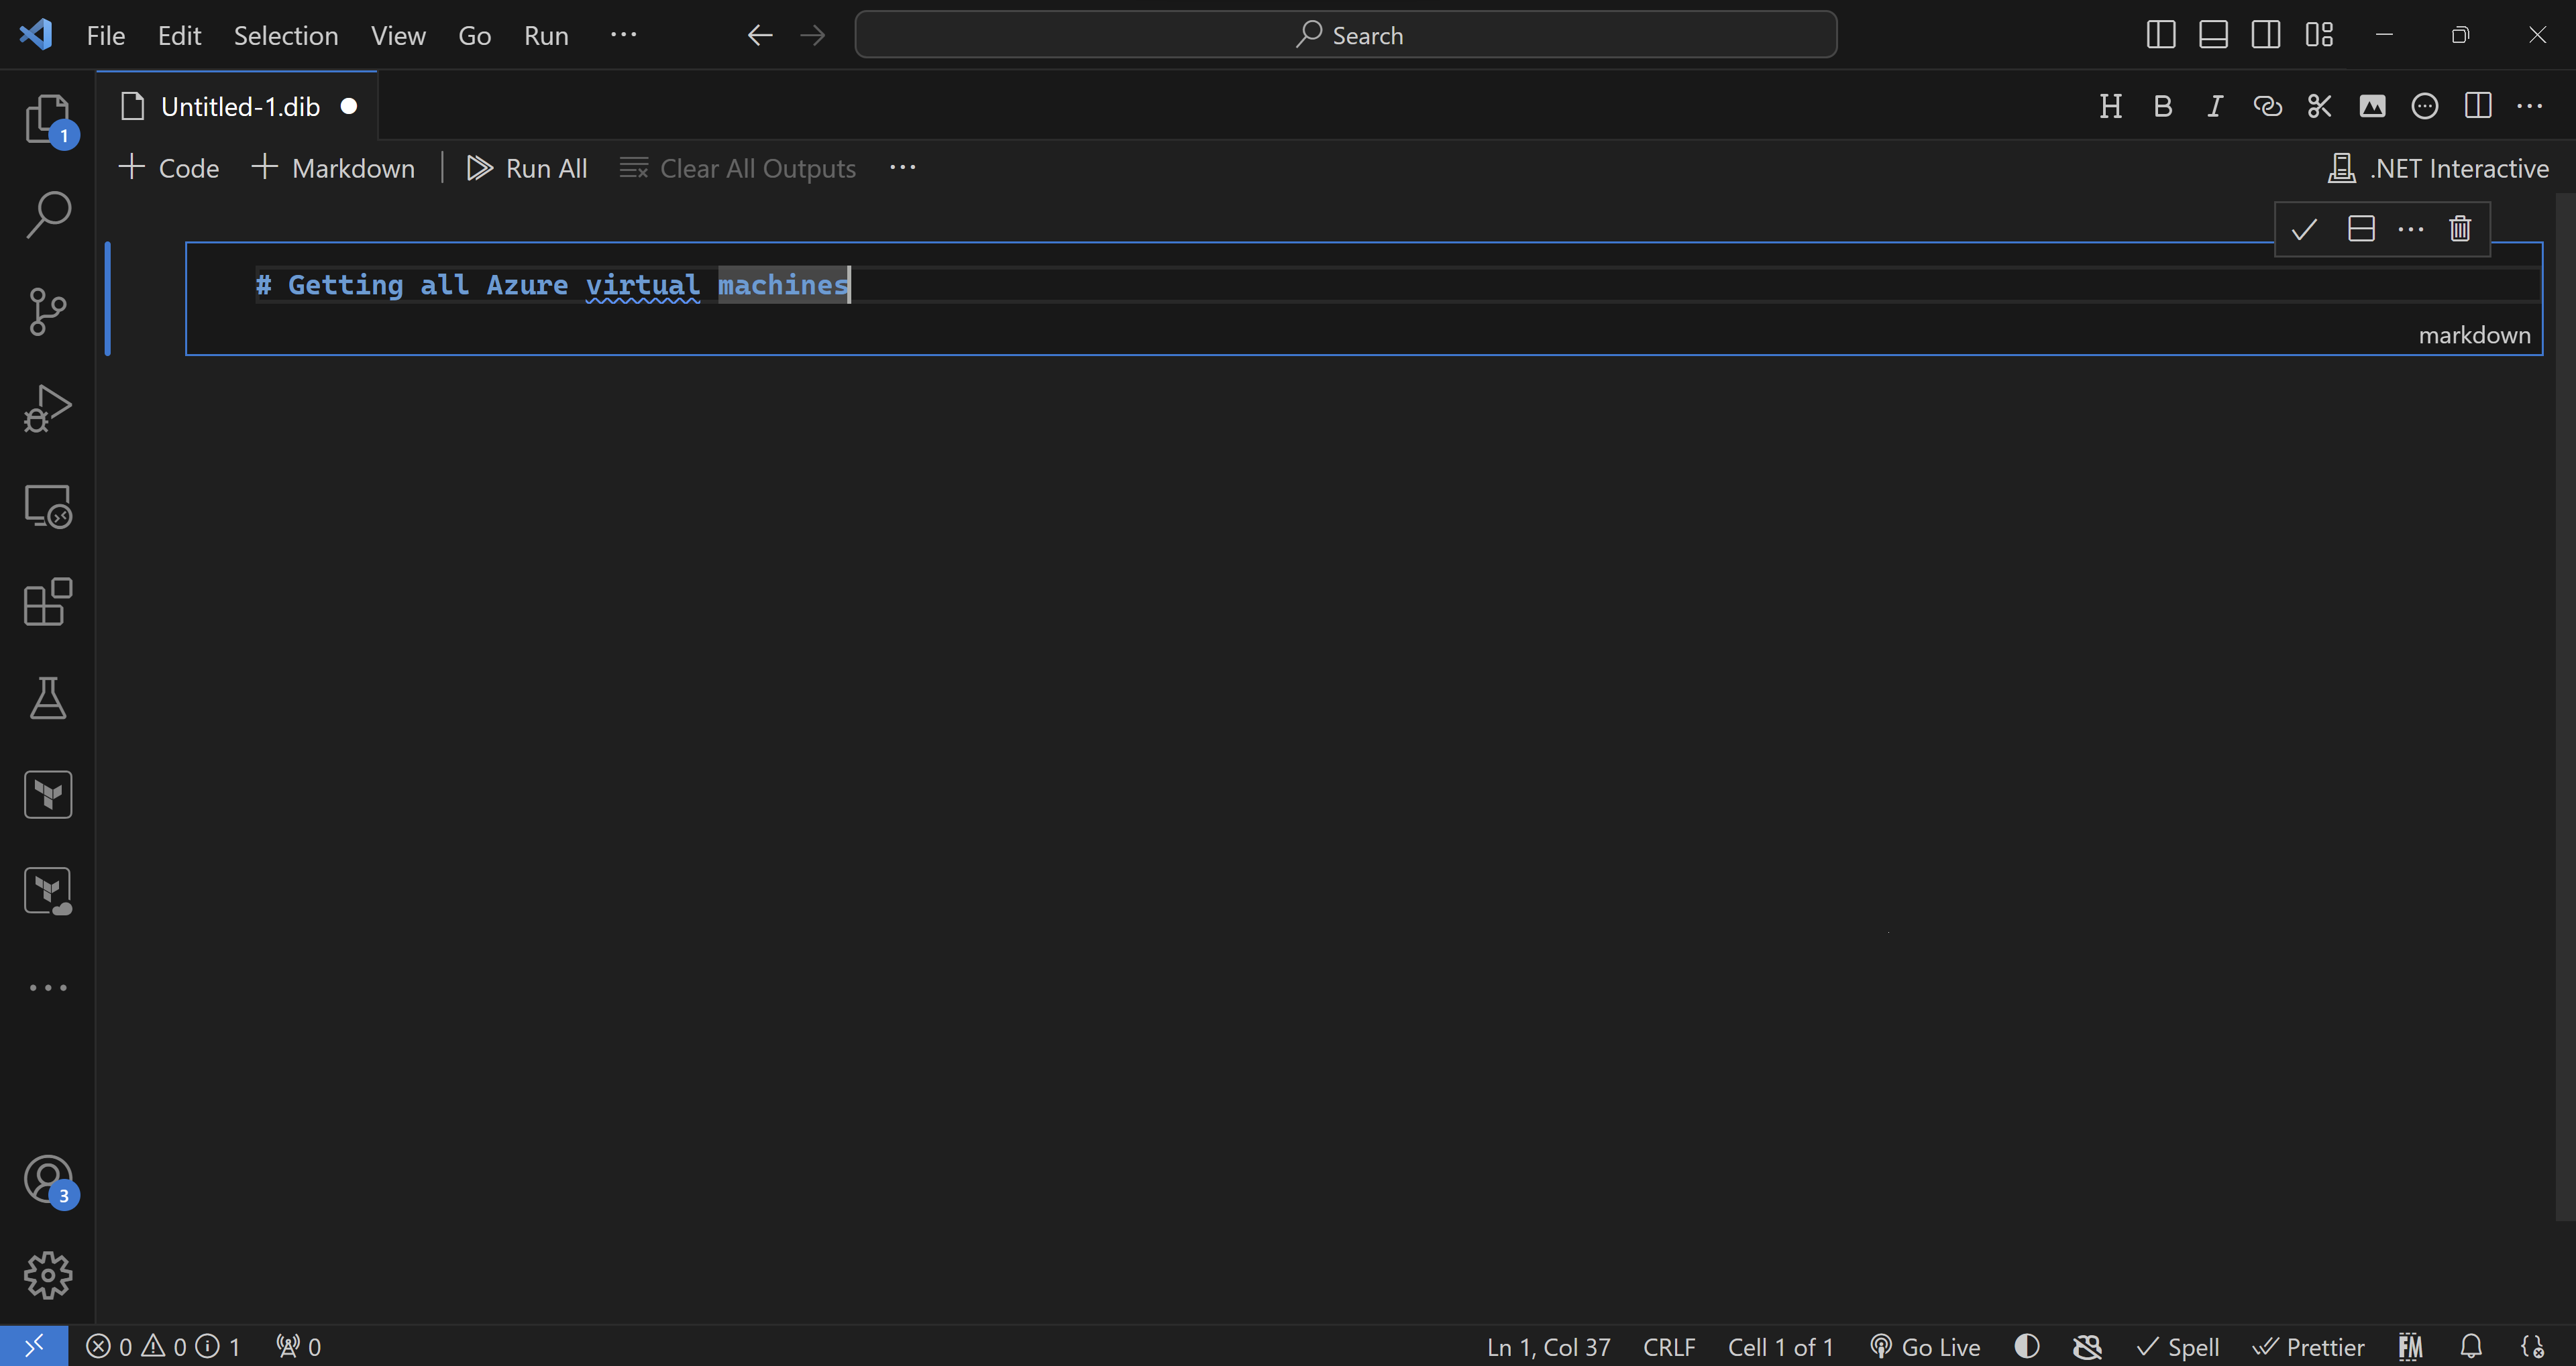
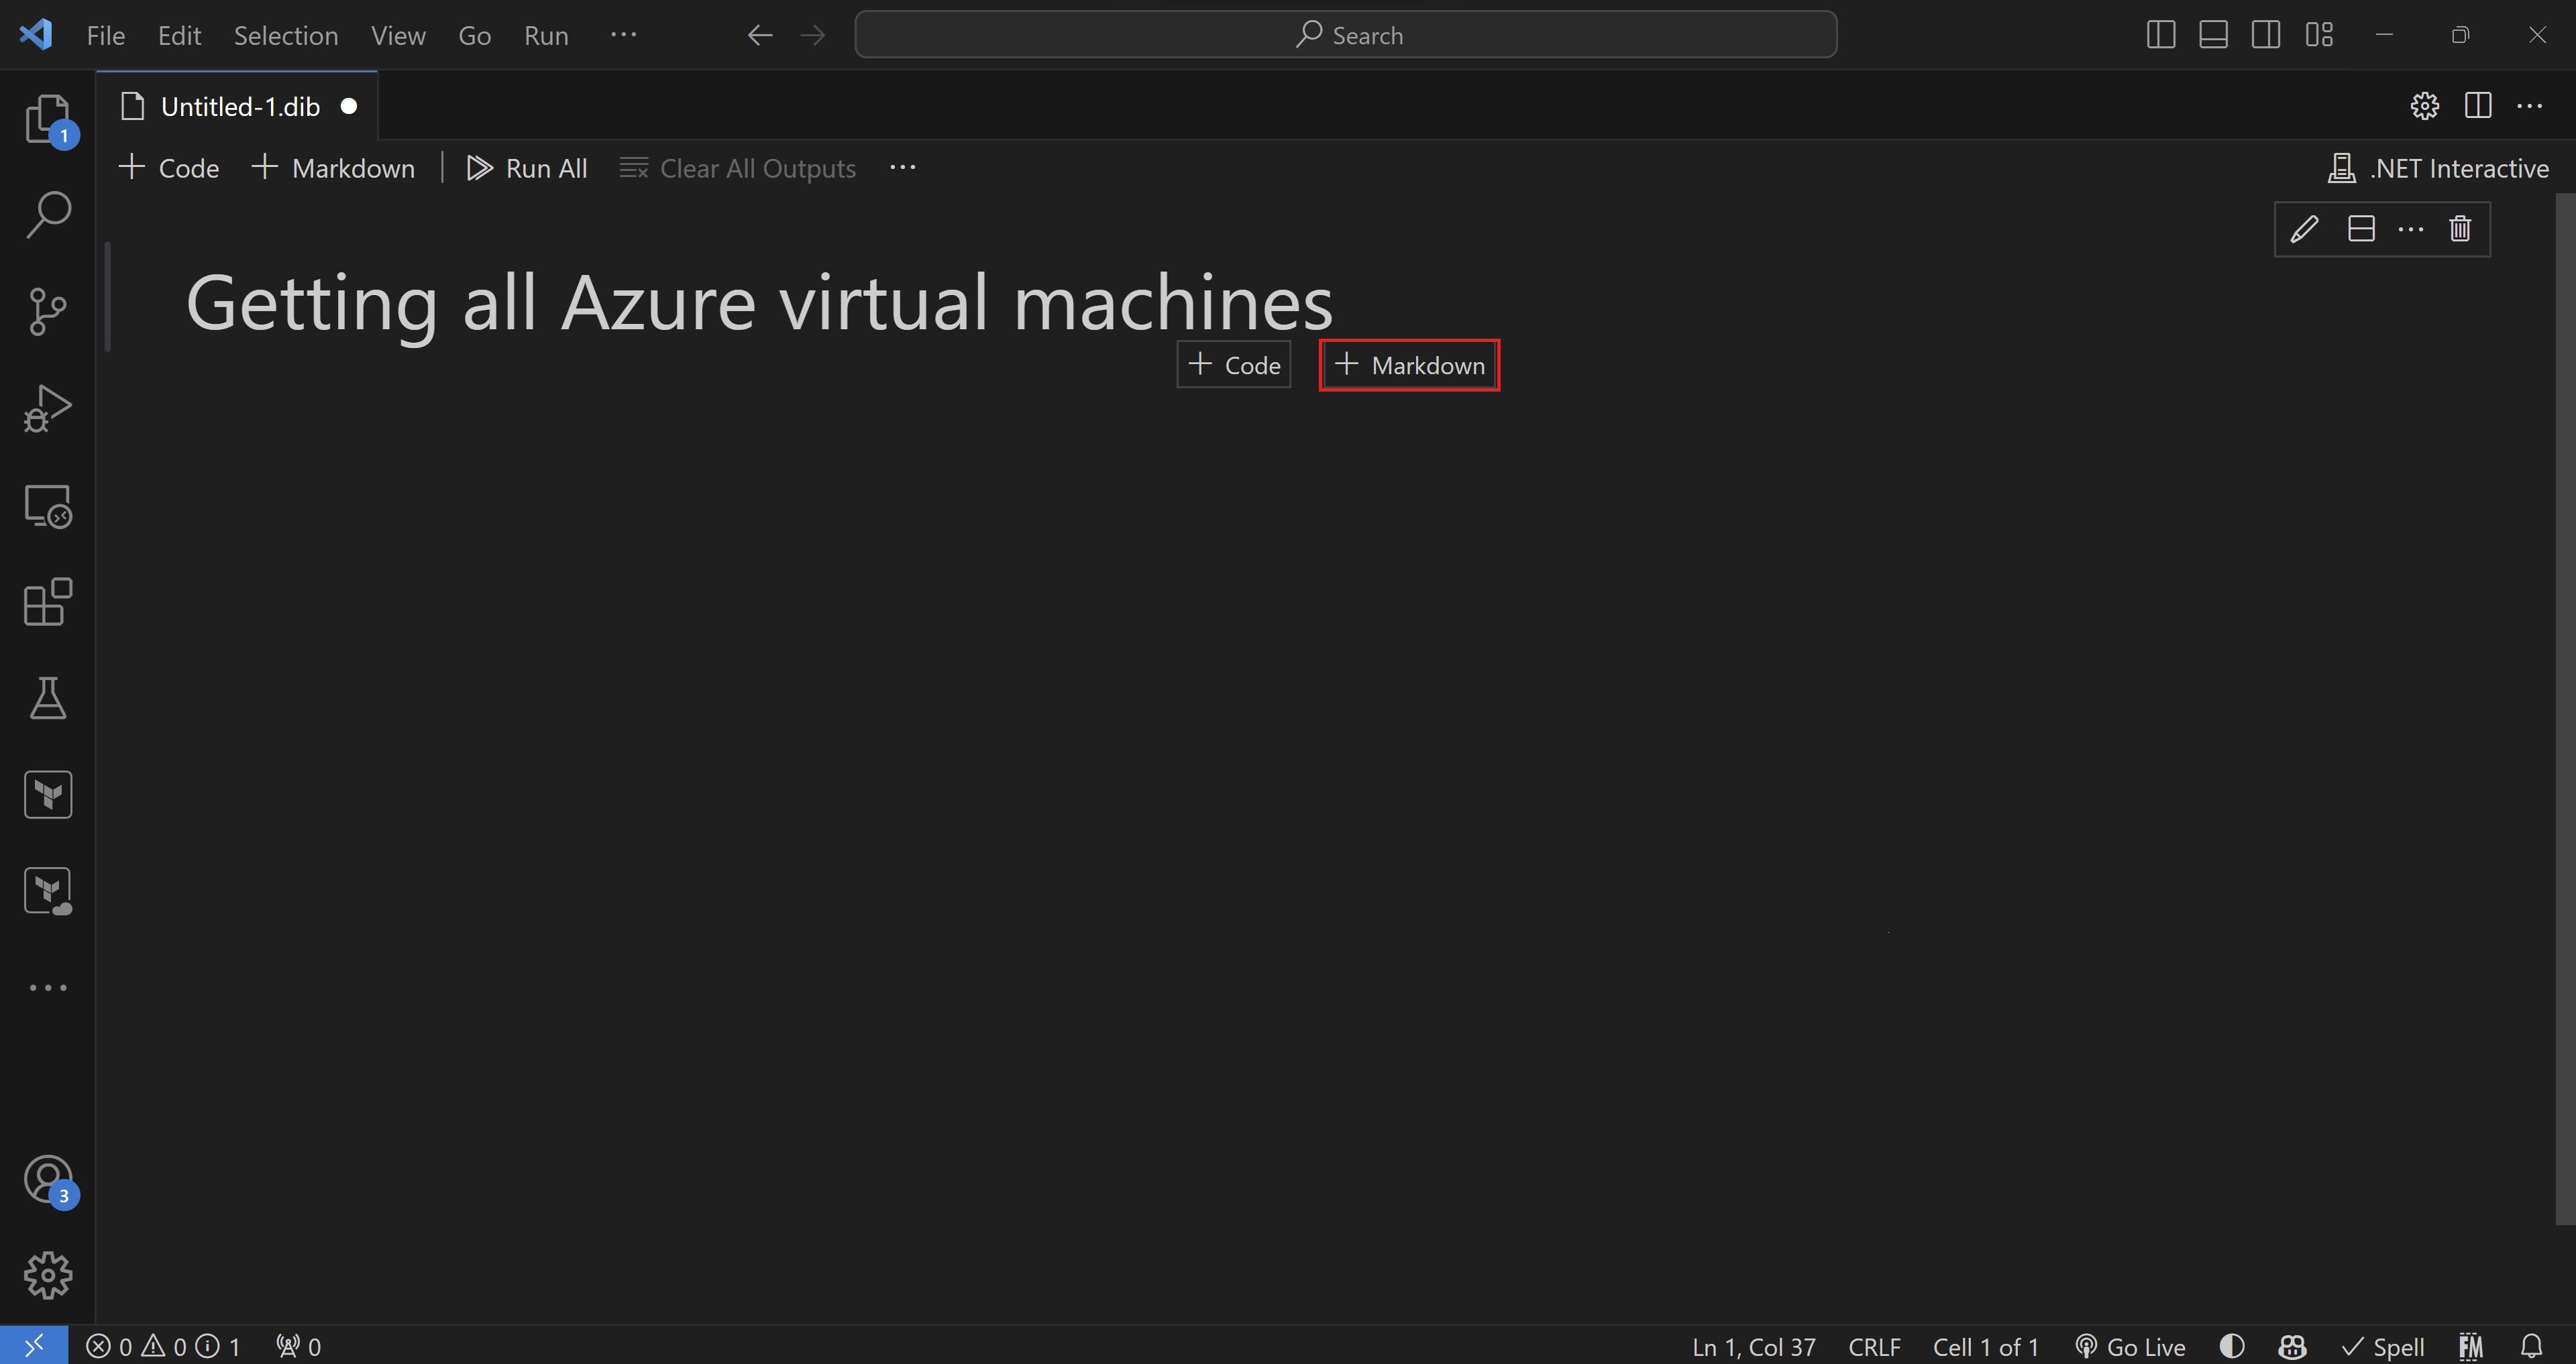
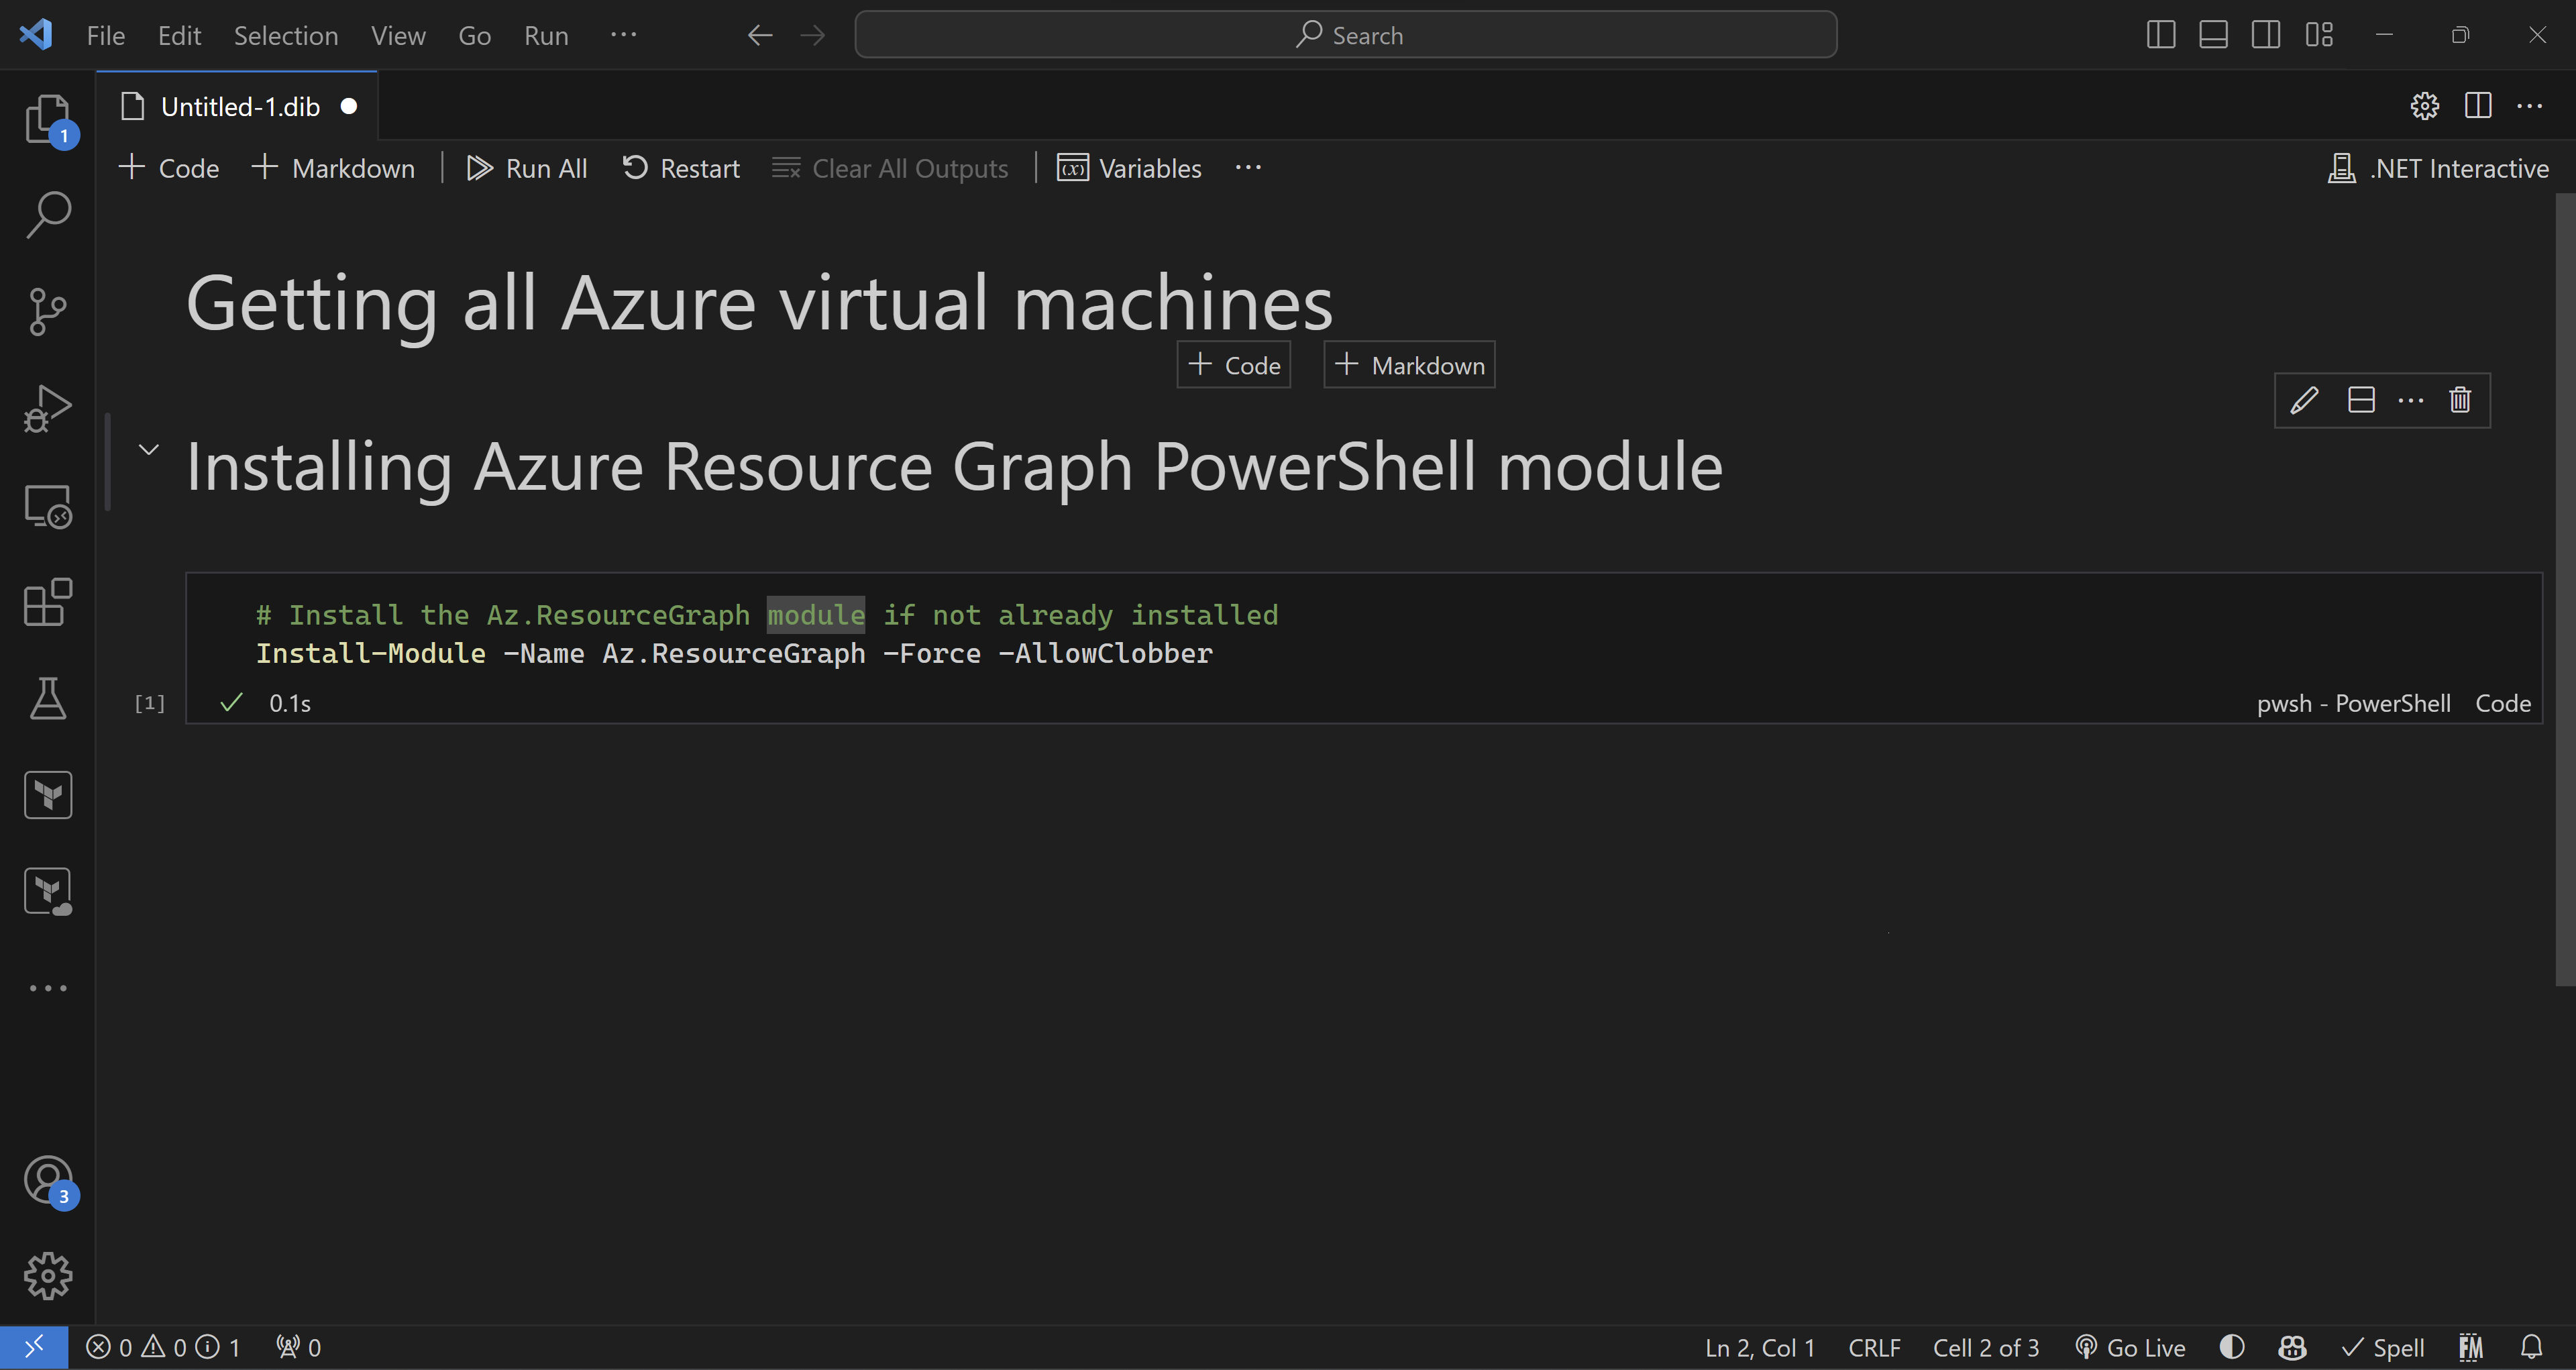
- Lets start by adding some titles in markdown to explain what we will do.
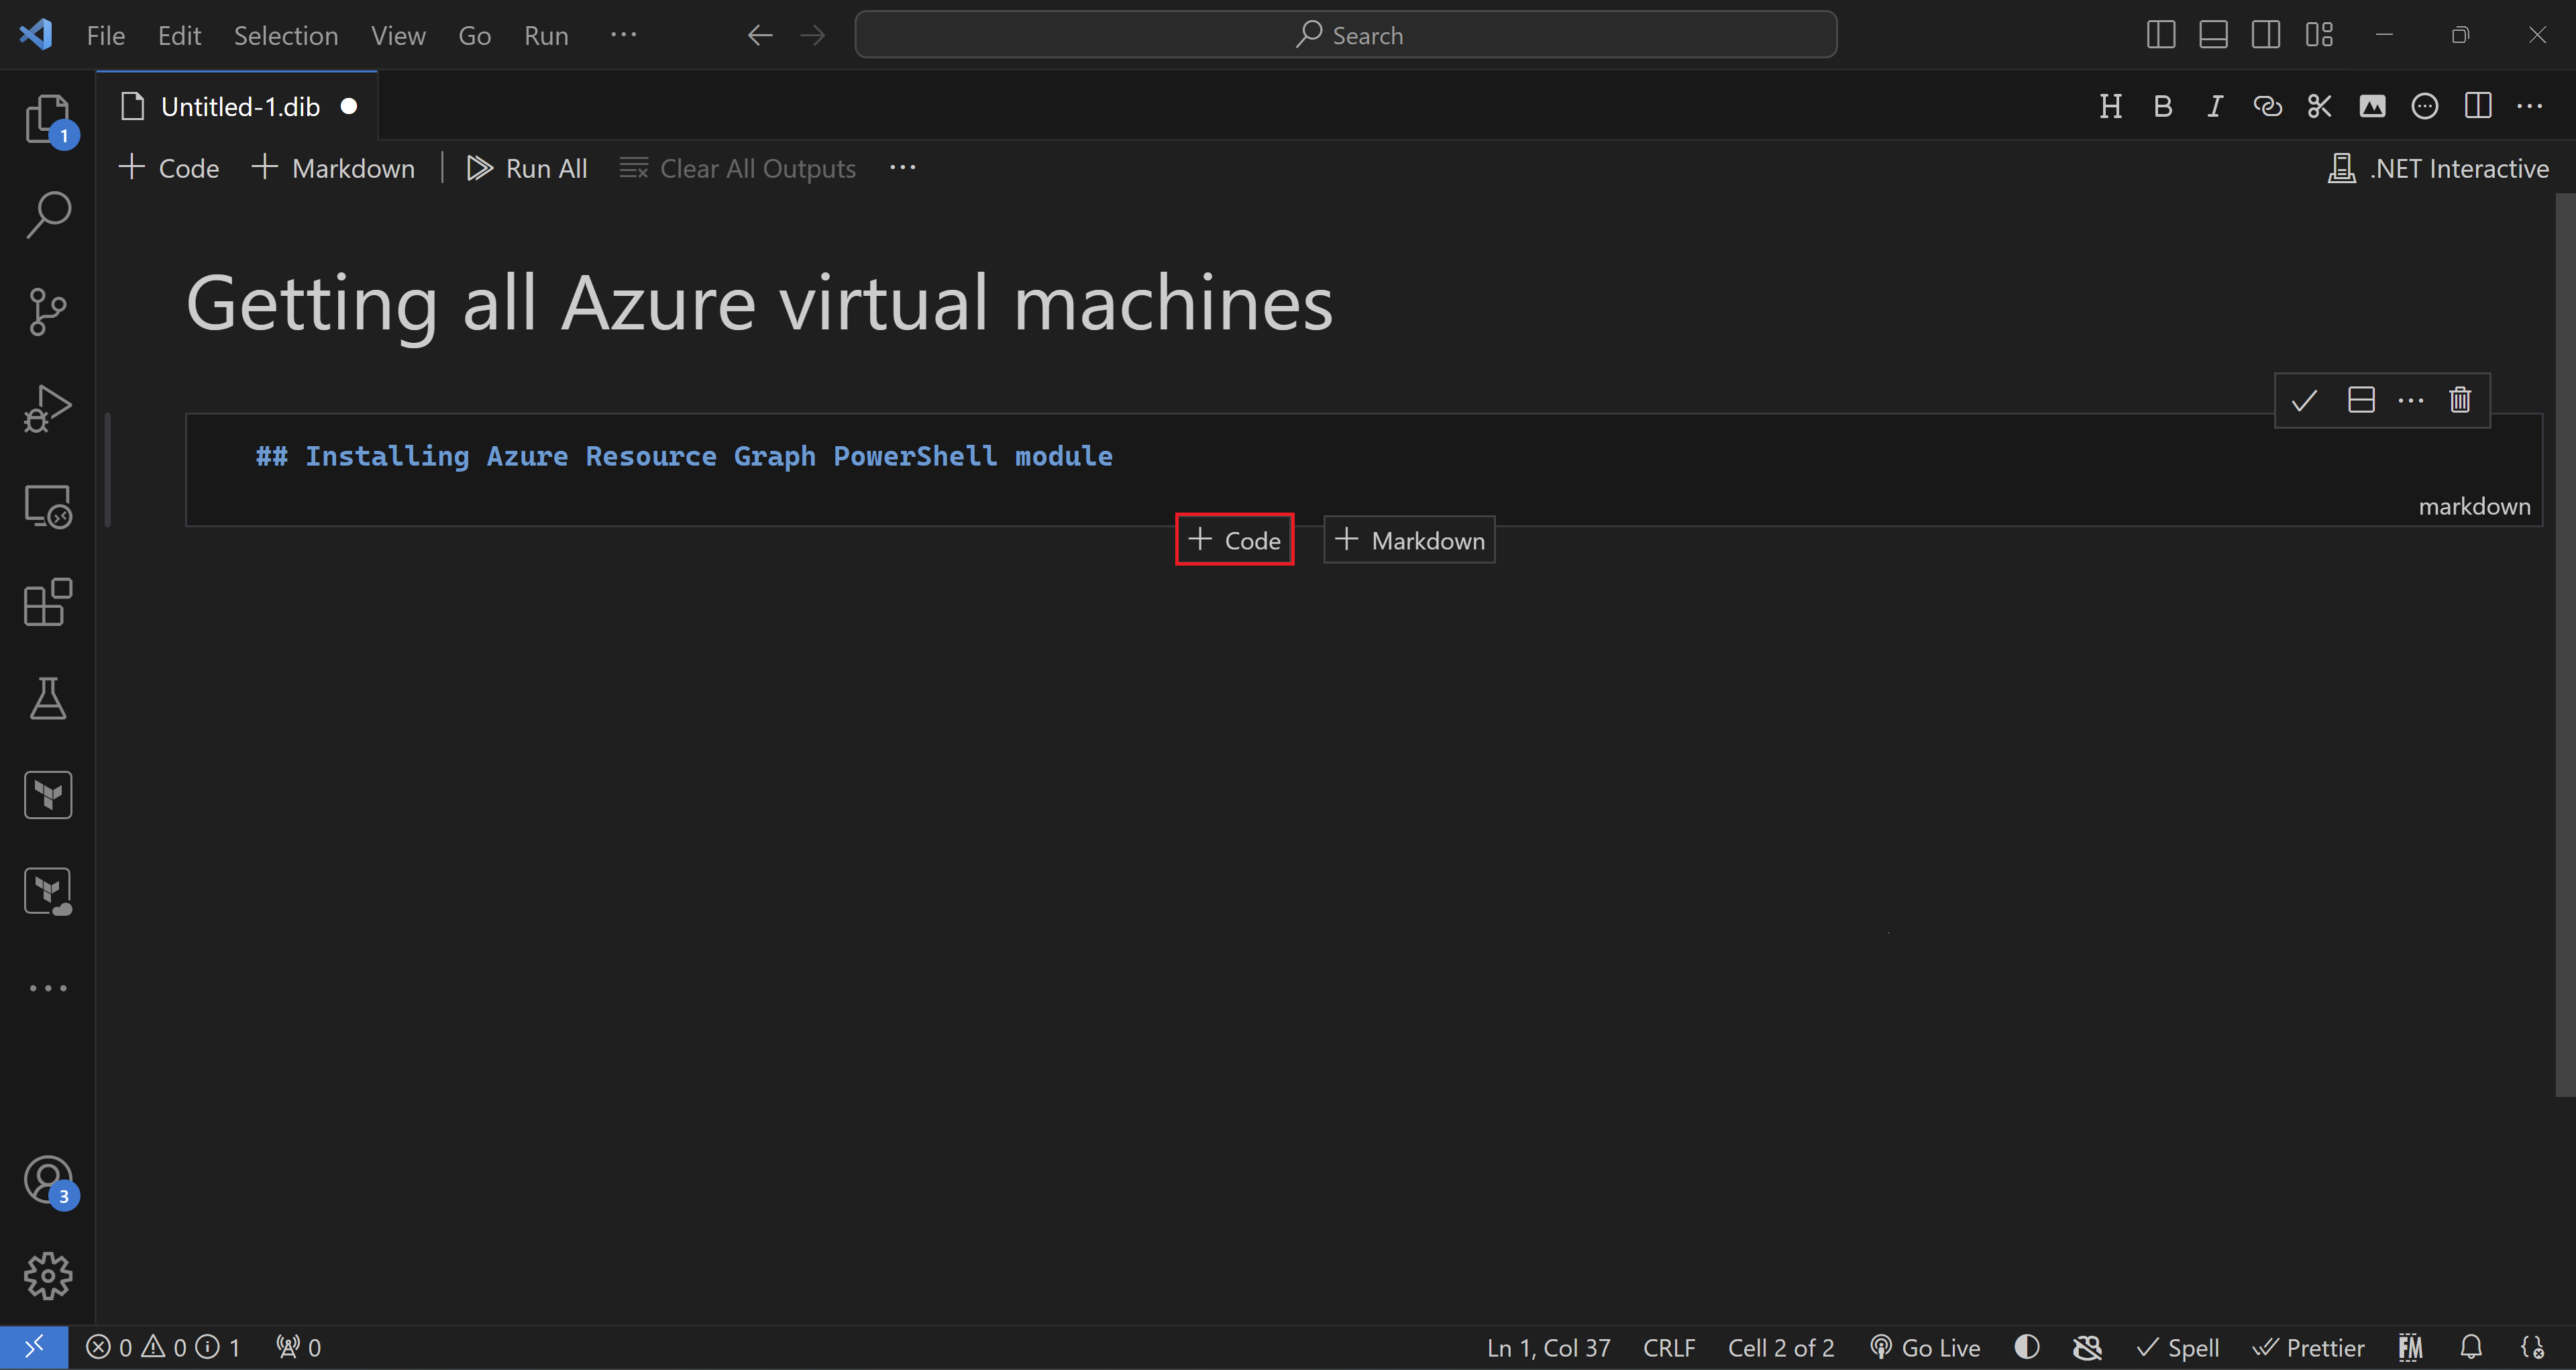
- Then we add the PowerShell code we need to install the Azure Resource Graph module.
Install-Module -Name Az.ResourceGraph -Force -AllowClobber
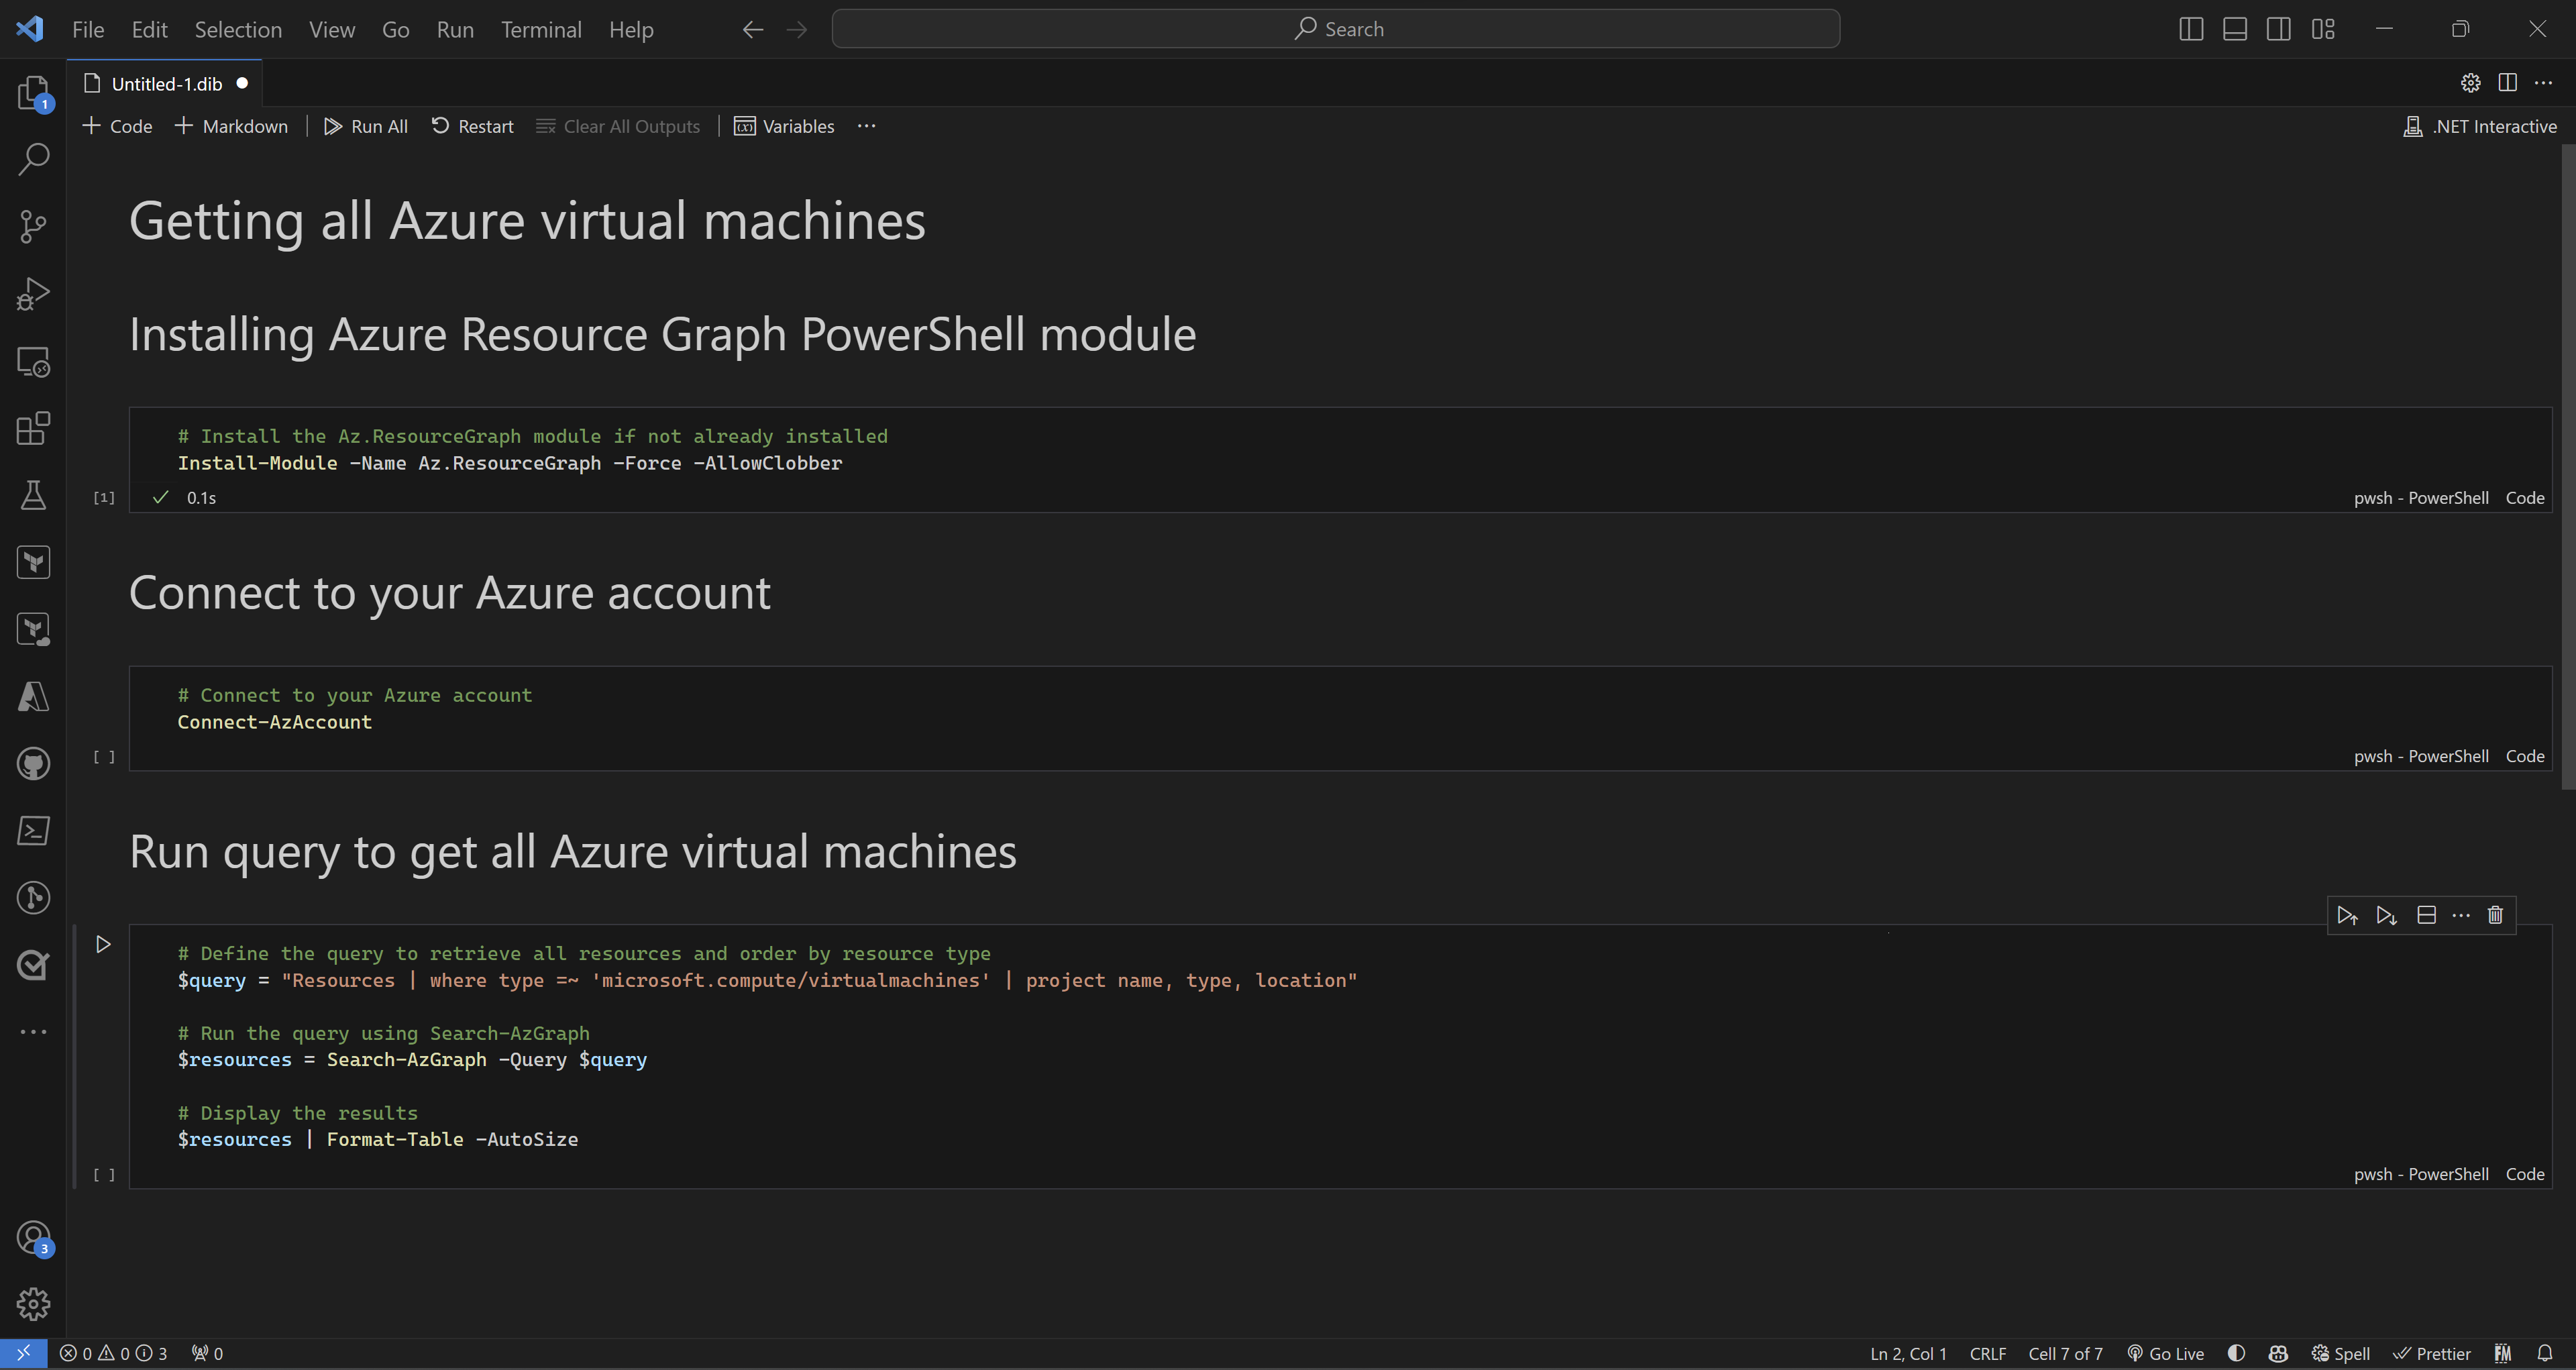
- I will repeat the same to add all the steps we need so the final result should look like this.
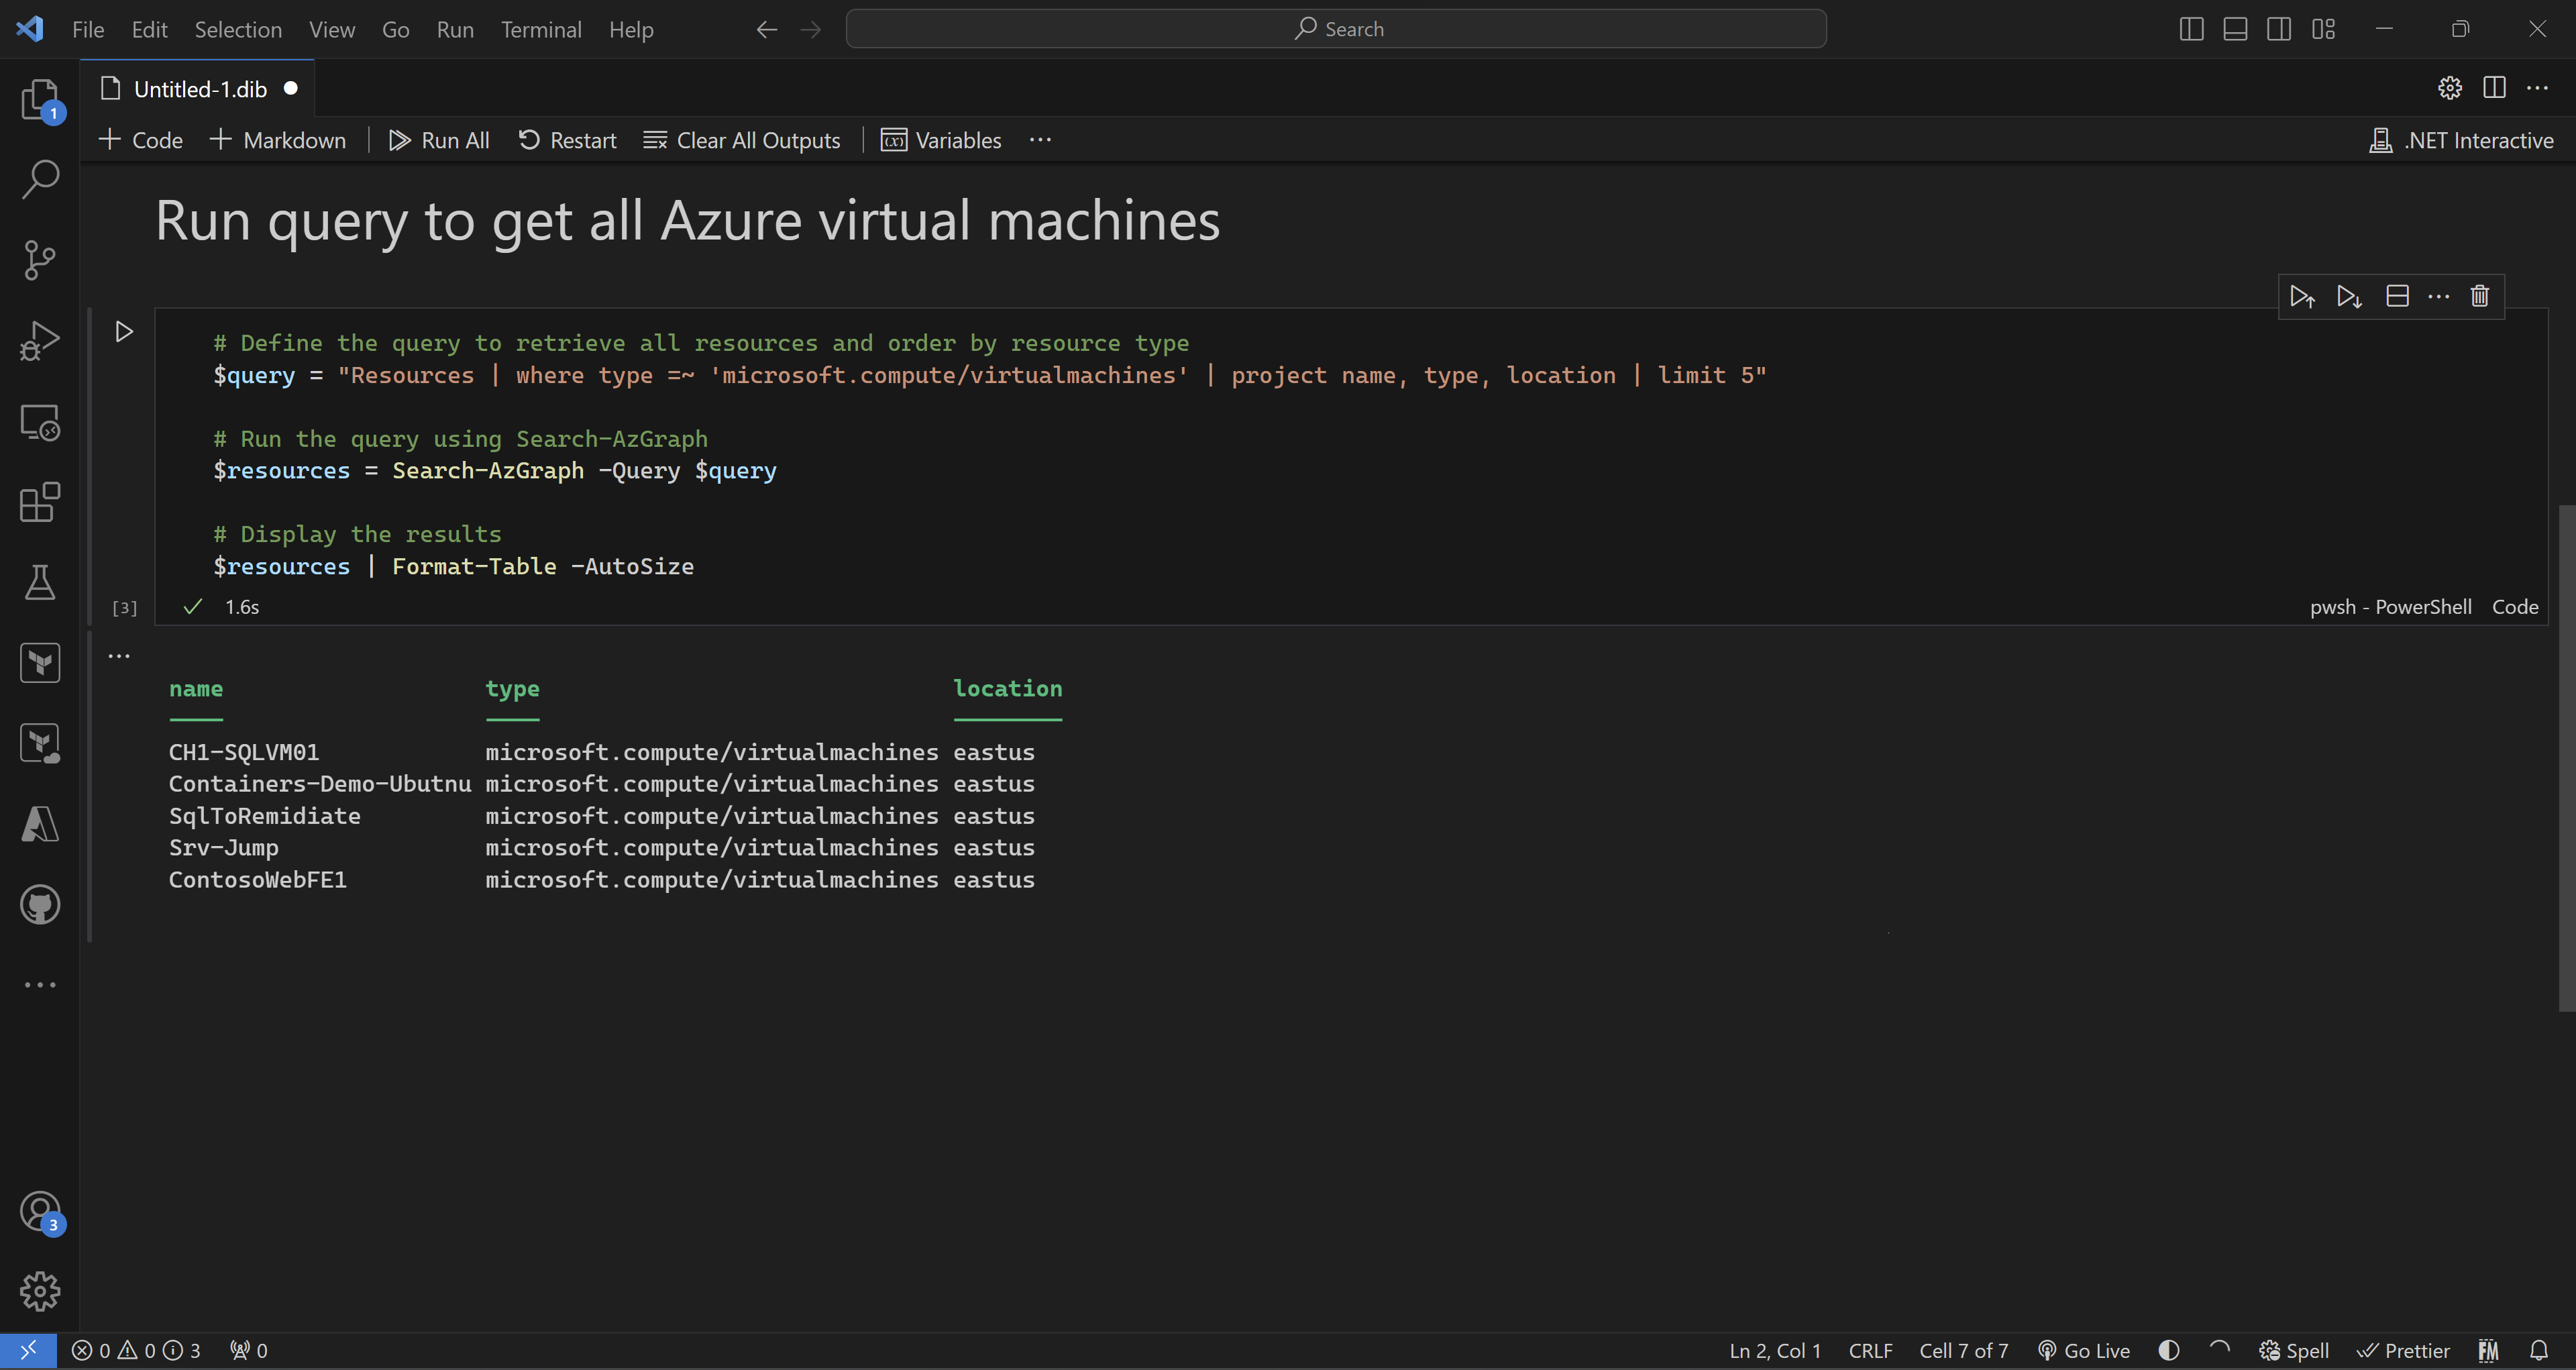
- Now, for every PowerShell cell, we can click run to execute every step along the way.
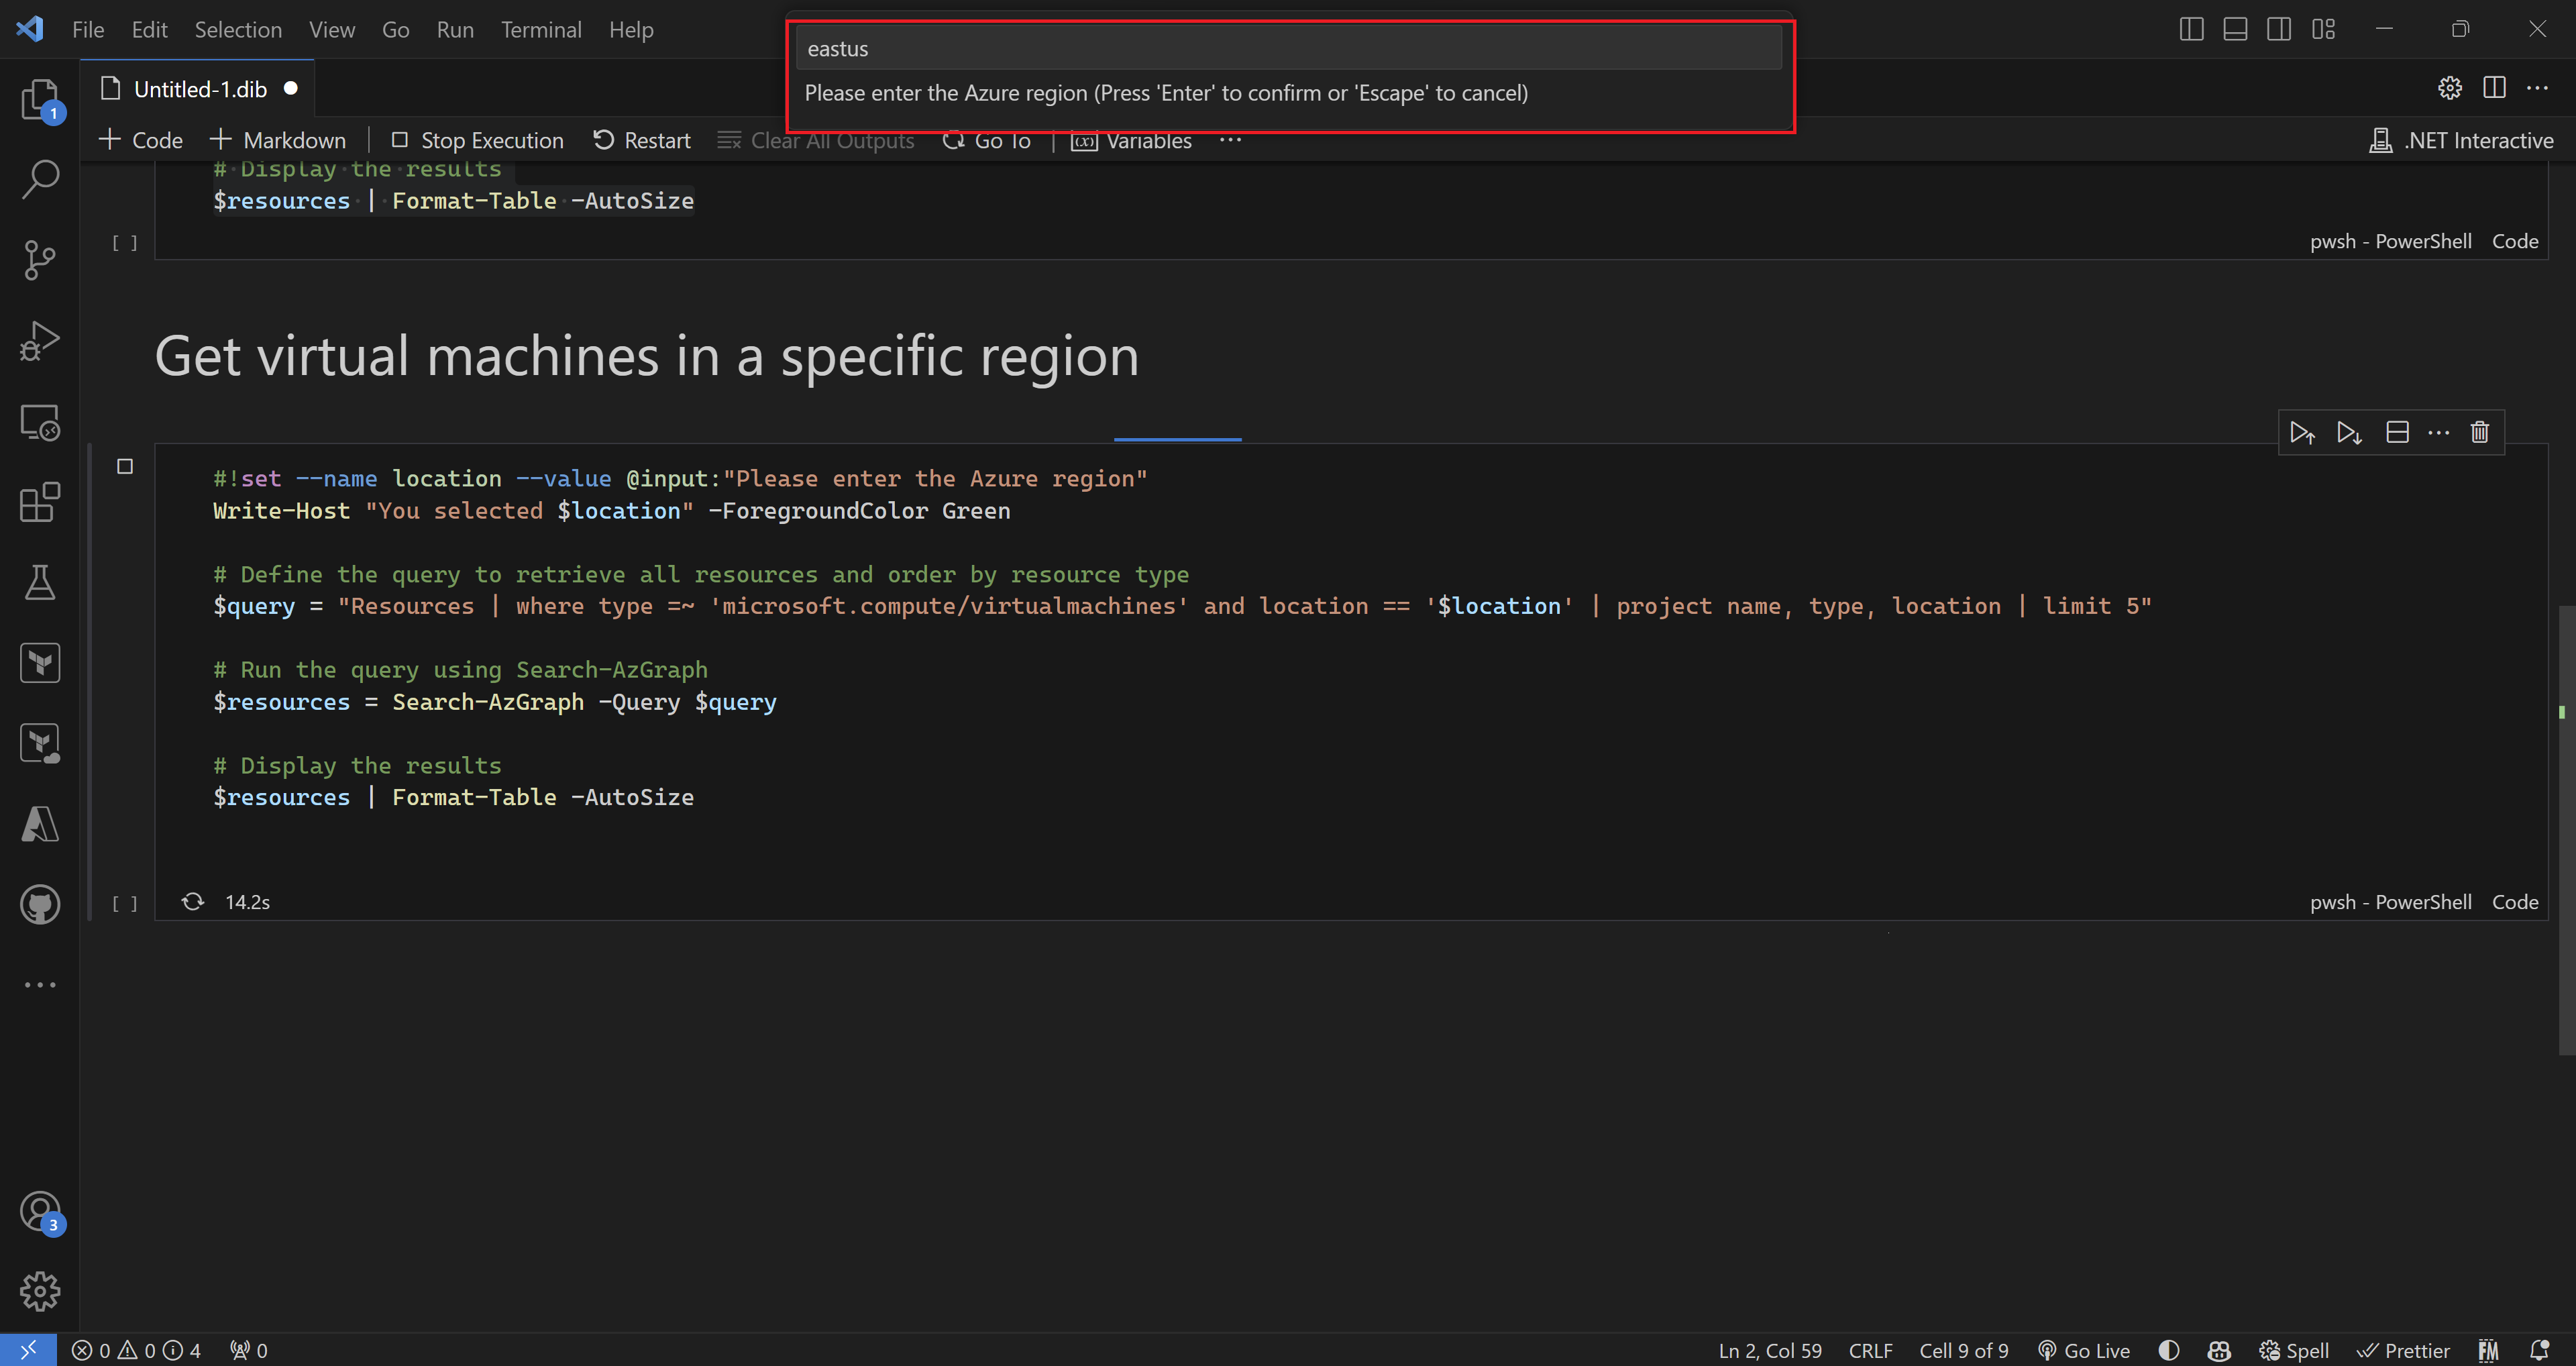
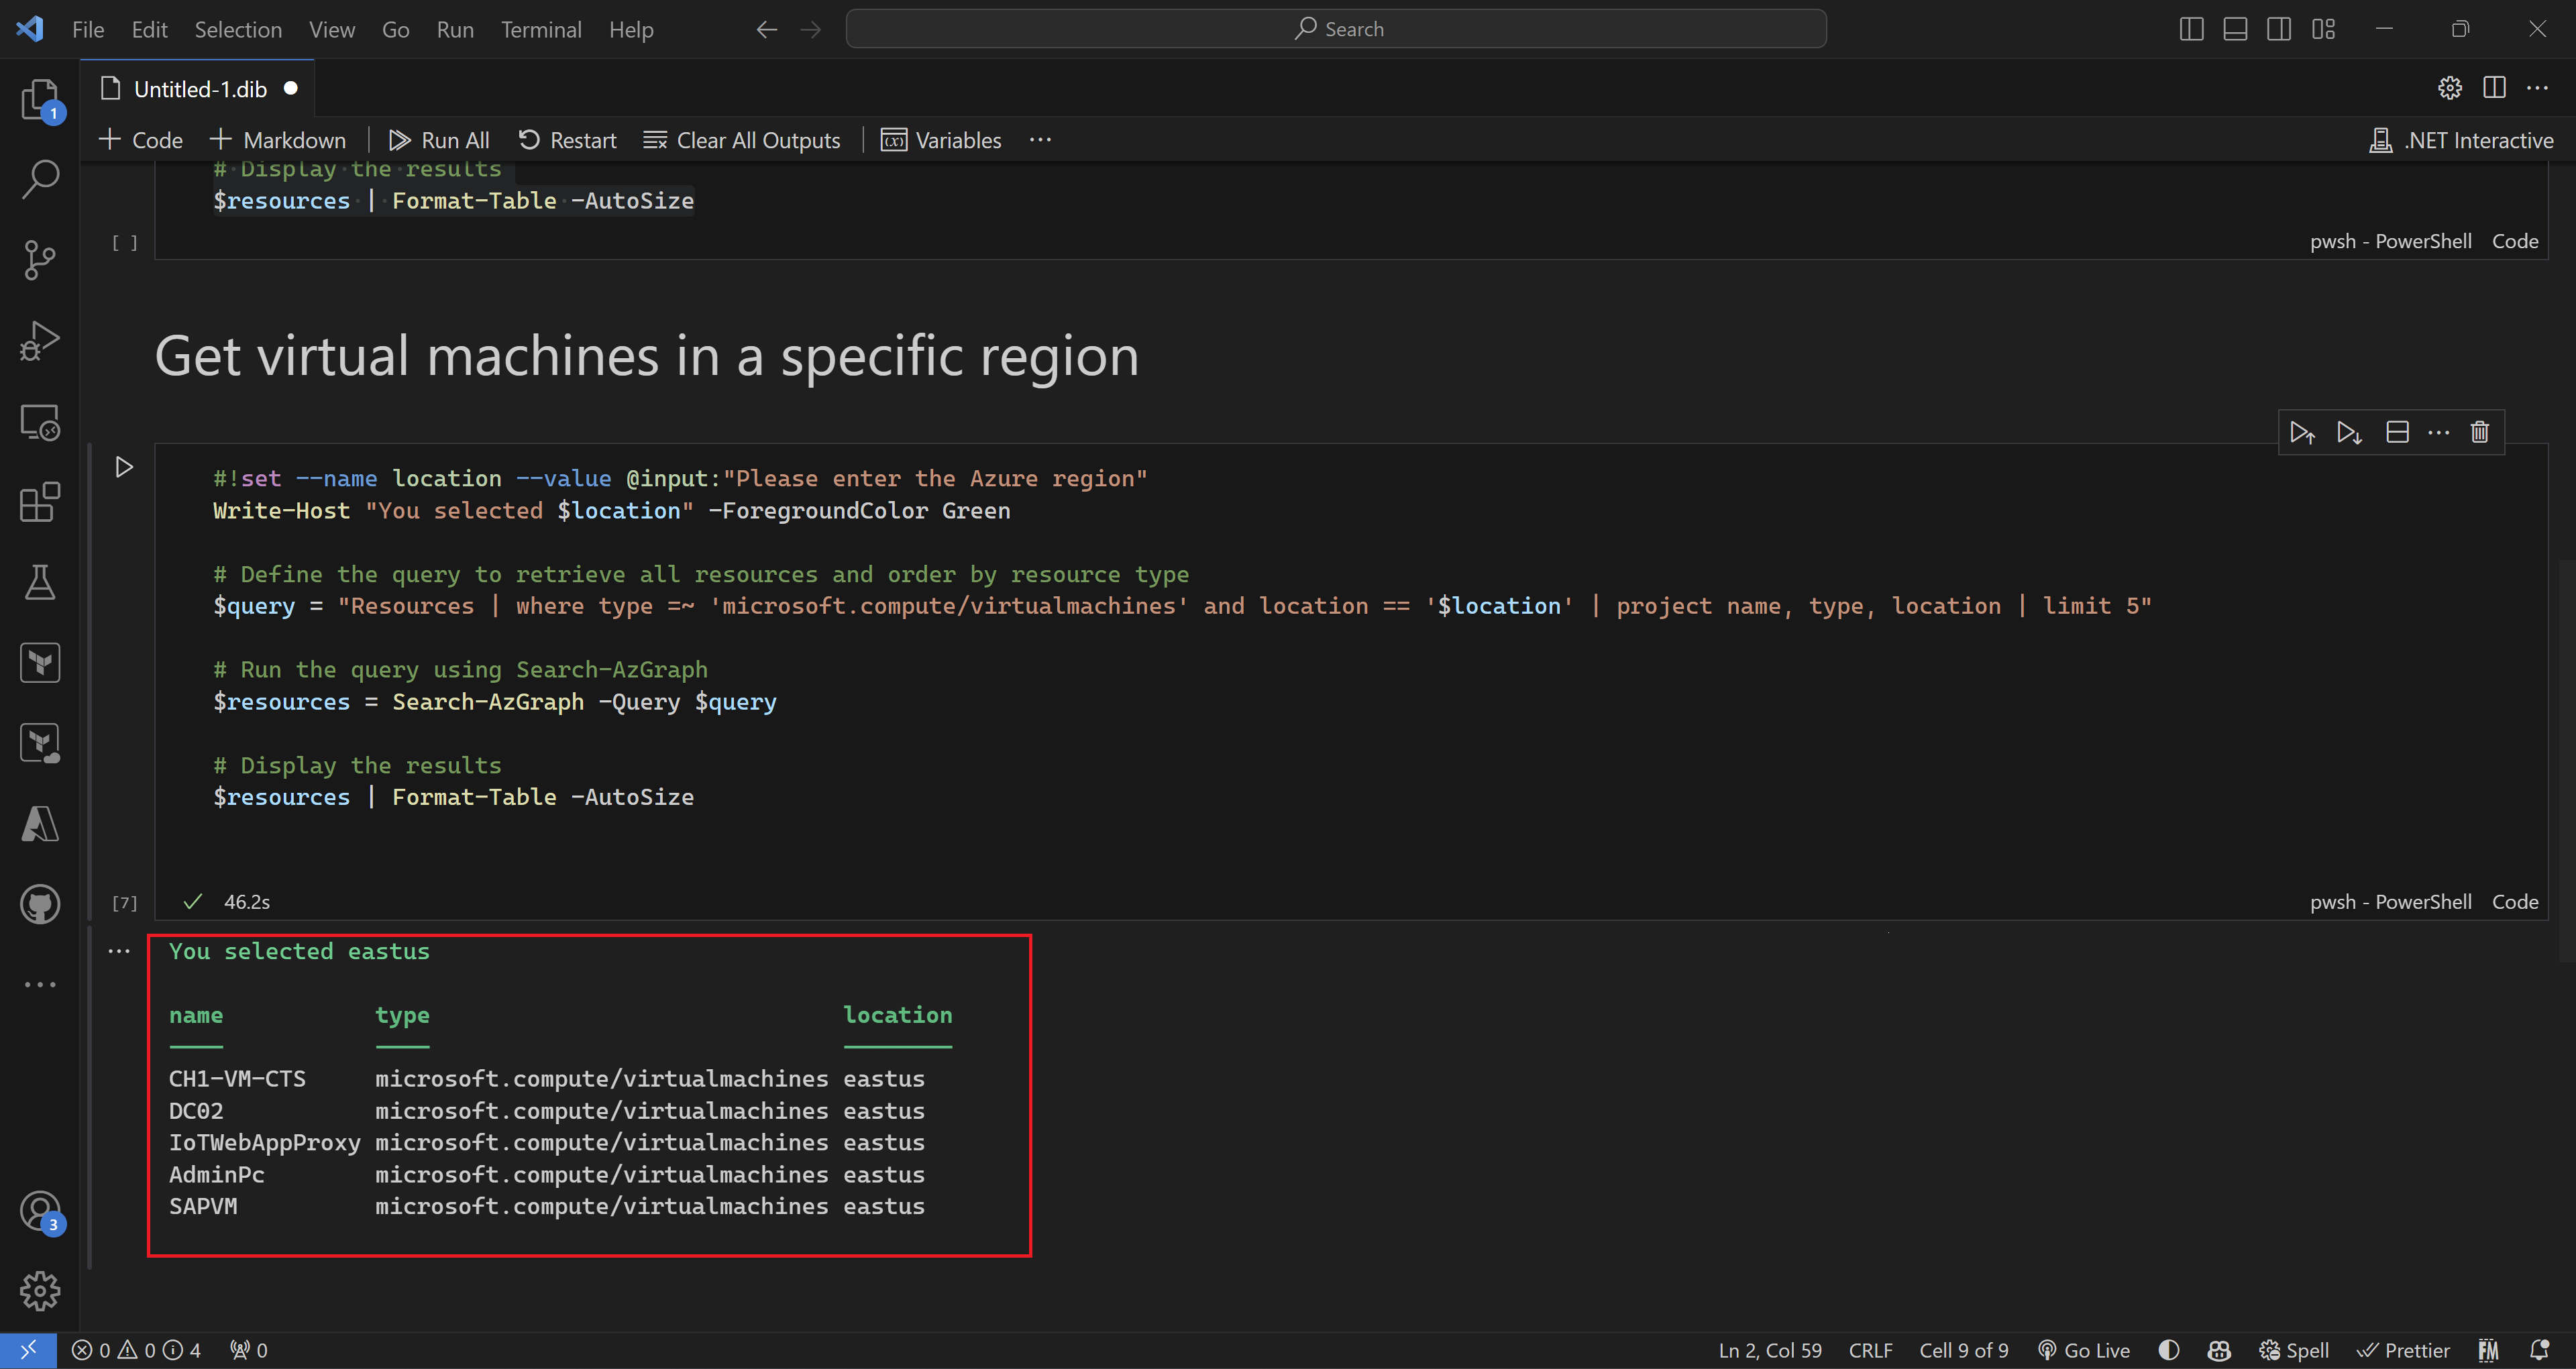
- We can also create variables which enabled us to share data between the different commands we are running. I will create a new variable to prompt for an Azure region and then use it in a PowerShell command.
#!set --name location --value @input:"Please enter the Azure region"
Write-Host "You selected $location" -ForegroundColor Green

- Once I run this cell, I’m prompted by this message to get the variable’s value.
Recap
I hope you enjoyed this blog post on polyglot notebooks in vscode. Polyglot notebooks are a great way to combine different languages and frameworks in one interactive document. As an IT professional, you can use them for training purposes, interactive documentation, and more. If you want to learn more about polyglot notebooks, check out the official documentation and some examples on GitHub. Thanks for reading and happy coding.
Share on:
My name is
Seif Bassem
You May Also Like

Test your GitHub actions locally on your dev machine
I recently stumbled upon The “Act” project, this is a …
Do more with your Bicep code by using Deployment Scripts
Deployment scripts is a very interesting feature that allows you to …
Extended Security Updates via Azure Arc - Everything you need to know
As of October 10th, Windows Server 2012 will no longer be supported by …