
Continuous delivery to Azure using Bicep and GitHub actions
Infrastructure-as-code with Bicep and GitHub actions
Bicep has been a real game changer in terms of the infrastructure-as-code game when working with Azure , taking out all of the complexity that comes with ARM templates - If it’s the first time you’ve heard about Bicep , see my previous post.
Combining Bicep with the CI/CD capabilities of GitHub actions , you can truly streamline your deployments to Azure by maintaining your Bicep files in source control and continuously deploy to Azure to deliver faster results to your customers .
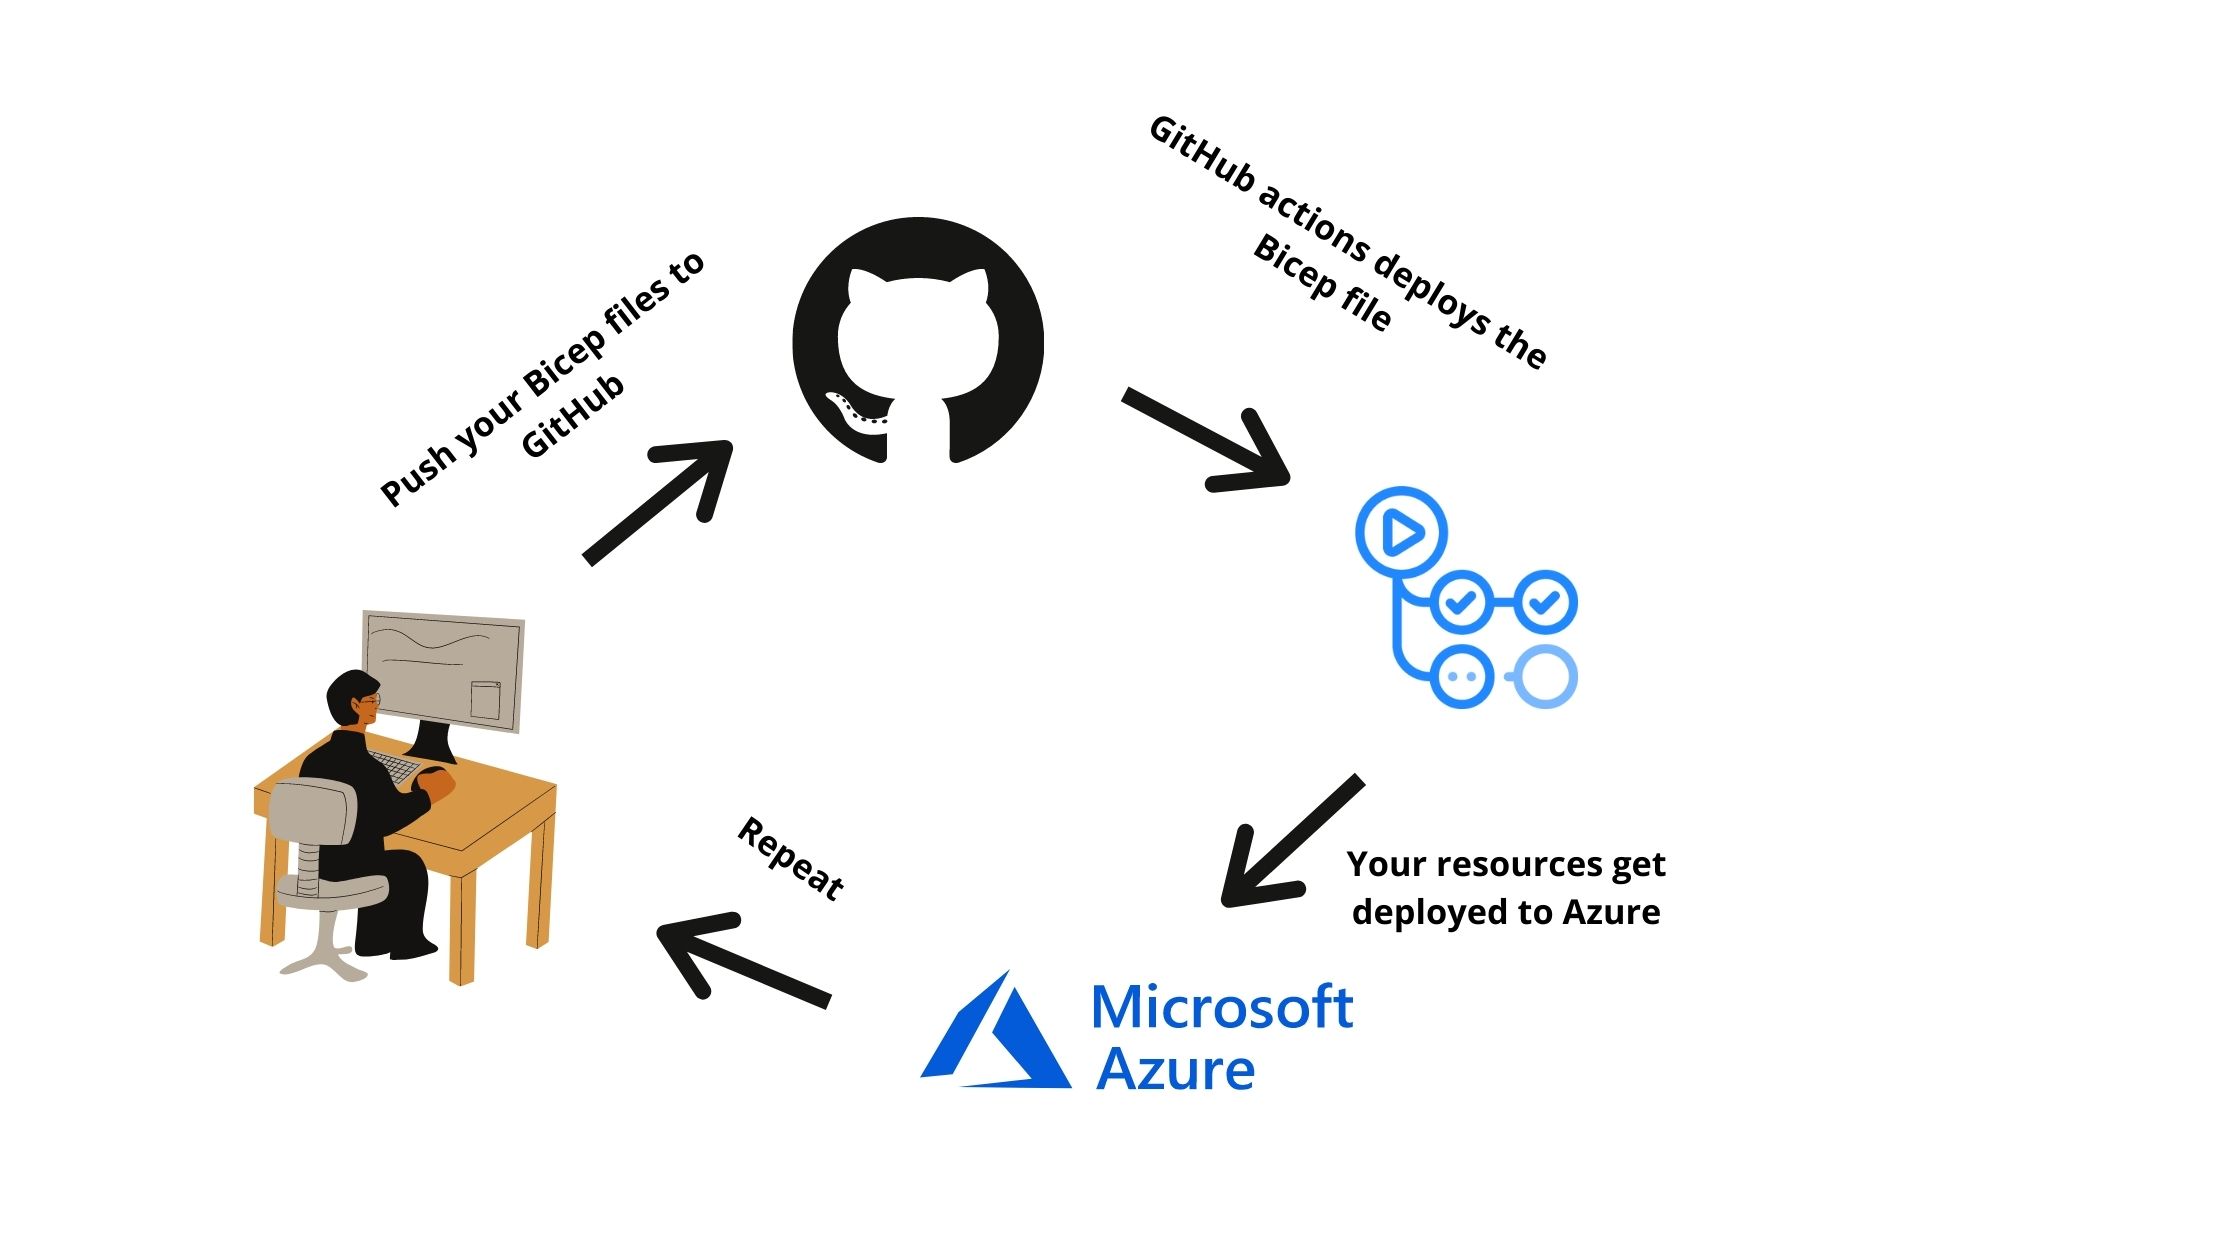
It was recently announced that Bicep CLI is now included in GitHub Actions hosted runners , so you can now easily have GitHub actions deploy Bicep files.
In this post i will give it a spin by deploying and configuring a storage account on Azure right from GitHub 💻
Preparation
- Create a service principal and grant the right permissions
The first thing i need to do is to setup GitHub actions to be able to authenticate and have the right permissions to deploy resources to my resource group.
Using Azure CLI i will execute this command to create a service principal with name “create-for-rbac” and grant it contributor permissions to my resource group “GitHubActionsDemo-rg”
az ad sp create-for-rbac --name gihubActions --role contributor --scopes /subscriptions/<SubscriptionName>/resourceGroups/GitHubActionsDemo-rg --sdk-auth
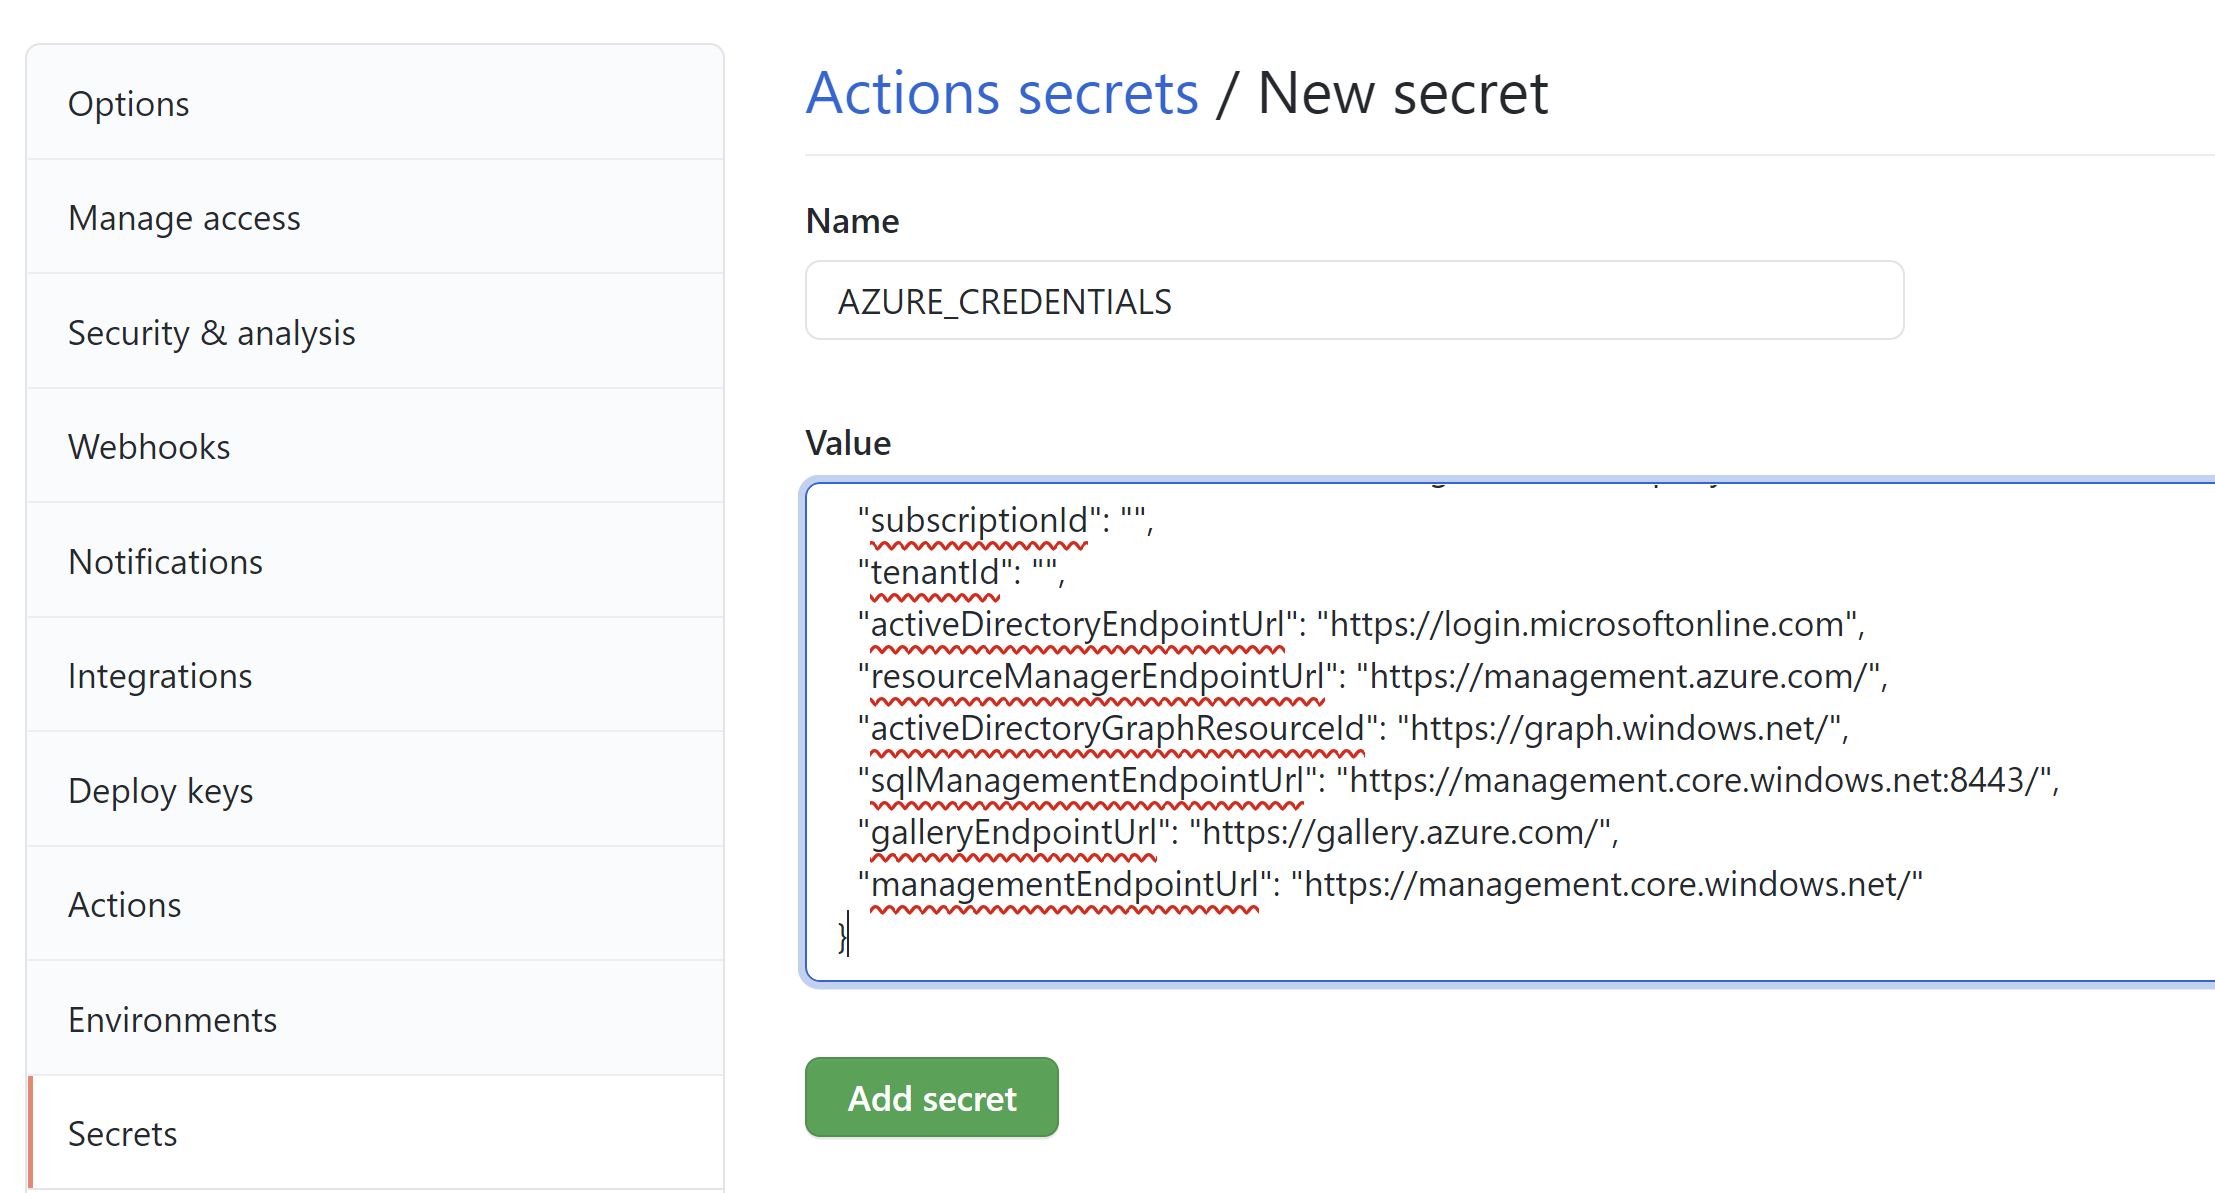
The output i get will be the credentials that i will need to put into GitHub as secret for my workflow
{ "clientId": "9ca1dae2-524d-41c1-8715-35c24e922c5e", "clientSecret": "u~o9P1BnT_Uoed-aNgZ5tu_izQxWkpLbys", "subscriptionId": "", "tenantId": "", "activeDirectoryEndpointUrl": "https://login.microsoftonline.com", "resourceManagerEndpointUrl": "https://management.azure.com/", "activeDirectoryGraphResourceId": "https://graph.windows.net/", "sqlManagementEndpointUrl": "https://management.core.windows.net:8443/", "galleryEndpointUrl": "https://gallery.azure.com/", "managementEndpointUrl": "https://management.core.windows.net/" }
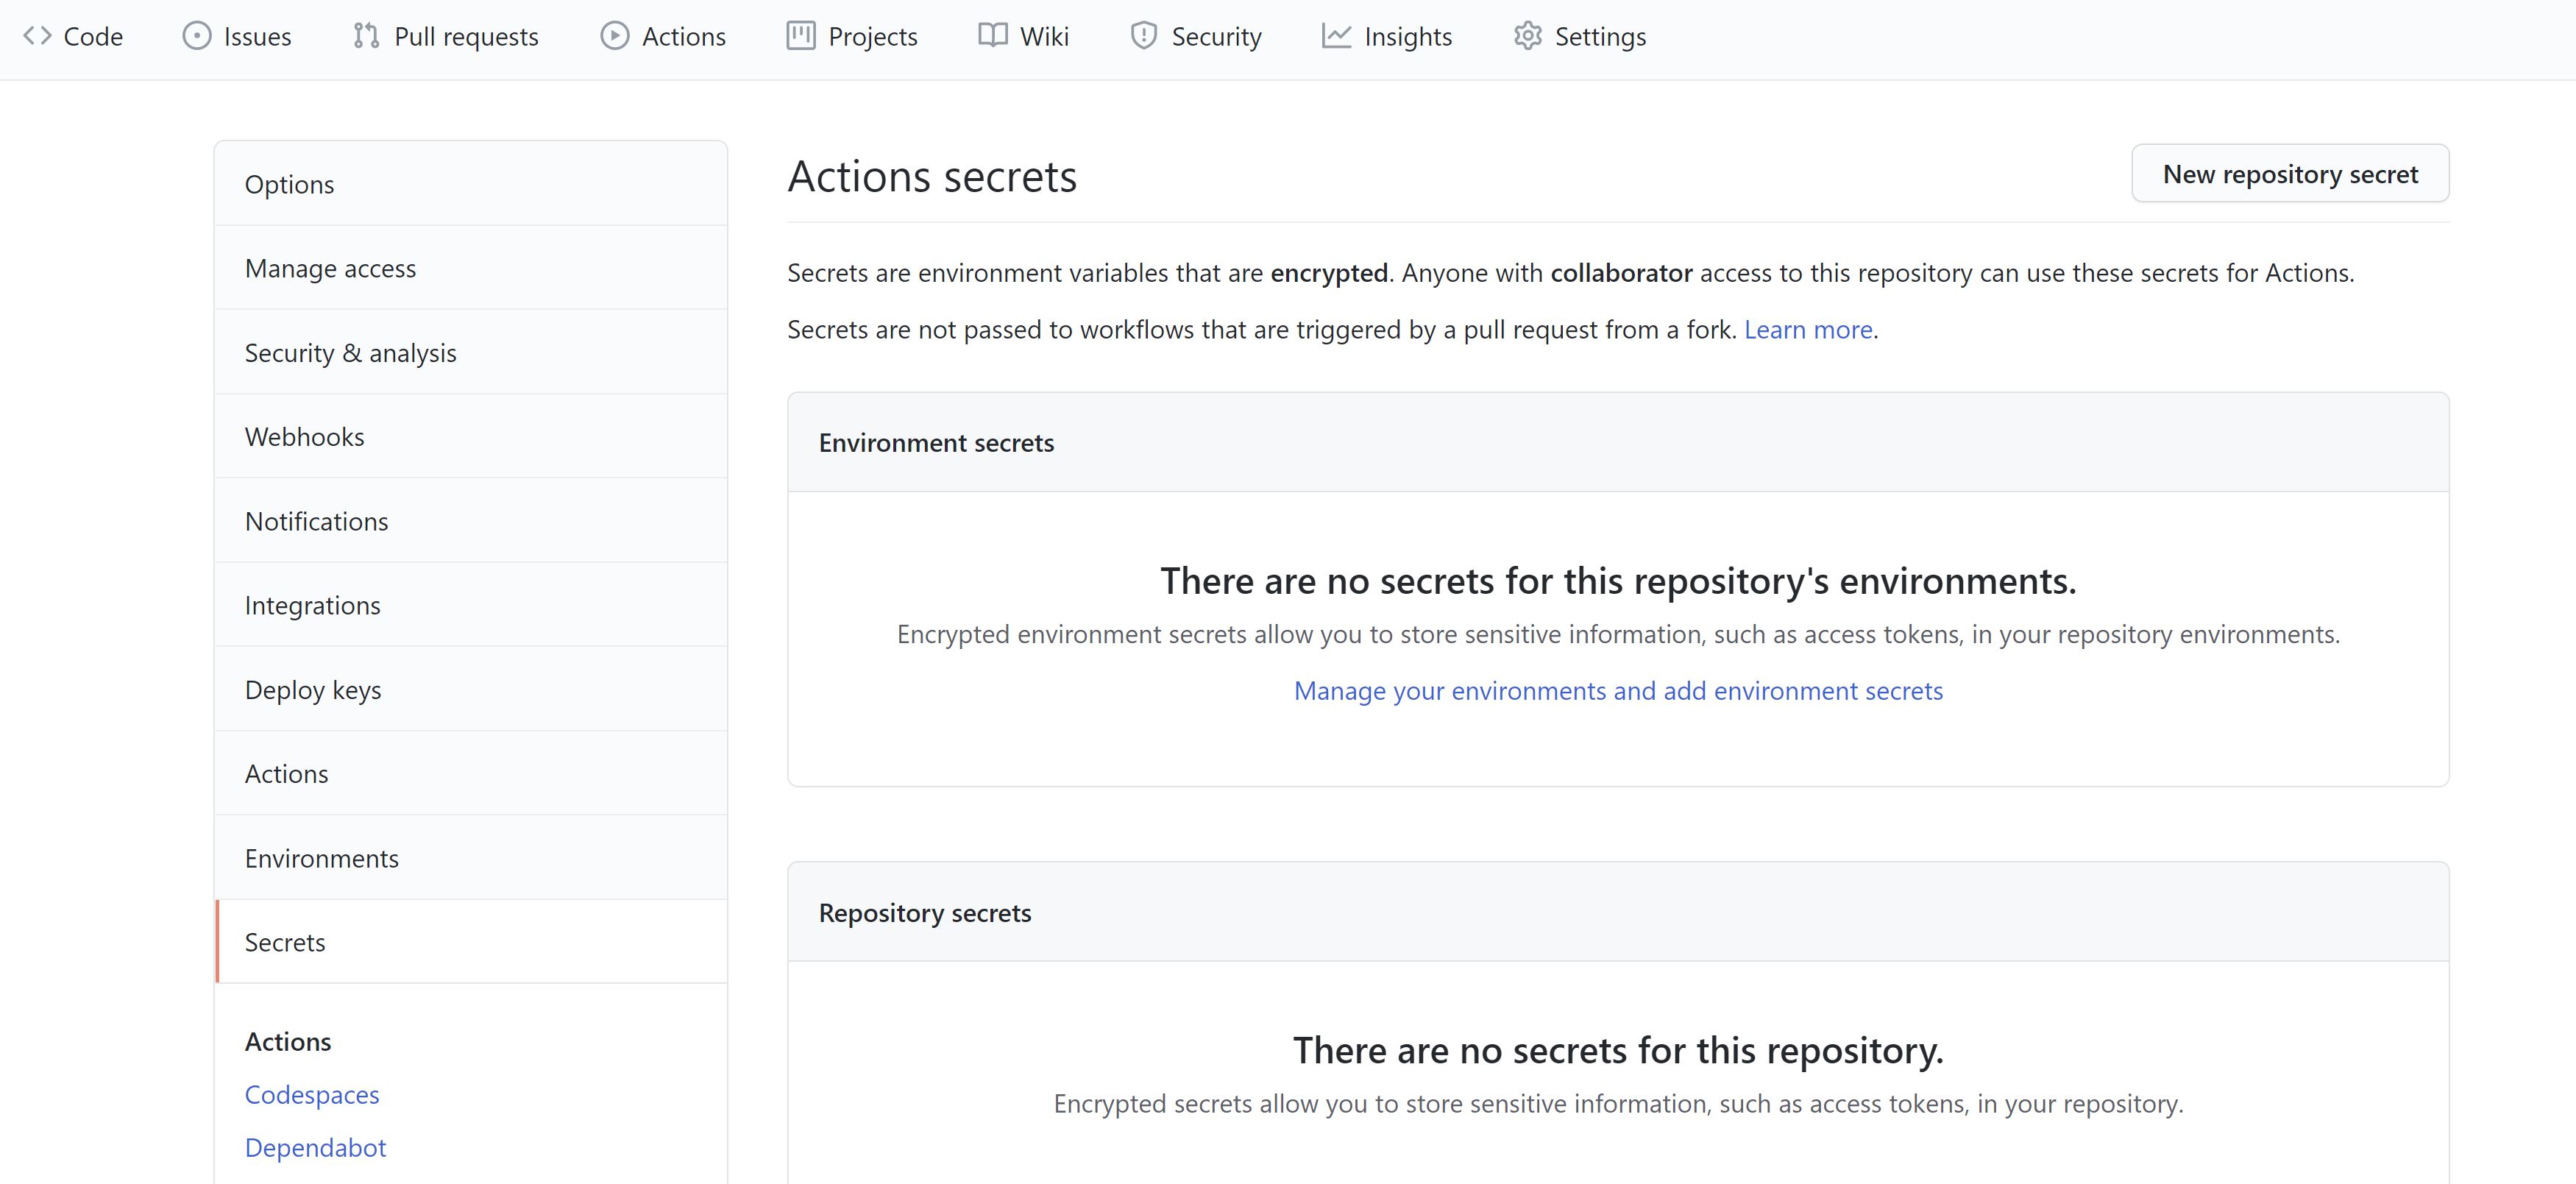
- Add the Service Principle credentials as a secret in my repository
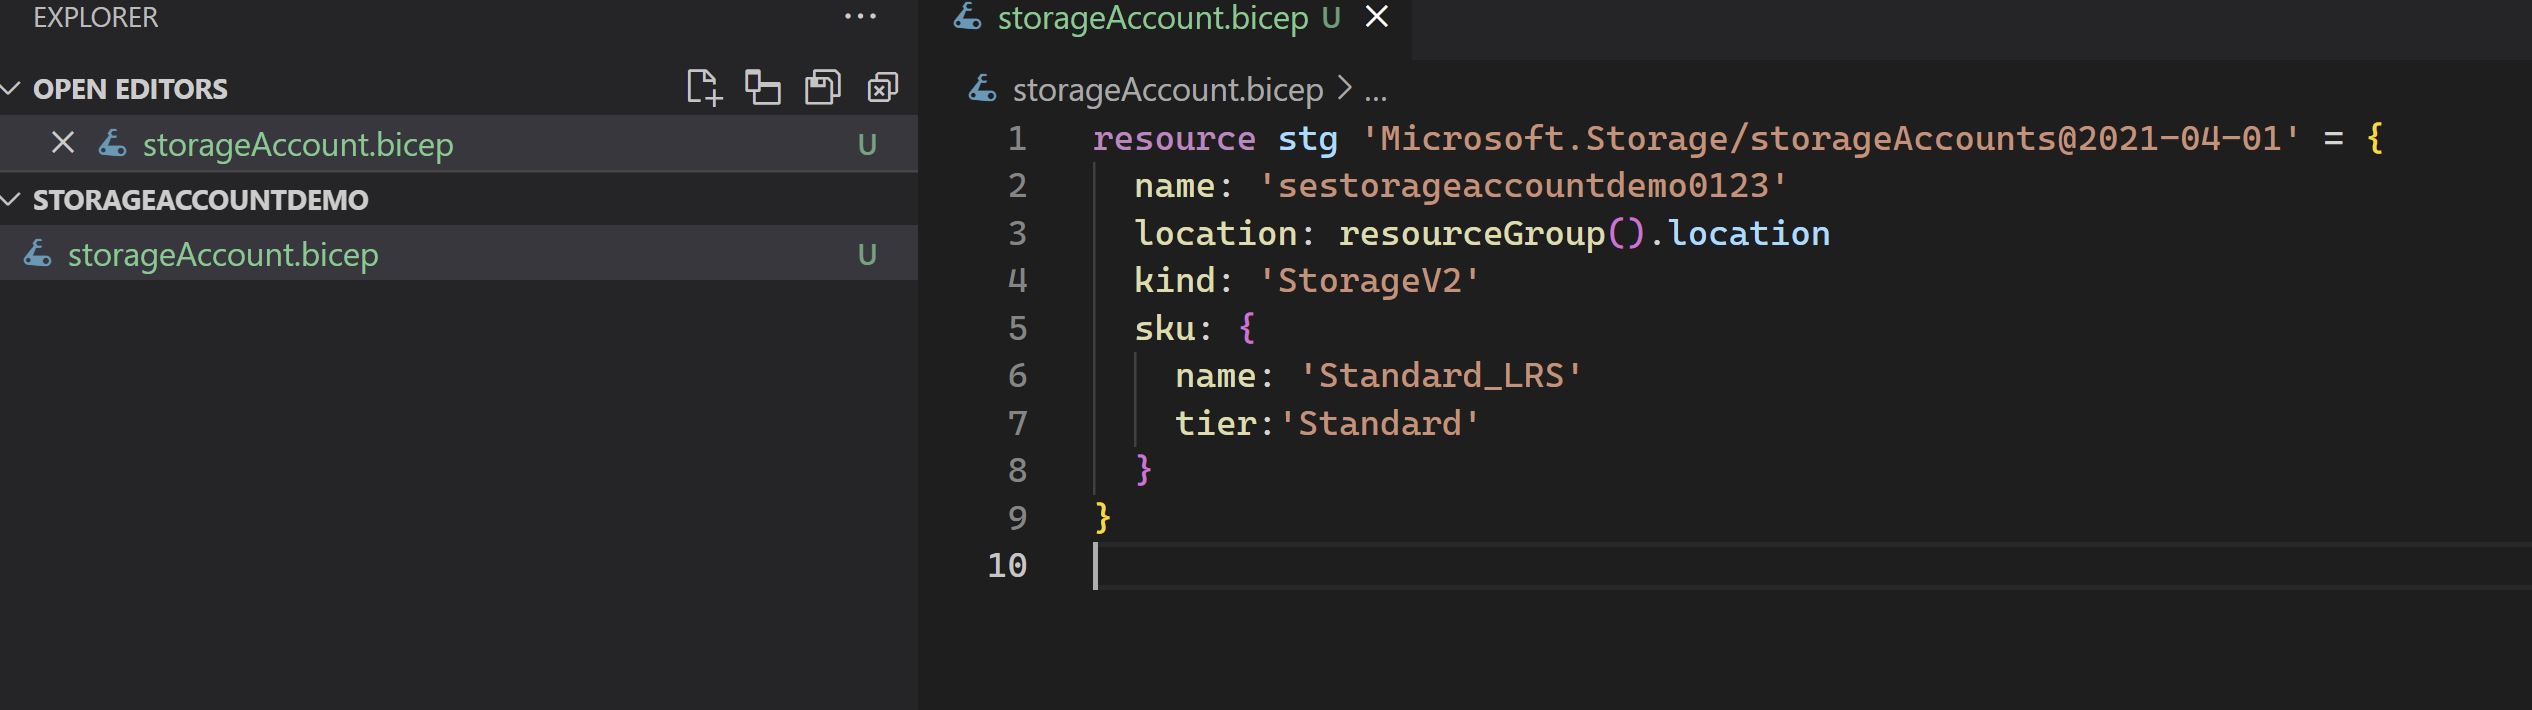
- Create the Bicep file that will create our Storage account
I will create a very simple Bicep file to create a very basic Storage account and then we will see how to add more configuration later on.
- Finally , Creating the GitHub action
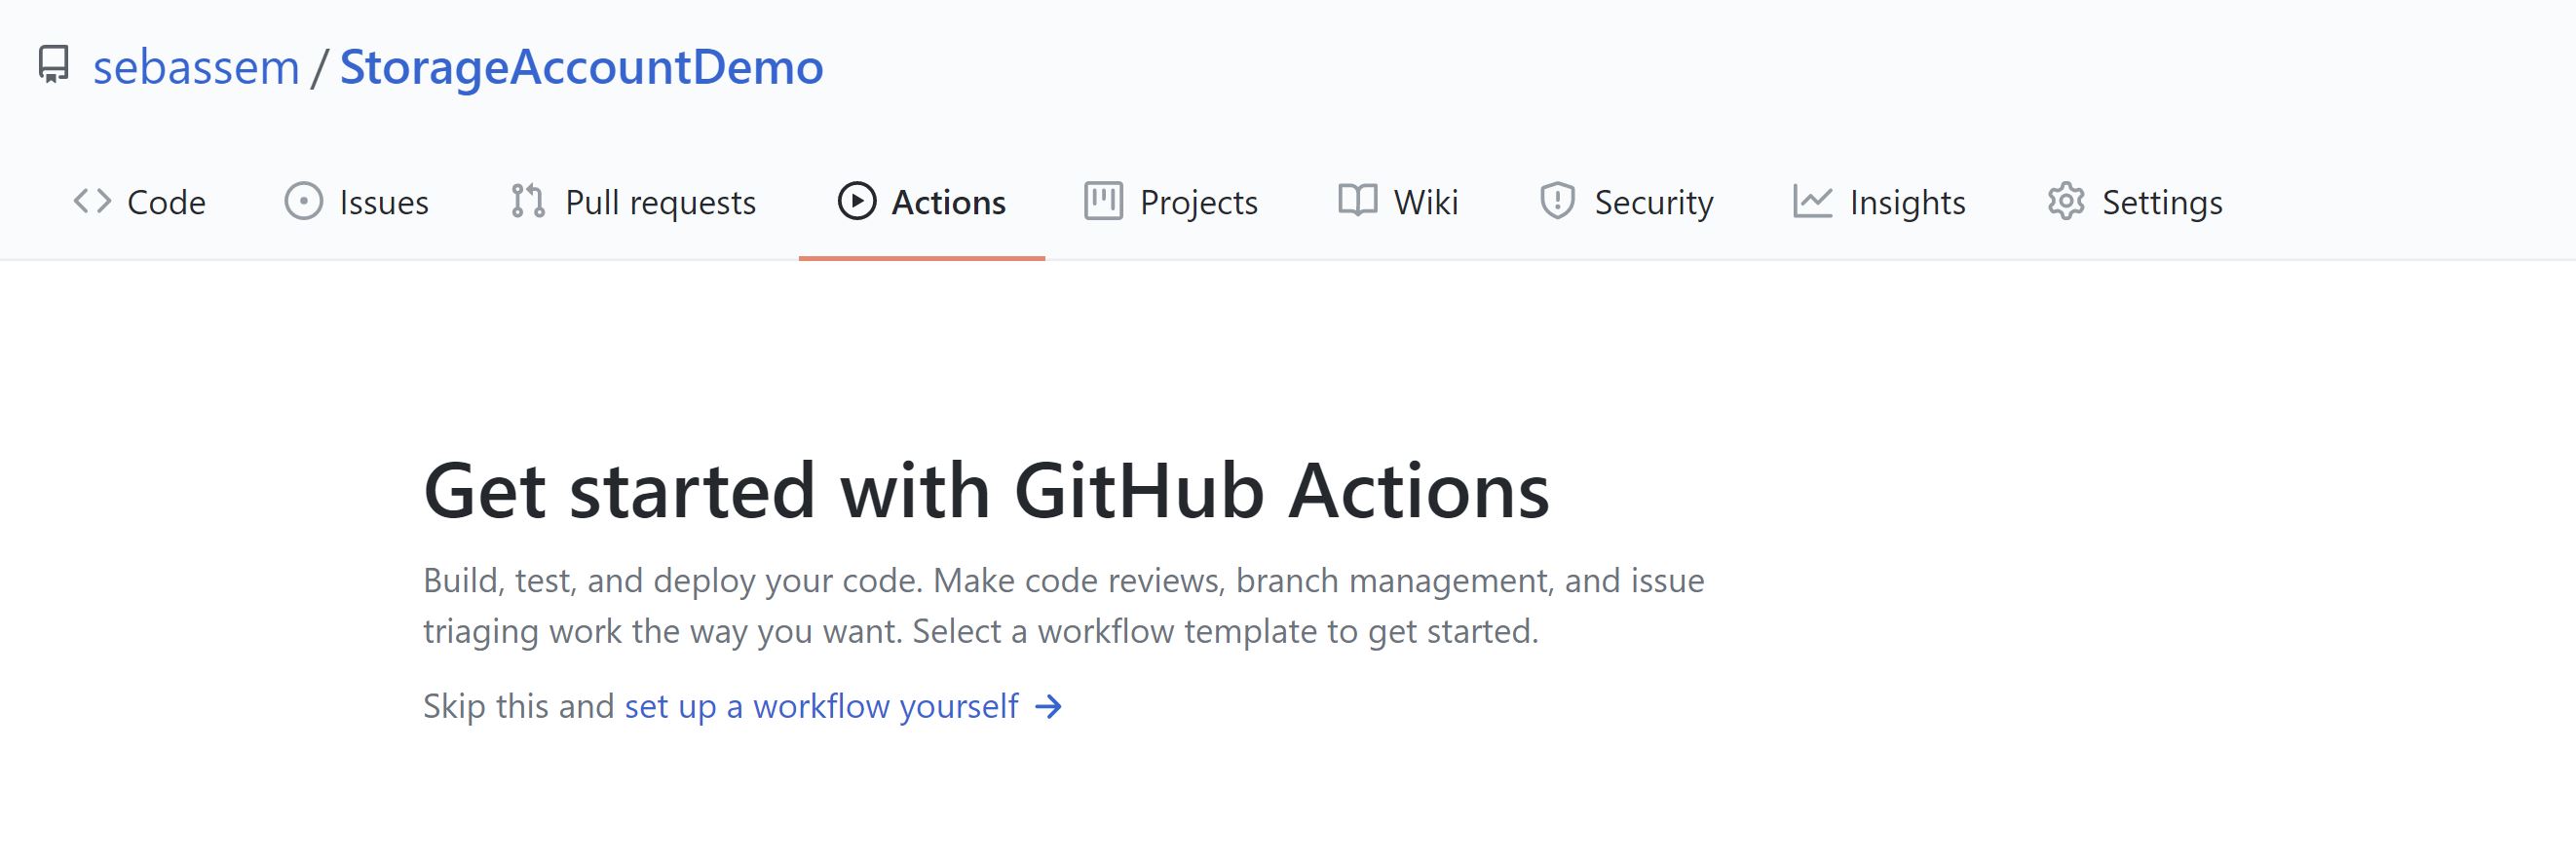
Going back to my repository , i will go to the Actions tab and select “set up a workflow yourself” , commit to my repo and start editing the workflow in VSCode
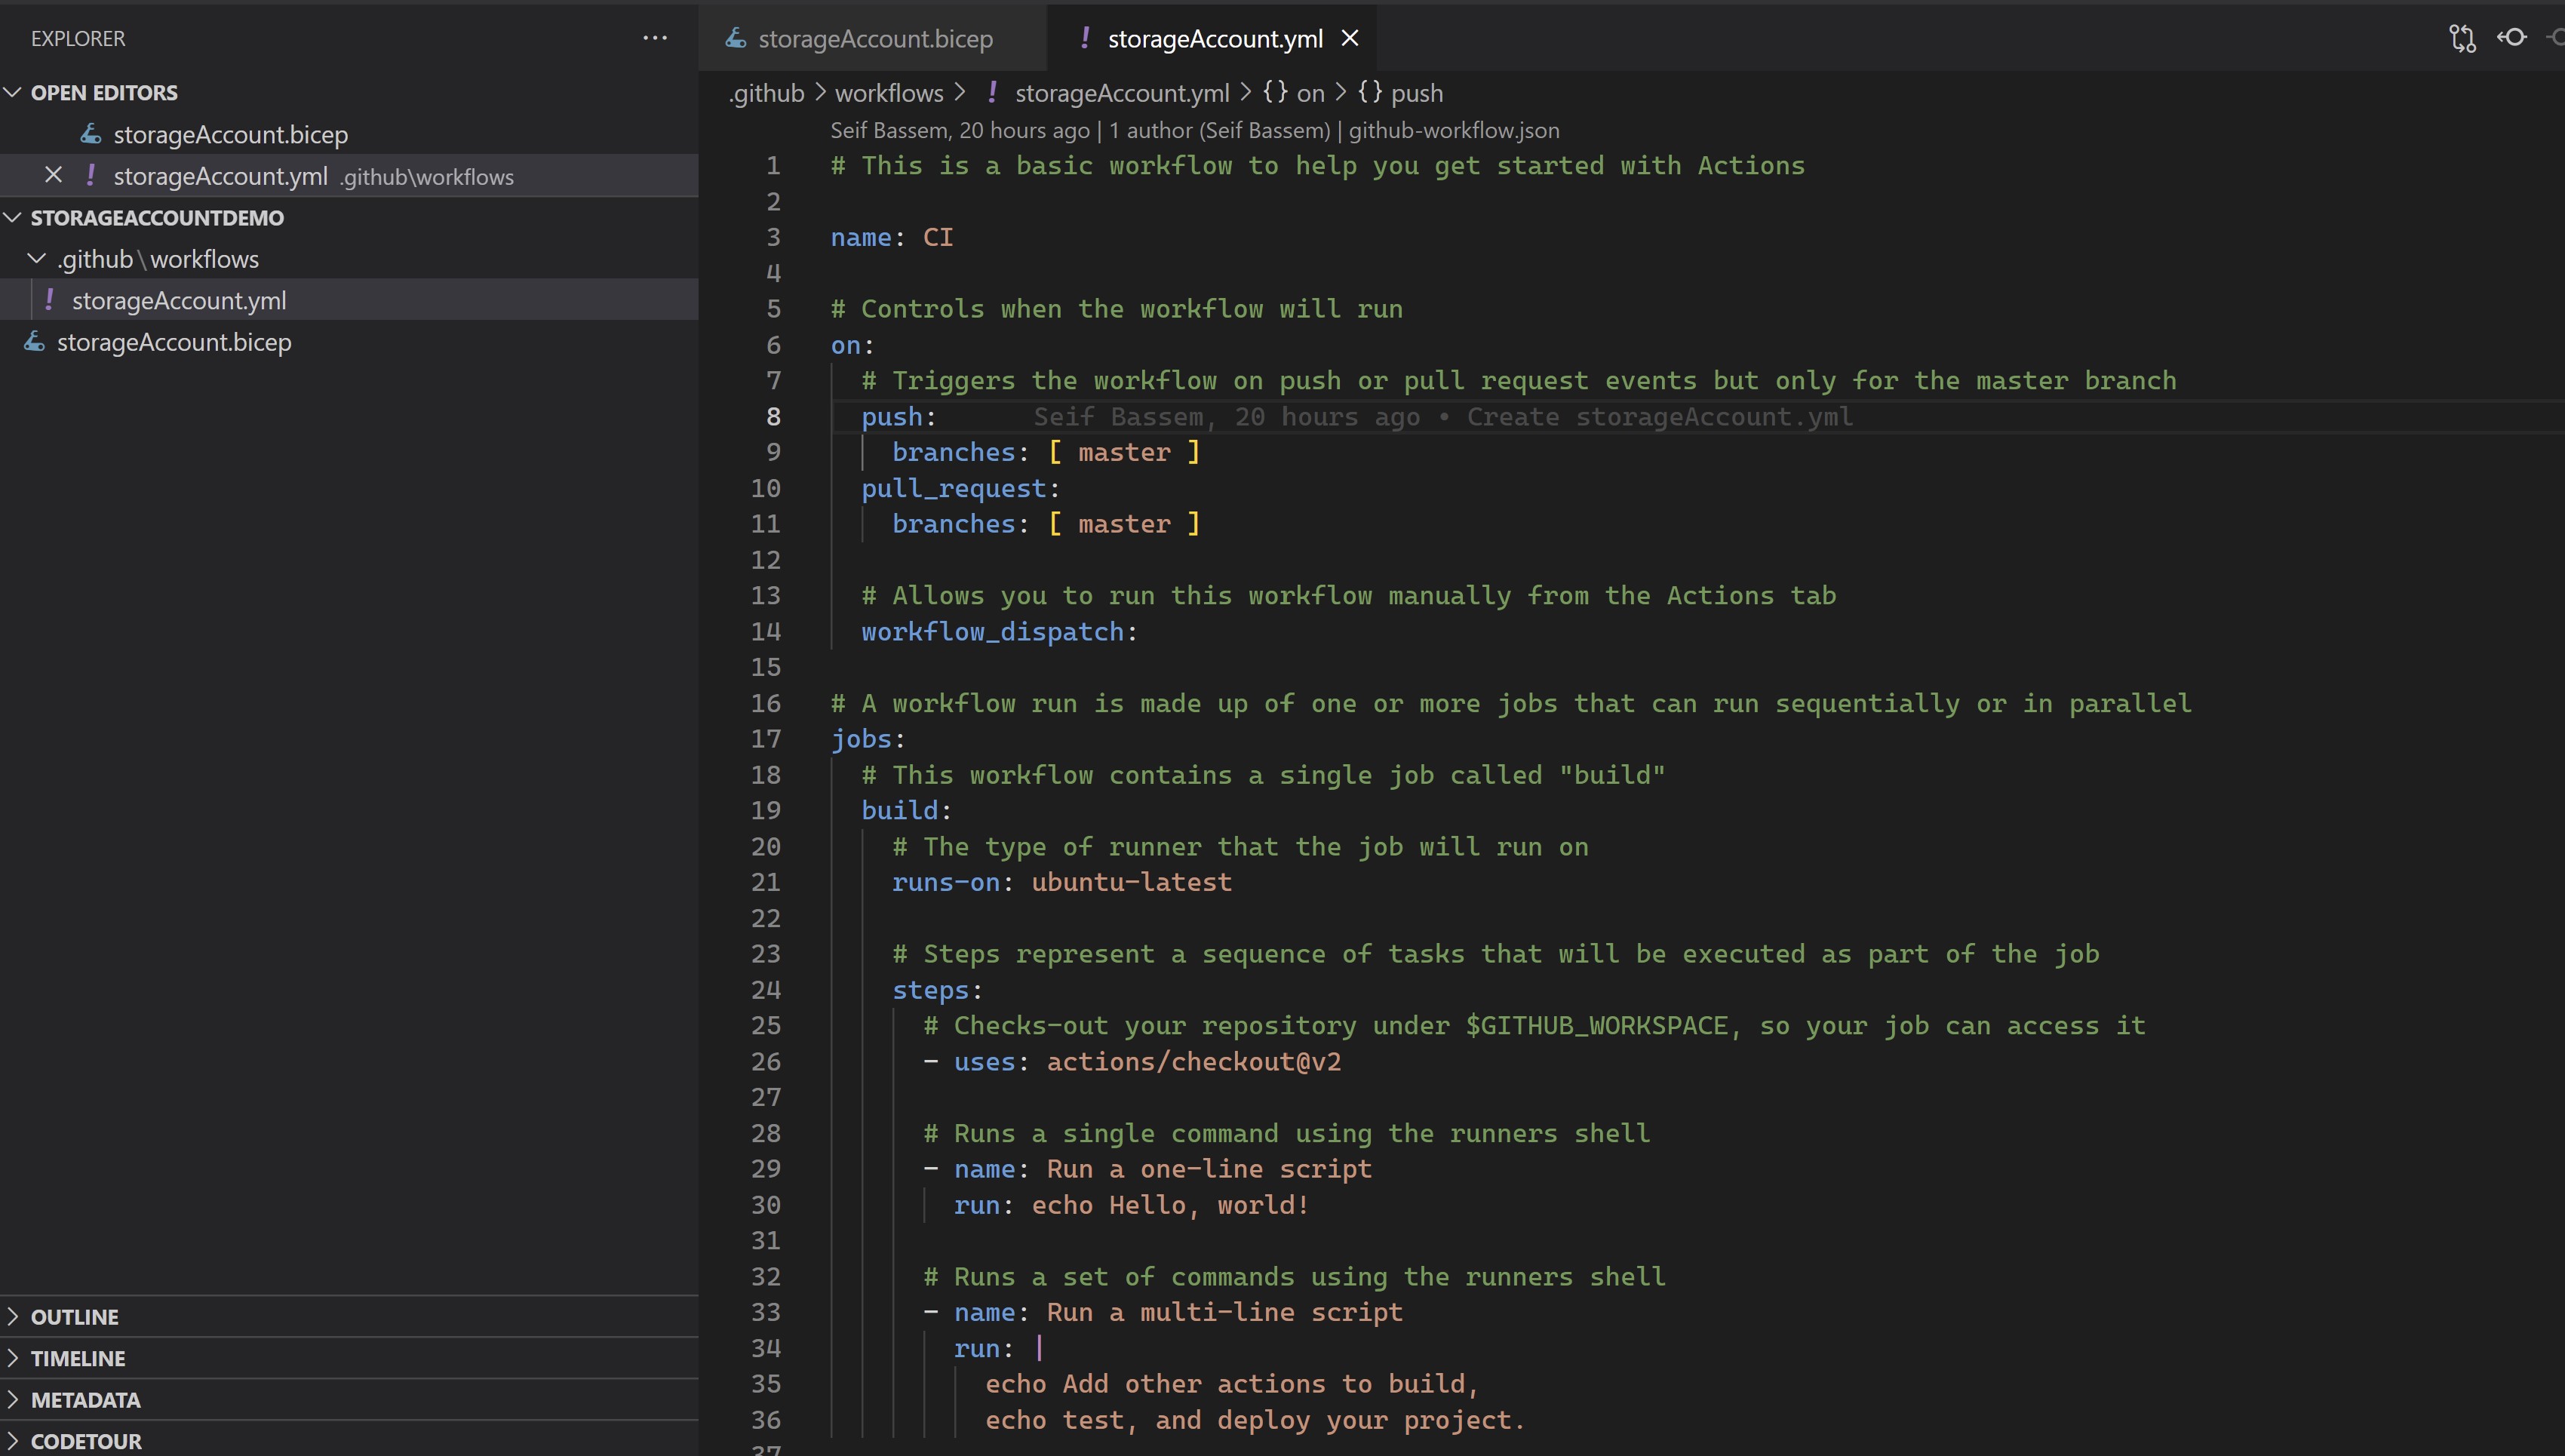
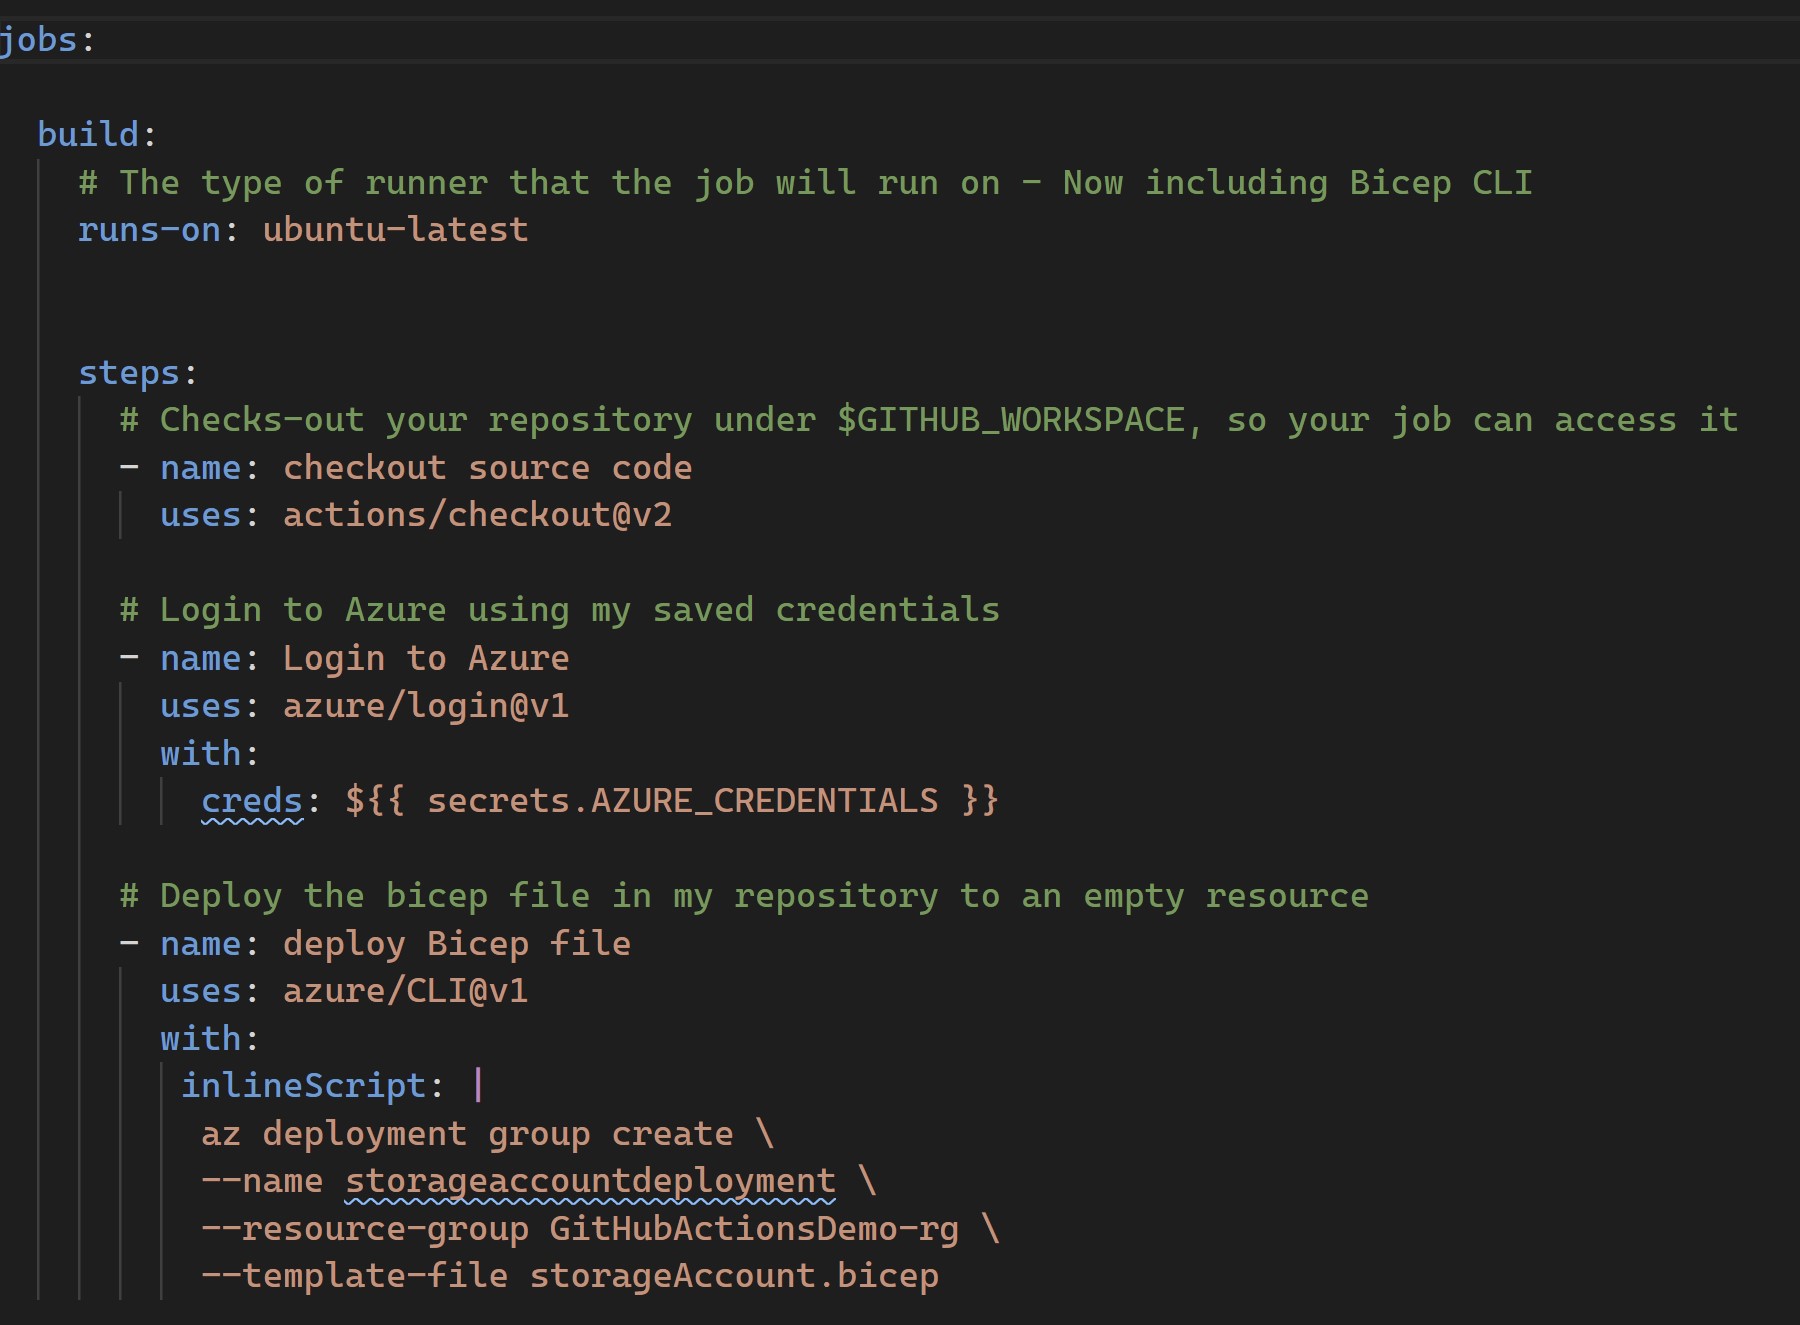
You can see below the GitHub action workflow doing the following :
- Using the ubuntu-latest runner which now has the Bicep CLI
- Checking out my Bicep file from GitHub that will create the storage account
- Using the service principle we created to login to Azure
- Deploy the Bicep file to an empty resource group
- Showtime Now let’s see how all of this works 🥁🥁🥁🥁🥁
🛑🛑 Now let’s imagine , Infosec examined our storage account configuration and found that it’s a little bit unsecure so we got some recommendations add to our storage account to increase it’s security posture.
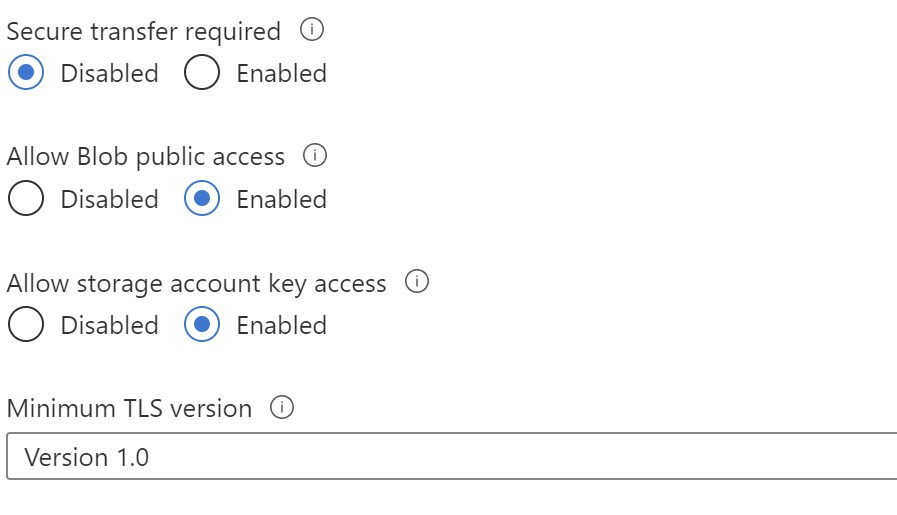
⚠️ You should always look to use Azure Policy for compliance and enforcing configuration
Let’s go back to our Bicep file and add a couple of changes to the storage account , push to GitHub and observe what happens.
Recap
You can see that the storage account was created in the first scenario and changed in the second scenario without having to do anything on the portal , all deployments where done through code which gives us very good flexibility and tracking of changes in the environment . This is a very basic demonstration of what you can do with GitHub actions and Bicep , in production envrionments you would have a more complex set up with testing and validation but you get the point of how simple , yet powerful this can be.
Official documentation can be found here.
Share on:
My name is
Seif Bassem
You May Also Like

Azure Bicep - next gen Infrastructure as code
Why consider Infrastructure-as-code? I have always been a huge fan of …
Building and hosting this blog using Azure Static Web Apps
Starting a blog 📖 I have been thinking a lot lately about having my …
Project servers to Azure from virtually anywhere!!
Going multi-cloud or hybrid 🚀, missing anything?! The rapid increase …